One product we’ve started using in the studio on a regular basis is BEVA 371 film. BEVA is a type of liquid adhesive used mostly in paintings conservation, but it can also be purchased as a thin sheet of film used to back items to paper or board. BEVA is heat activated, is completely reversible with heat or solvents, and creates a strong, archival bond between papers.
BEVA film comes as a sheet of Mylar, which the BEVA film itself is adhered to, and a sheet of release paper over that. The backing process occurs in two steps – first the release paper is removed and the object to be backed is placed on top of the thin layer of BEVA (which is still adhered to the Mylar at this point). Heat is then applied to activate the BEVA, you can use a tacking iron or if you’re lucky to have a heat/vacuum press like we do, that works ever better!

These photos have been attached to the BEVA film but the Mylar backing hasn’t been removed yet.
When the piece has cooled down you will have your object attached to a piece of Mylar. Now is the time to trim the BEVA so it is flush with the object – remember to cut out any interior areas where there are holes or losses. The Mylar can then be peeled away and the back of your object is covered with a thin layer of BEVA, like a sort of heat activated sticker. Place your BEVA-coated object on your backing paper or board and apply heat. And now you have a perfectly backed object!
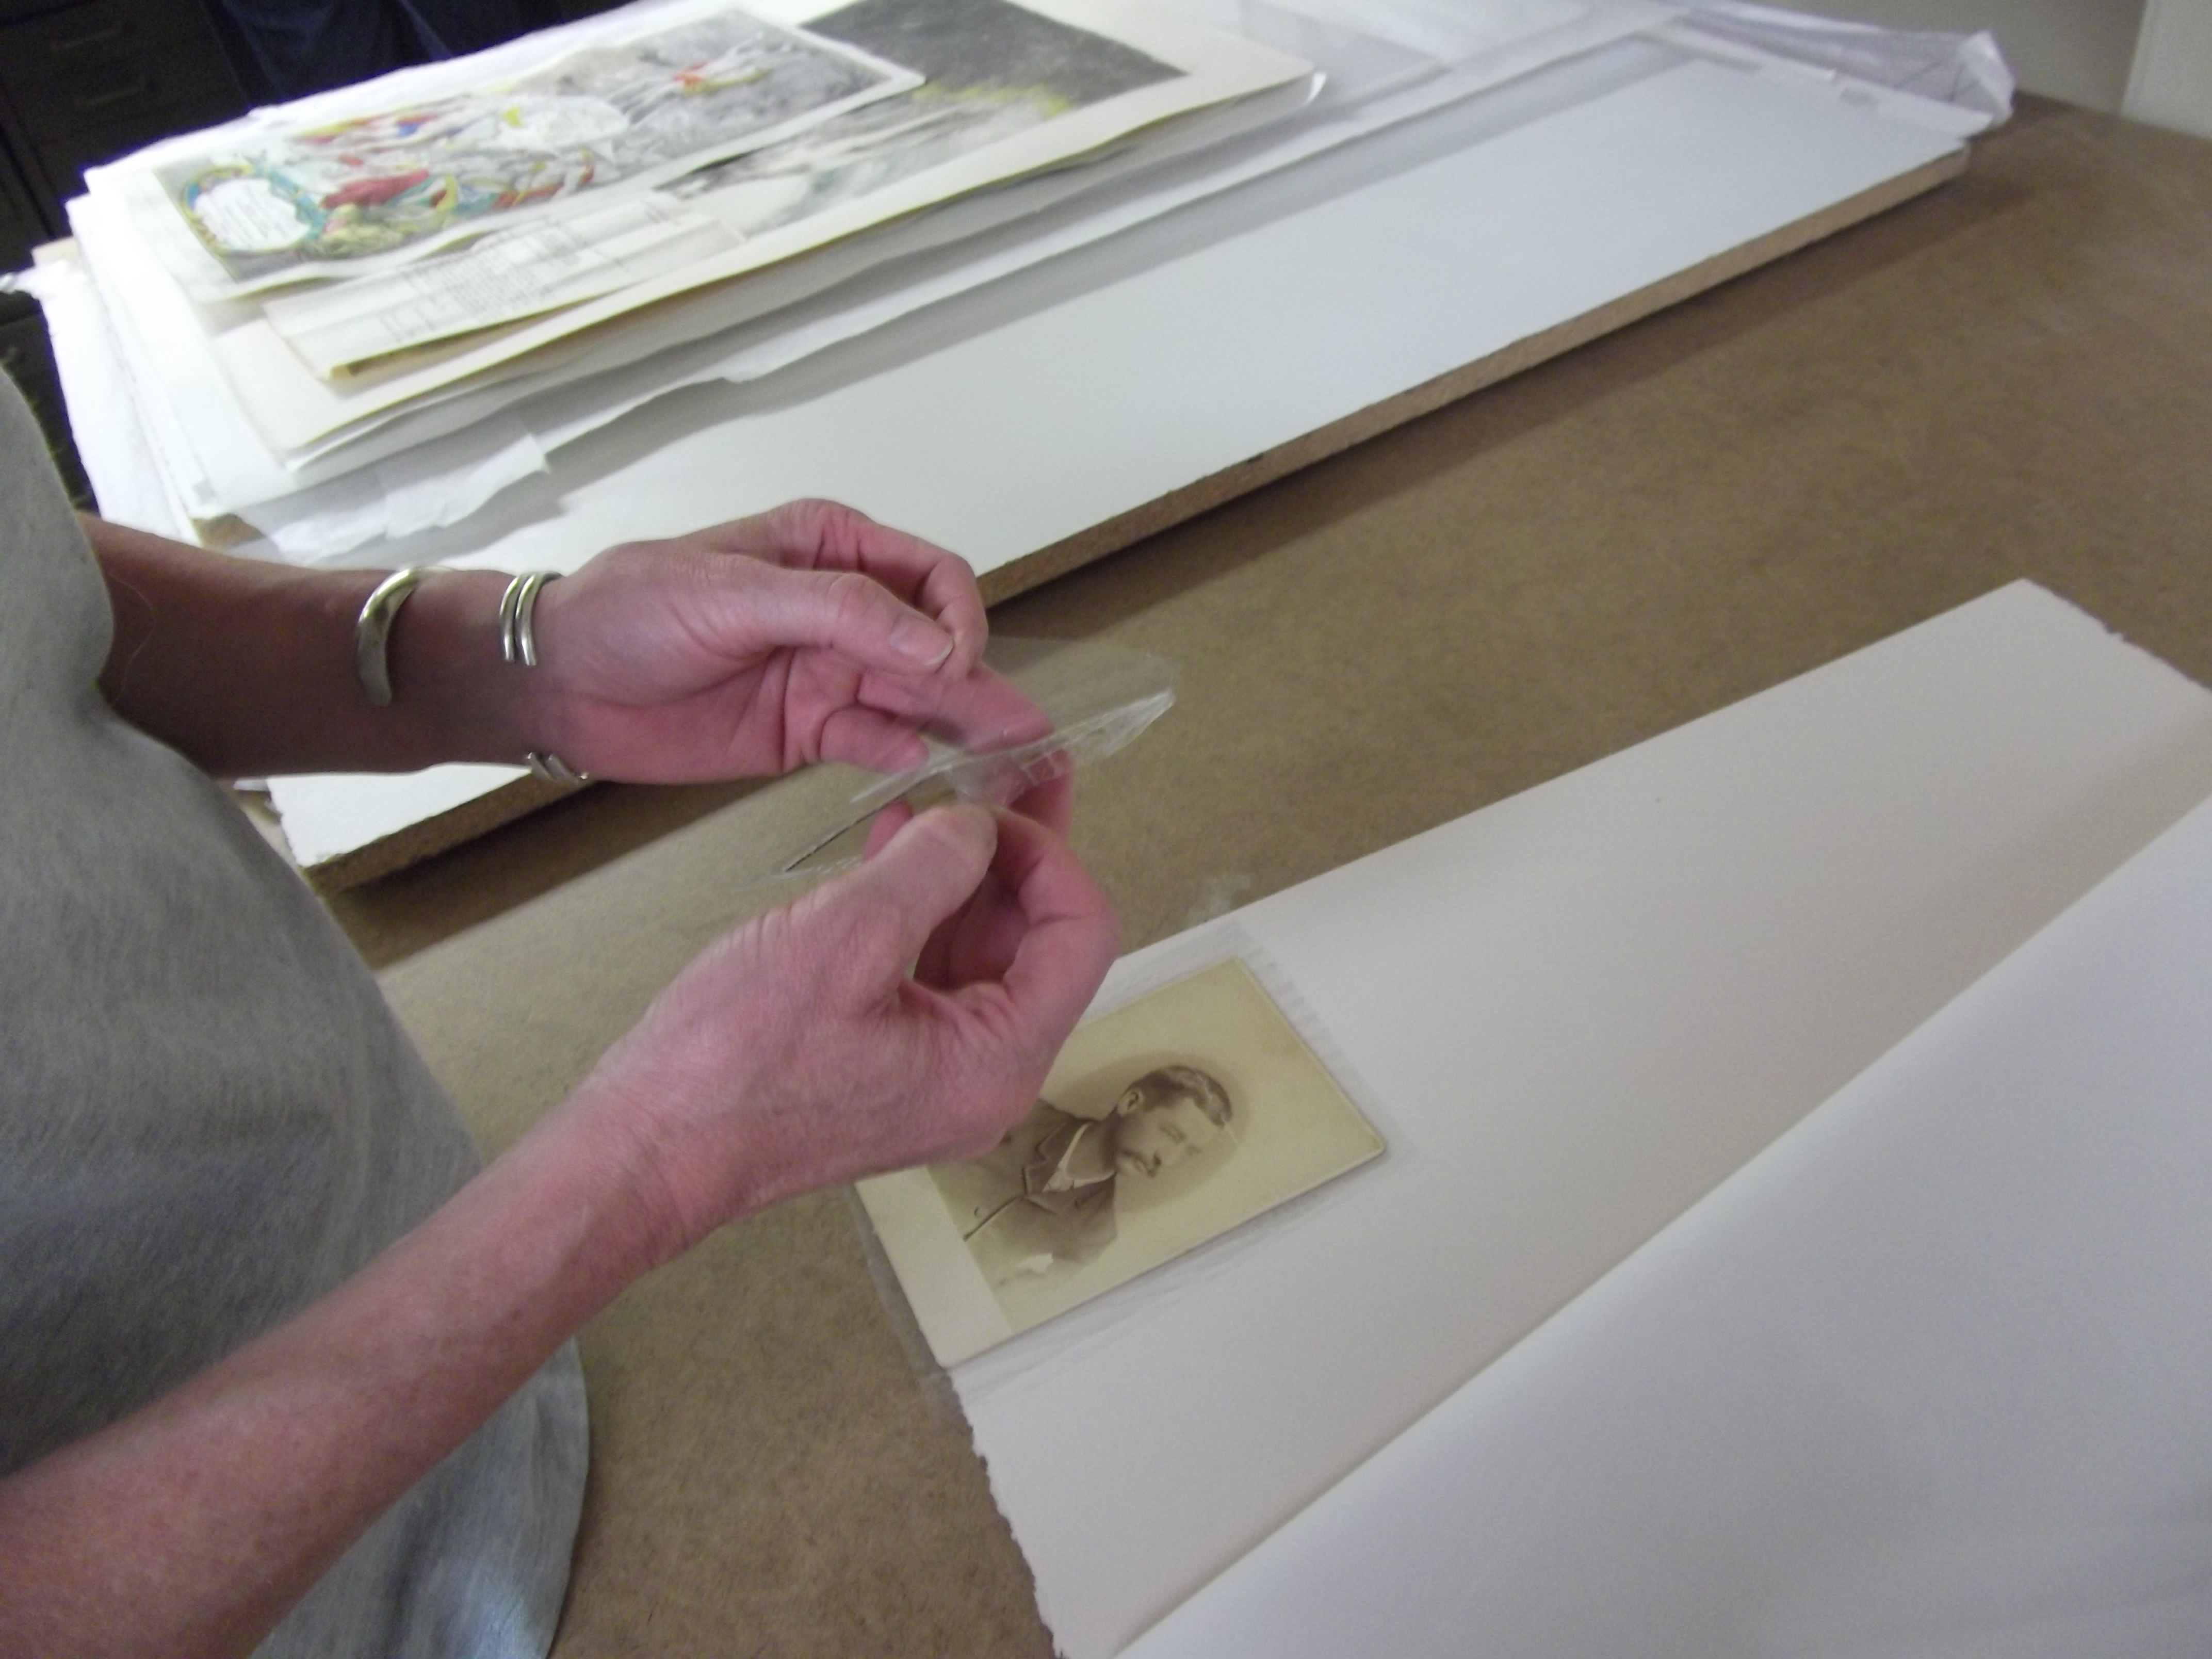
Removing the Mylar backing
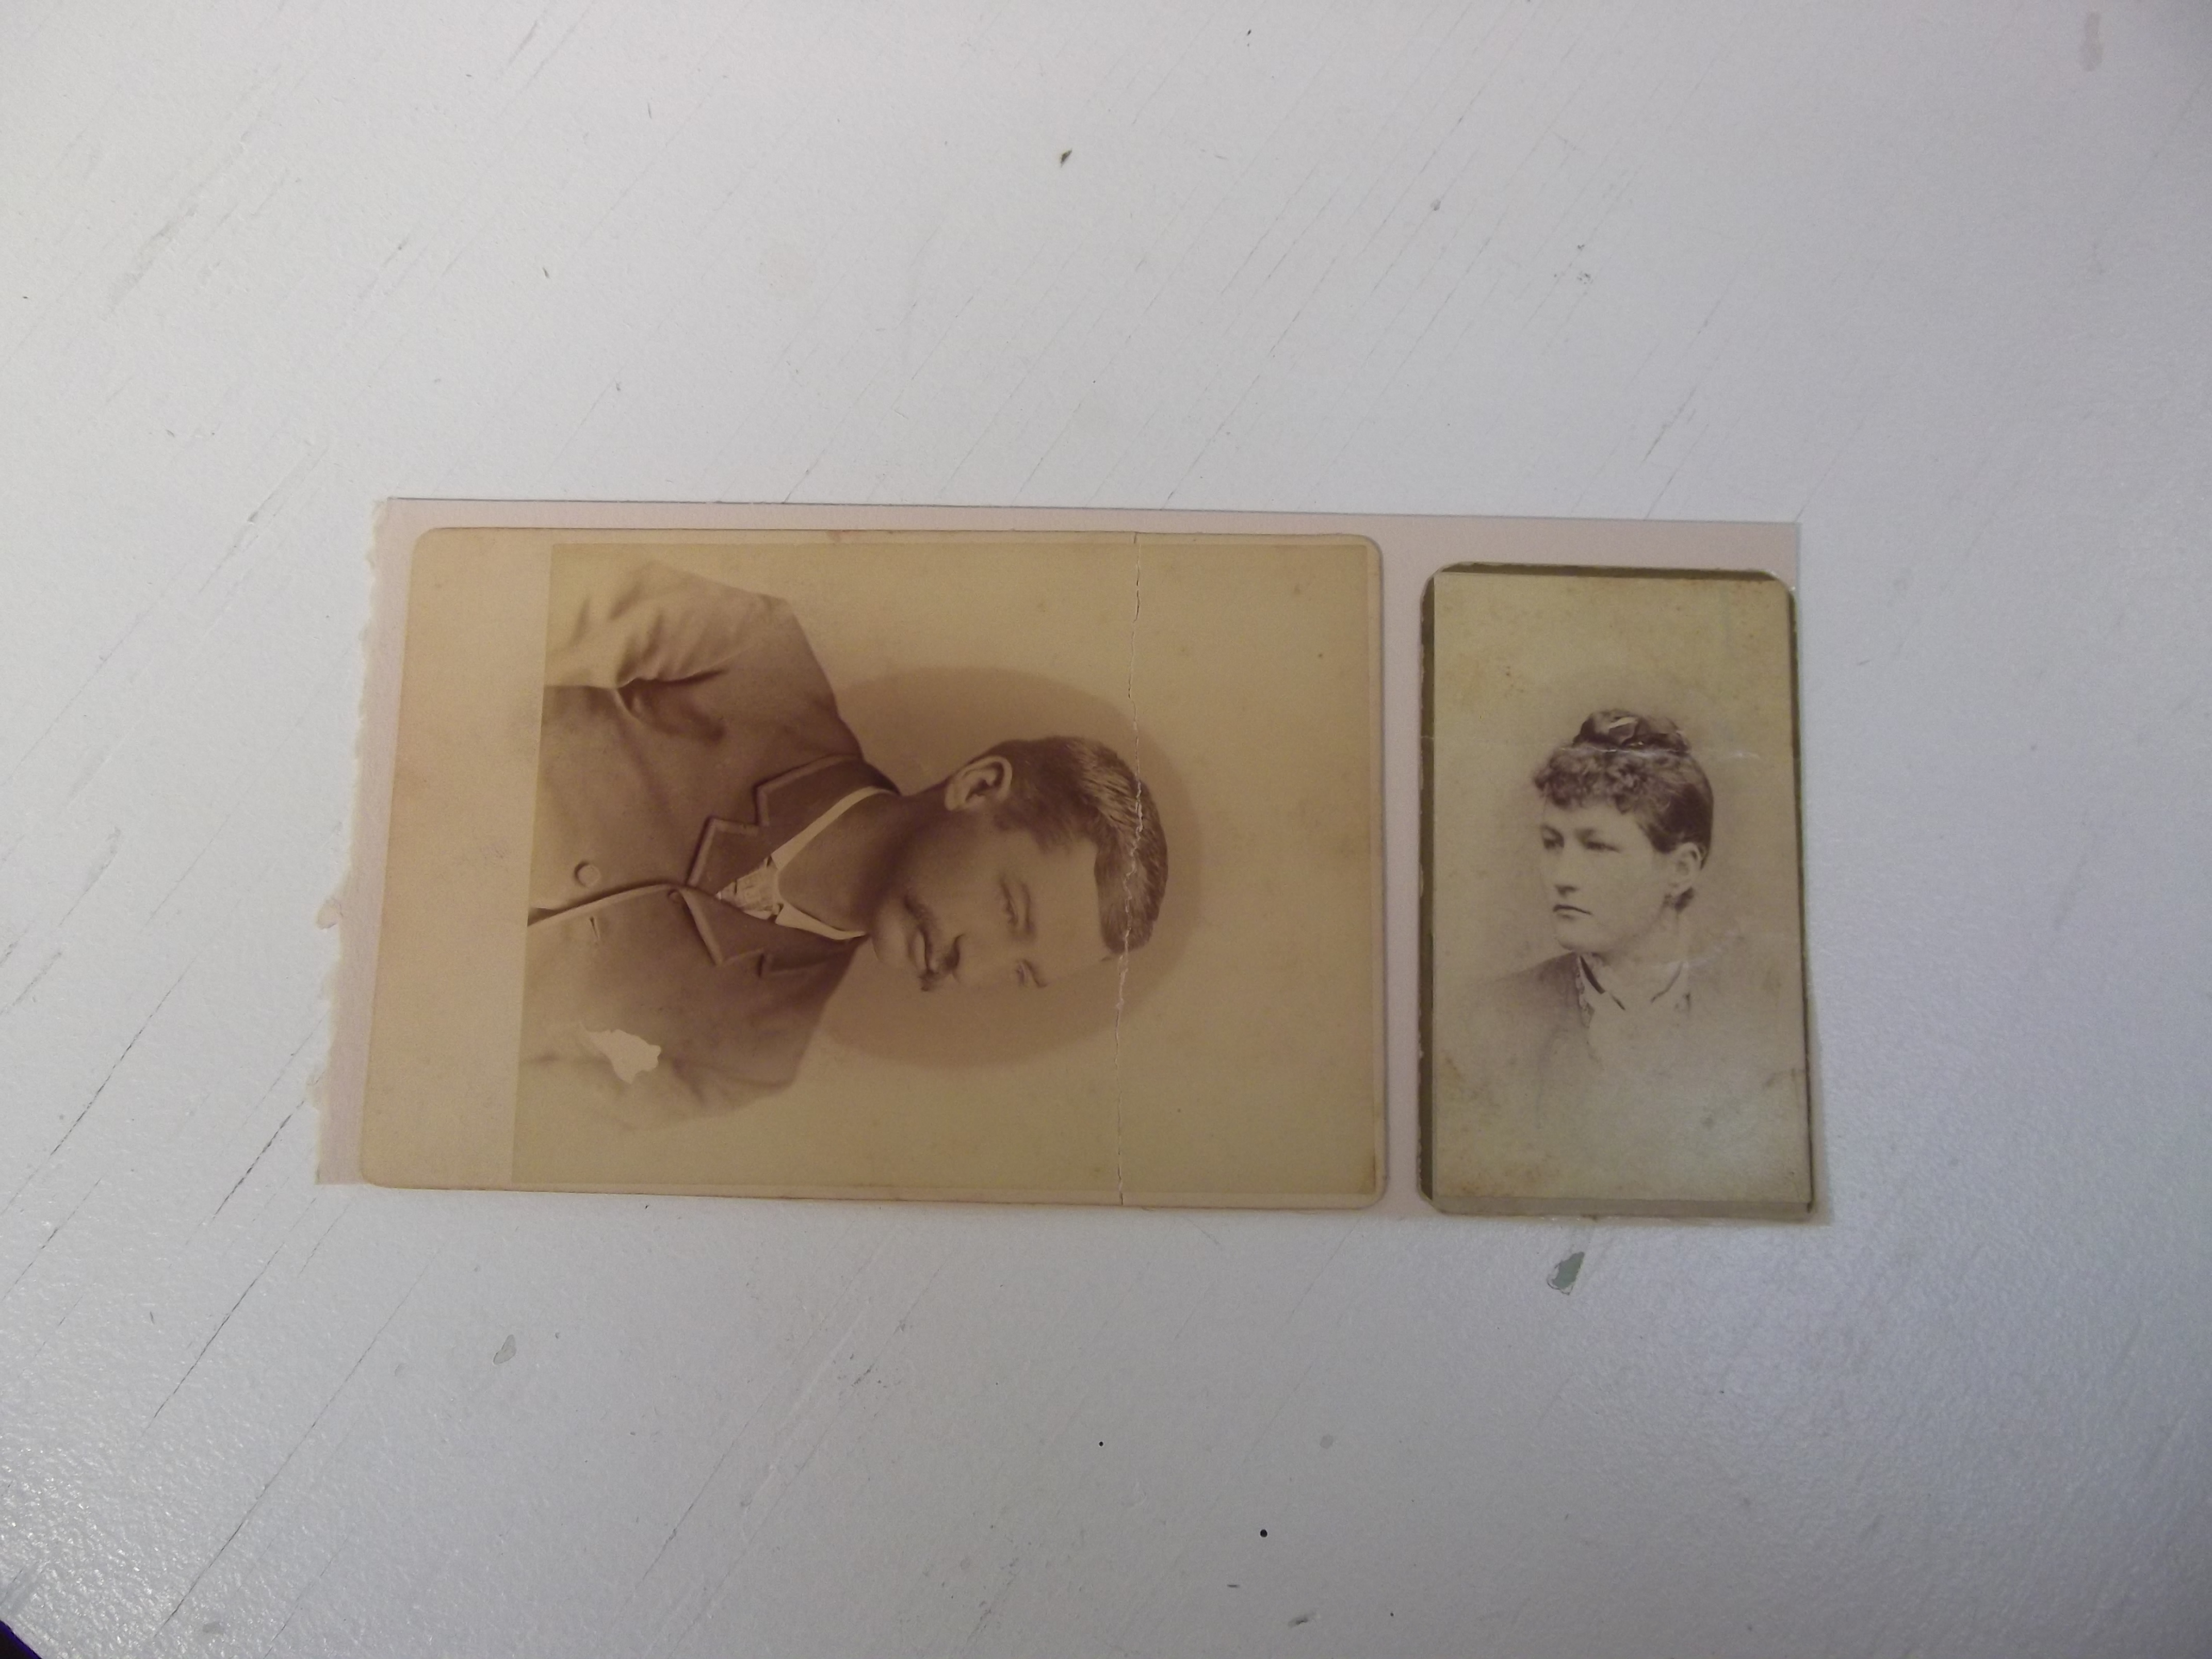
Now this couple is backed to acid free board
I like BEVA a lot because it’s great for low-stress, no-mess backing. When backing things with Lascaux the adhesive gets a bit “gooey” with heat and things can shift slightly. When backing with paste you need to move quickly before it dries and even while using the most care a bubble can sneak in every once and awhile, not to mention that some objects can’t handle the moisture involved with a paste backing. BEVA isn’t time sensitive (you can start the backing process one day and finish it a week later), I haven’t noticed any “shifting” as of yet, and since it is a dry process there is no mess whatsoever.
If you’re interested in learning more about how to use BEVA film, I recommend this page by Talas: Basic Instructions for using BEVA 371 Film