
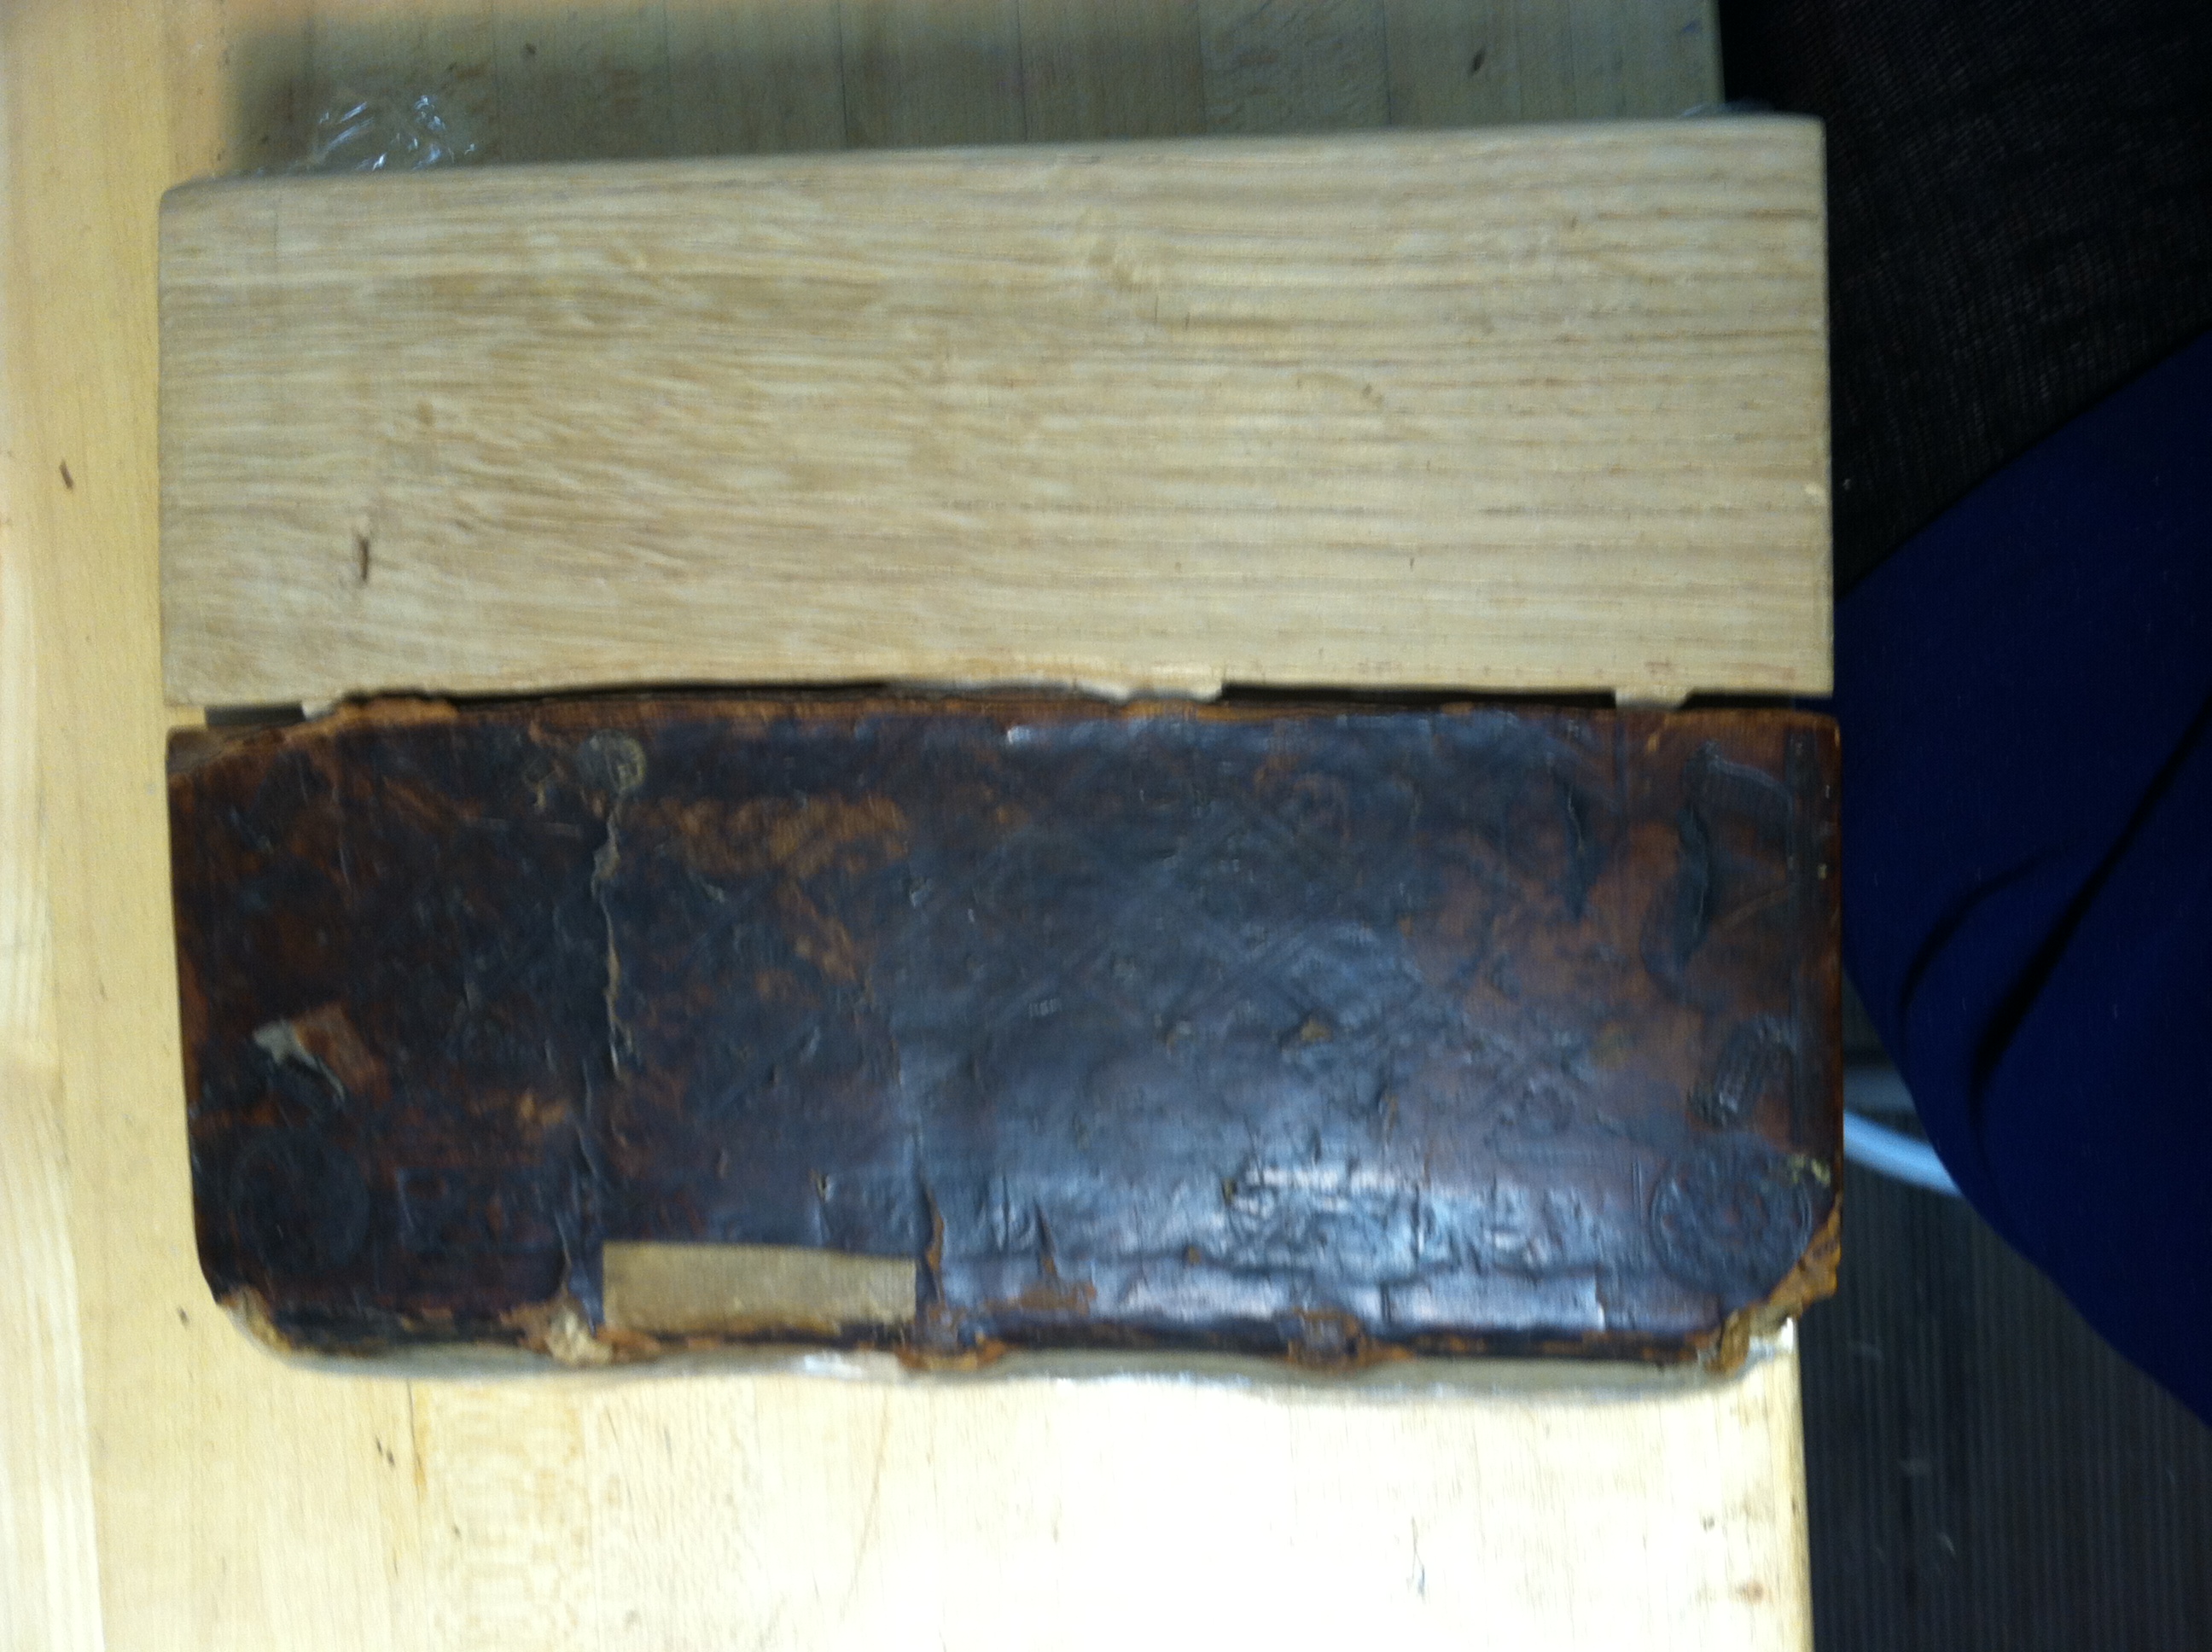
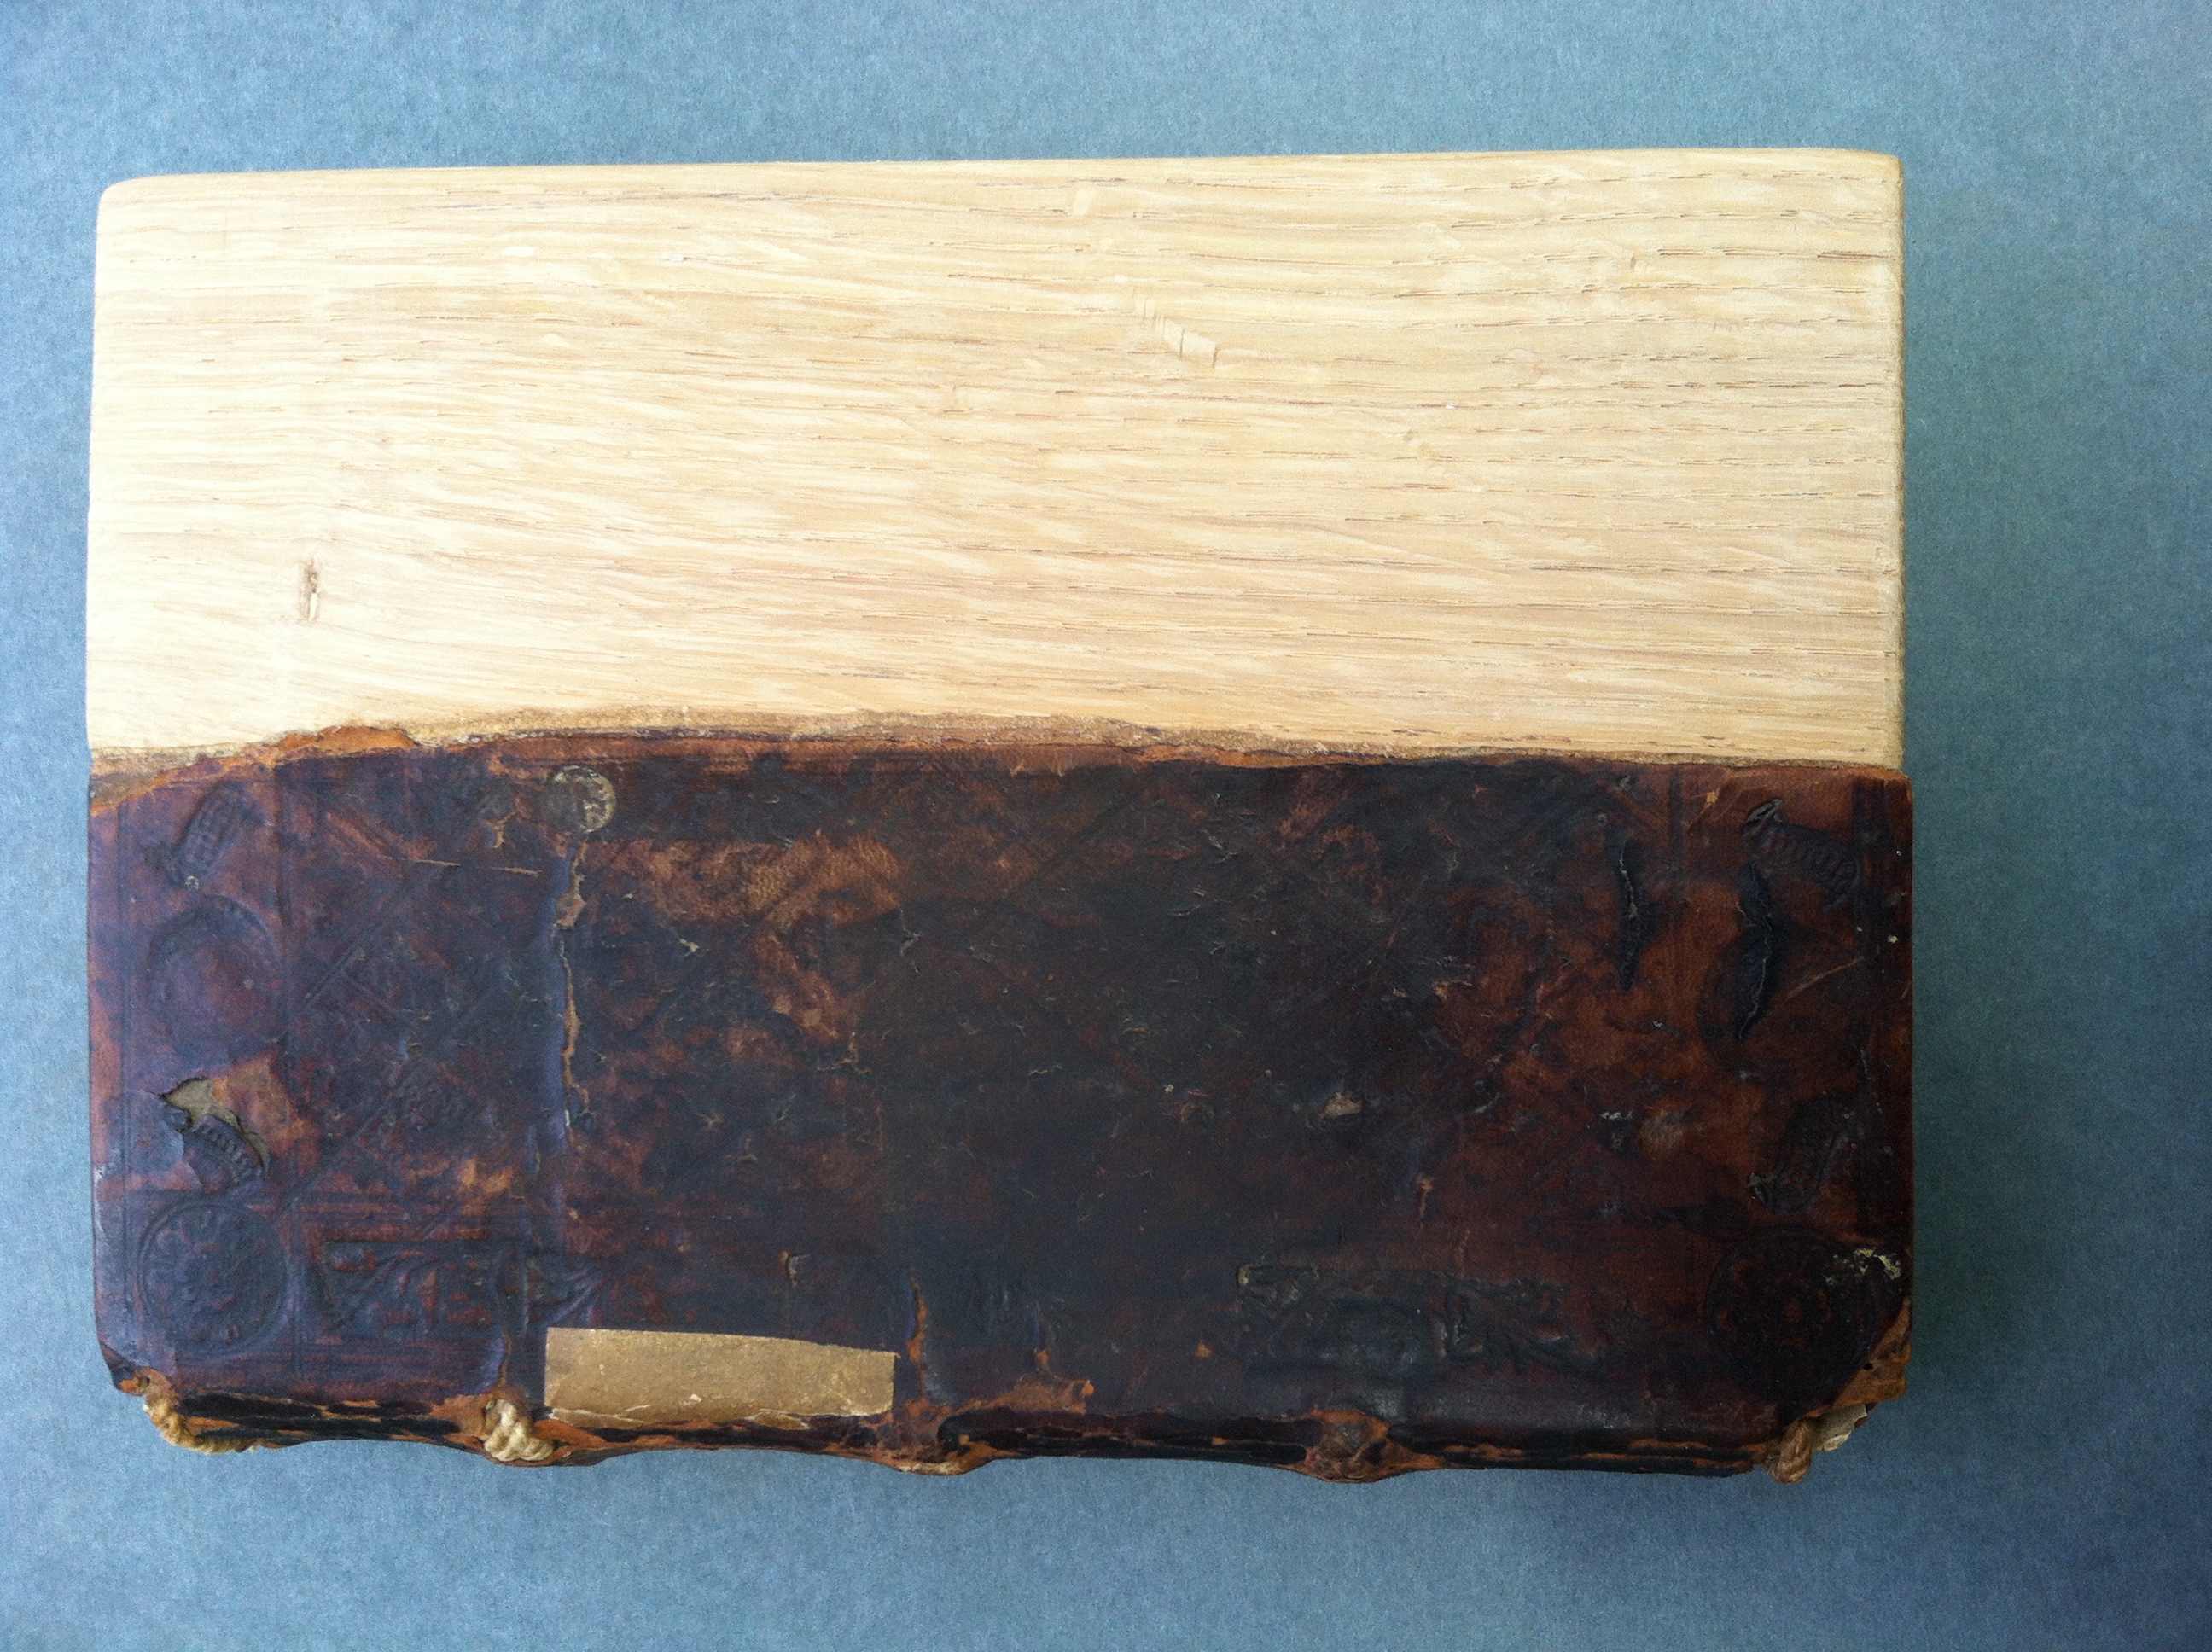
Before Treatment – front cover
While I was a book conservation intern at the Newberry Library this past fall, I had the opportunity to treat an incunabula in a wooden boards binding. The binding, while quirky with old DIY repairs, was structurally sound, and most of the pages were in good condition. The primary problem needing to be treated was that the front board had split, half of it being lost along the way. As a result, part of the text block was left exposed, torn and dirty. In order to prevent future damage to the text block, as well as to restore cosmetic integrity, we decided that the loss in the front board should be replaced and the damaged pages of the text block mended. What seems at first glance to be a simple, mostly cosmetic repair in fact required a nuanced execution and was important to the binding’s stability. The volume was rare enough that the library could expect it to see significant use, so having a complete front board was important to help protect the text from future damage.
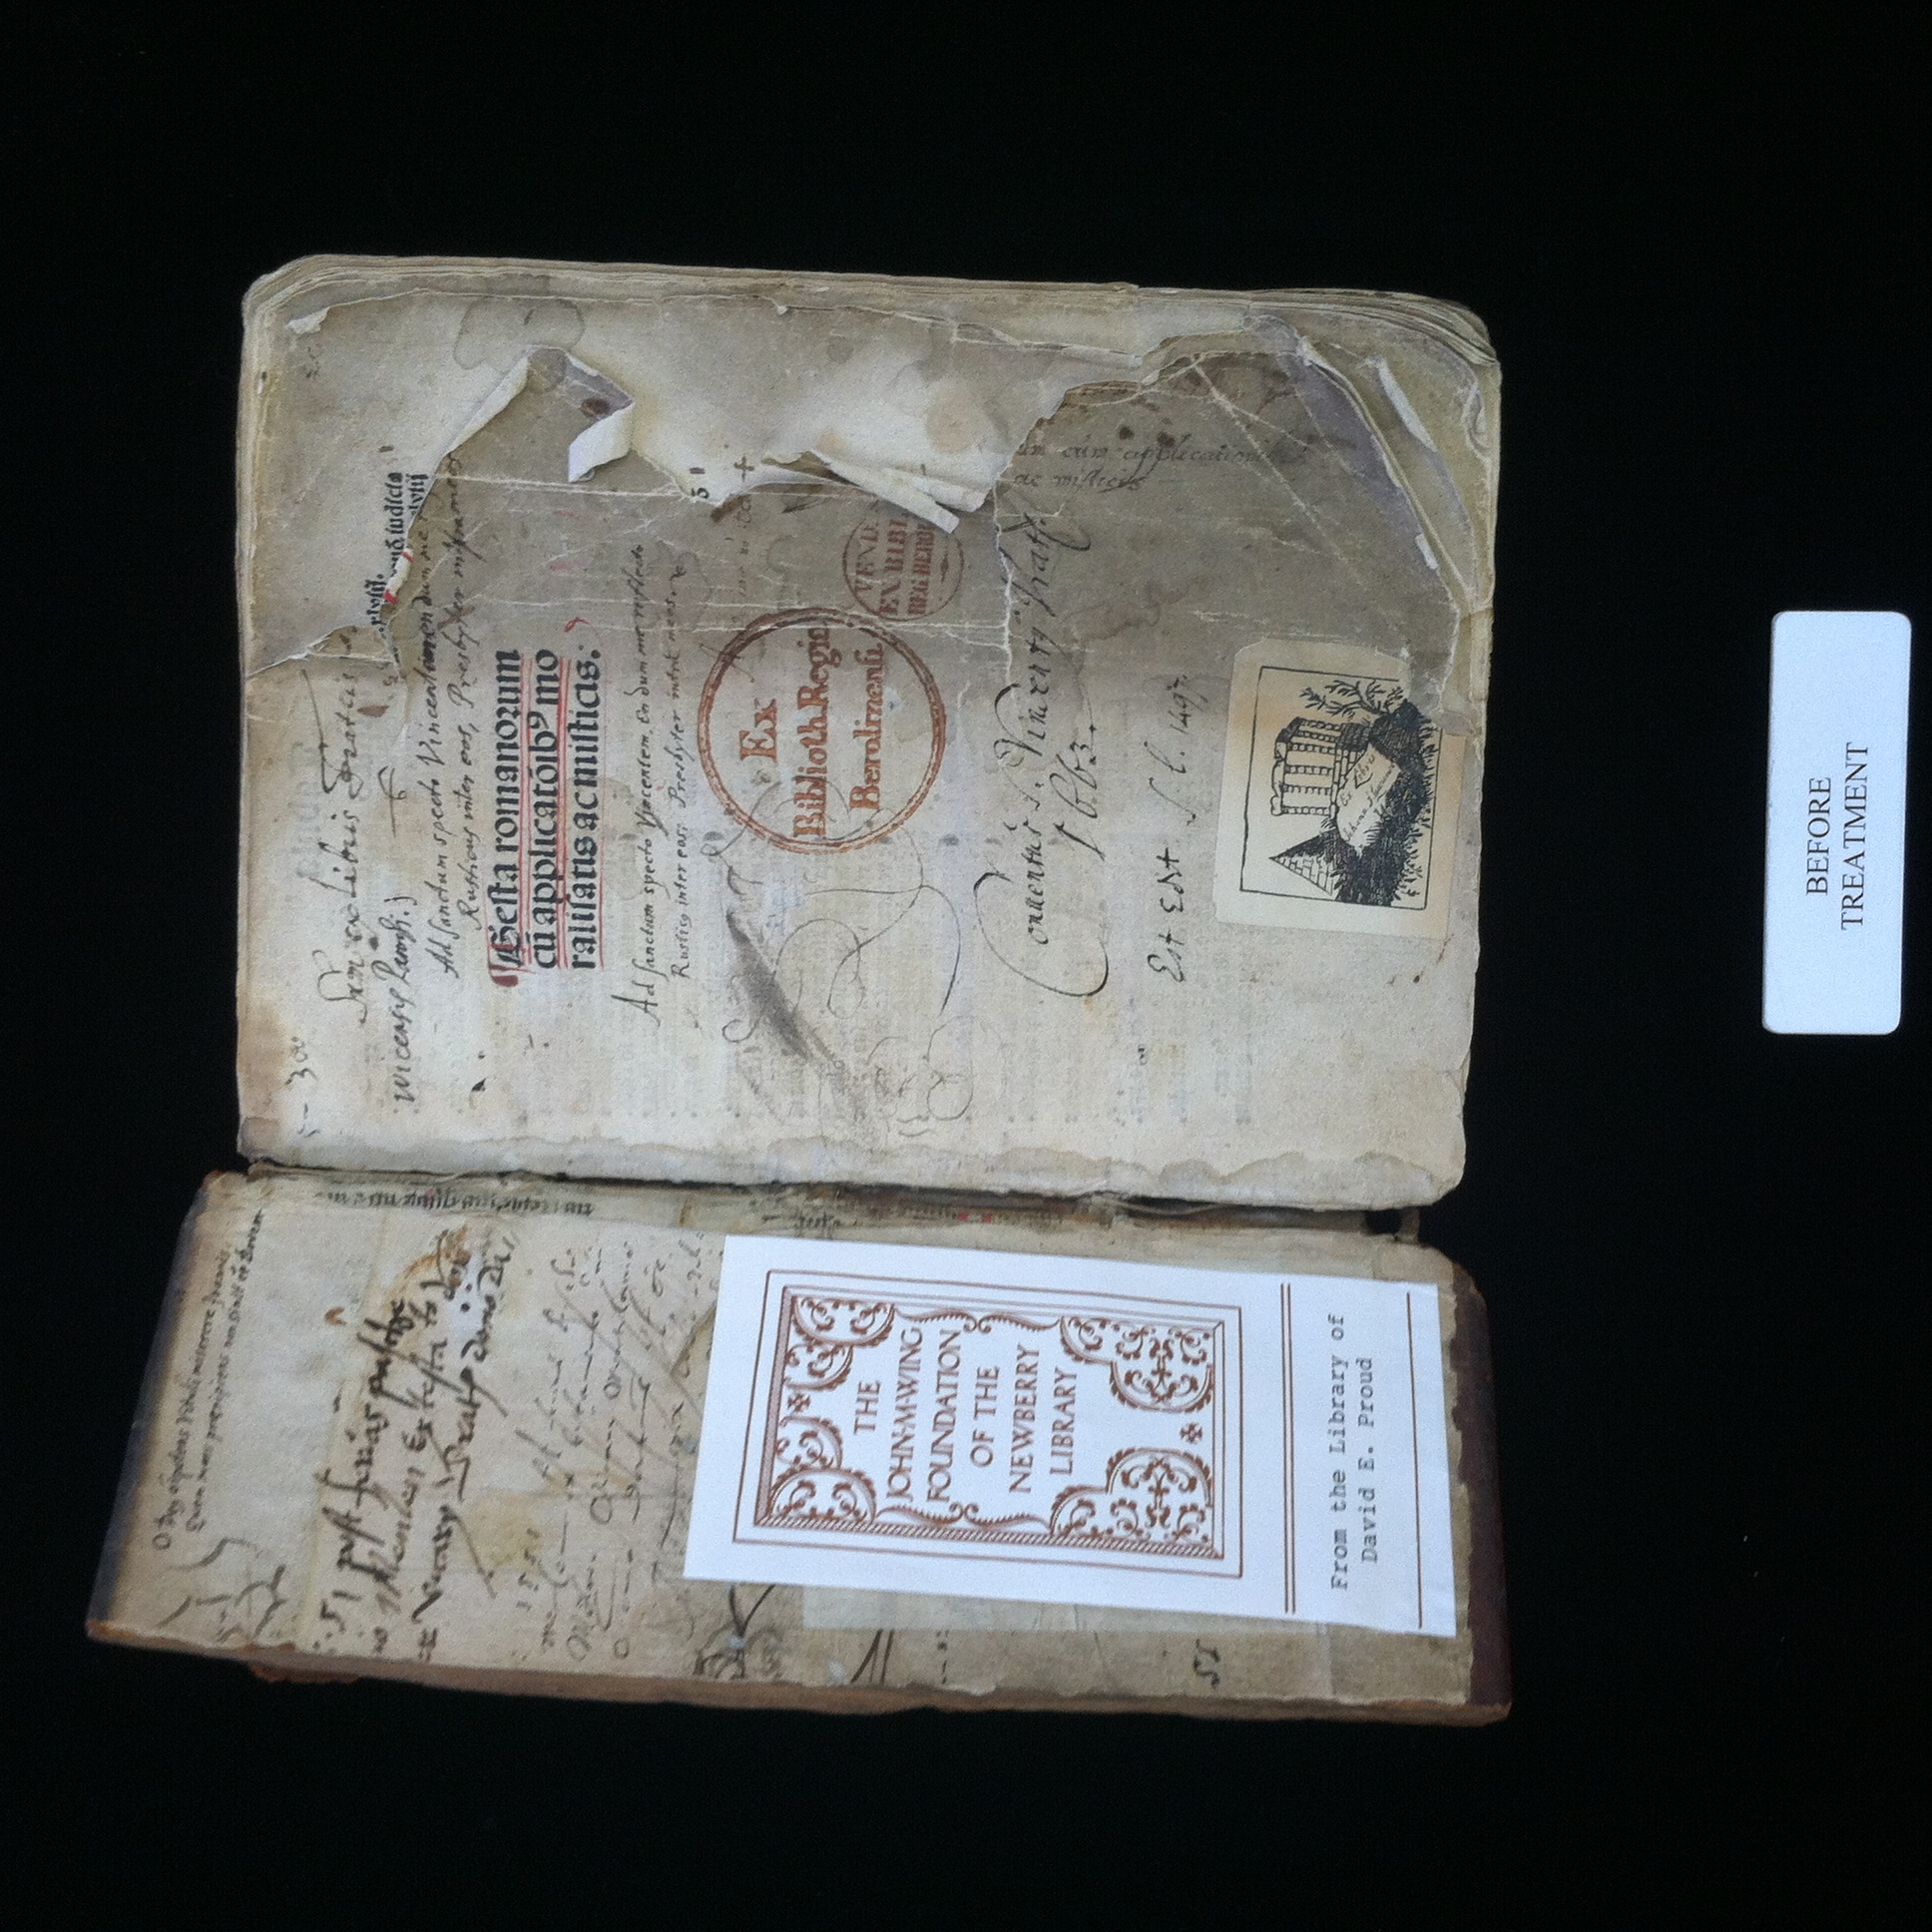
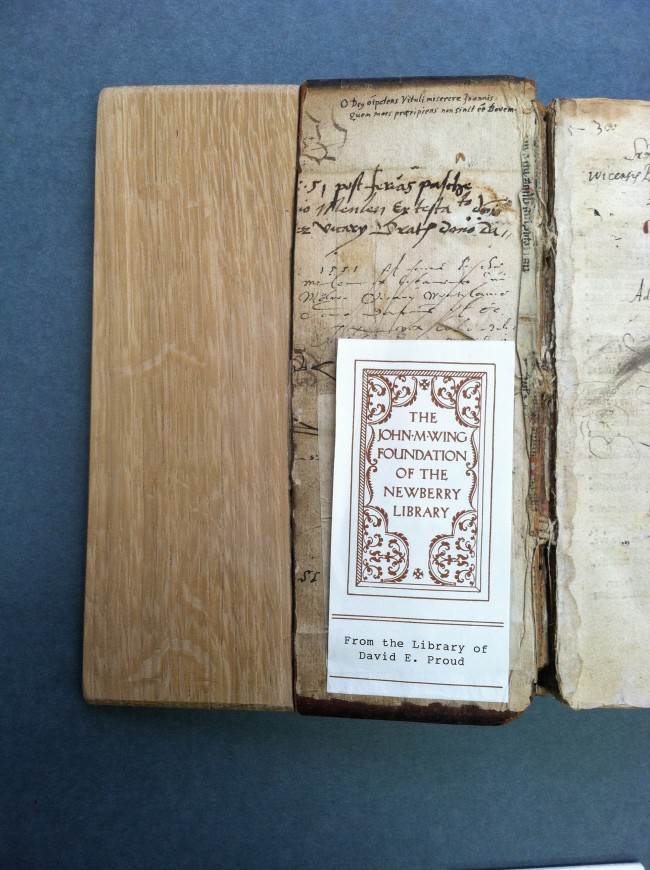
Before Treatment – Inside front cover
The first step I took in treating the volume was to surface clean and mend the first three pages of the text block. It appeared that the half of the front board must have been missing for a big part of the book’s life, because the pages were highly discolored and torn only in the exposed area.
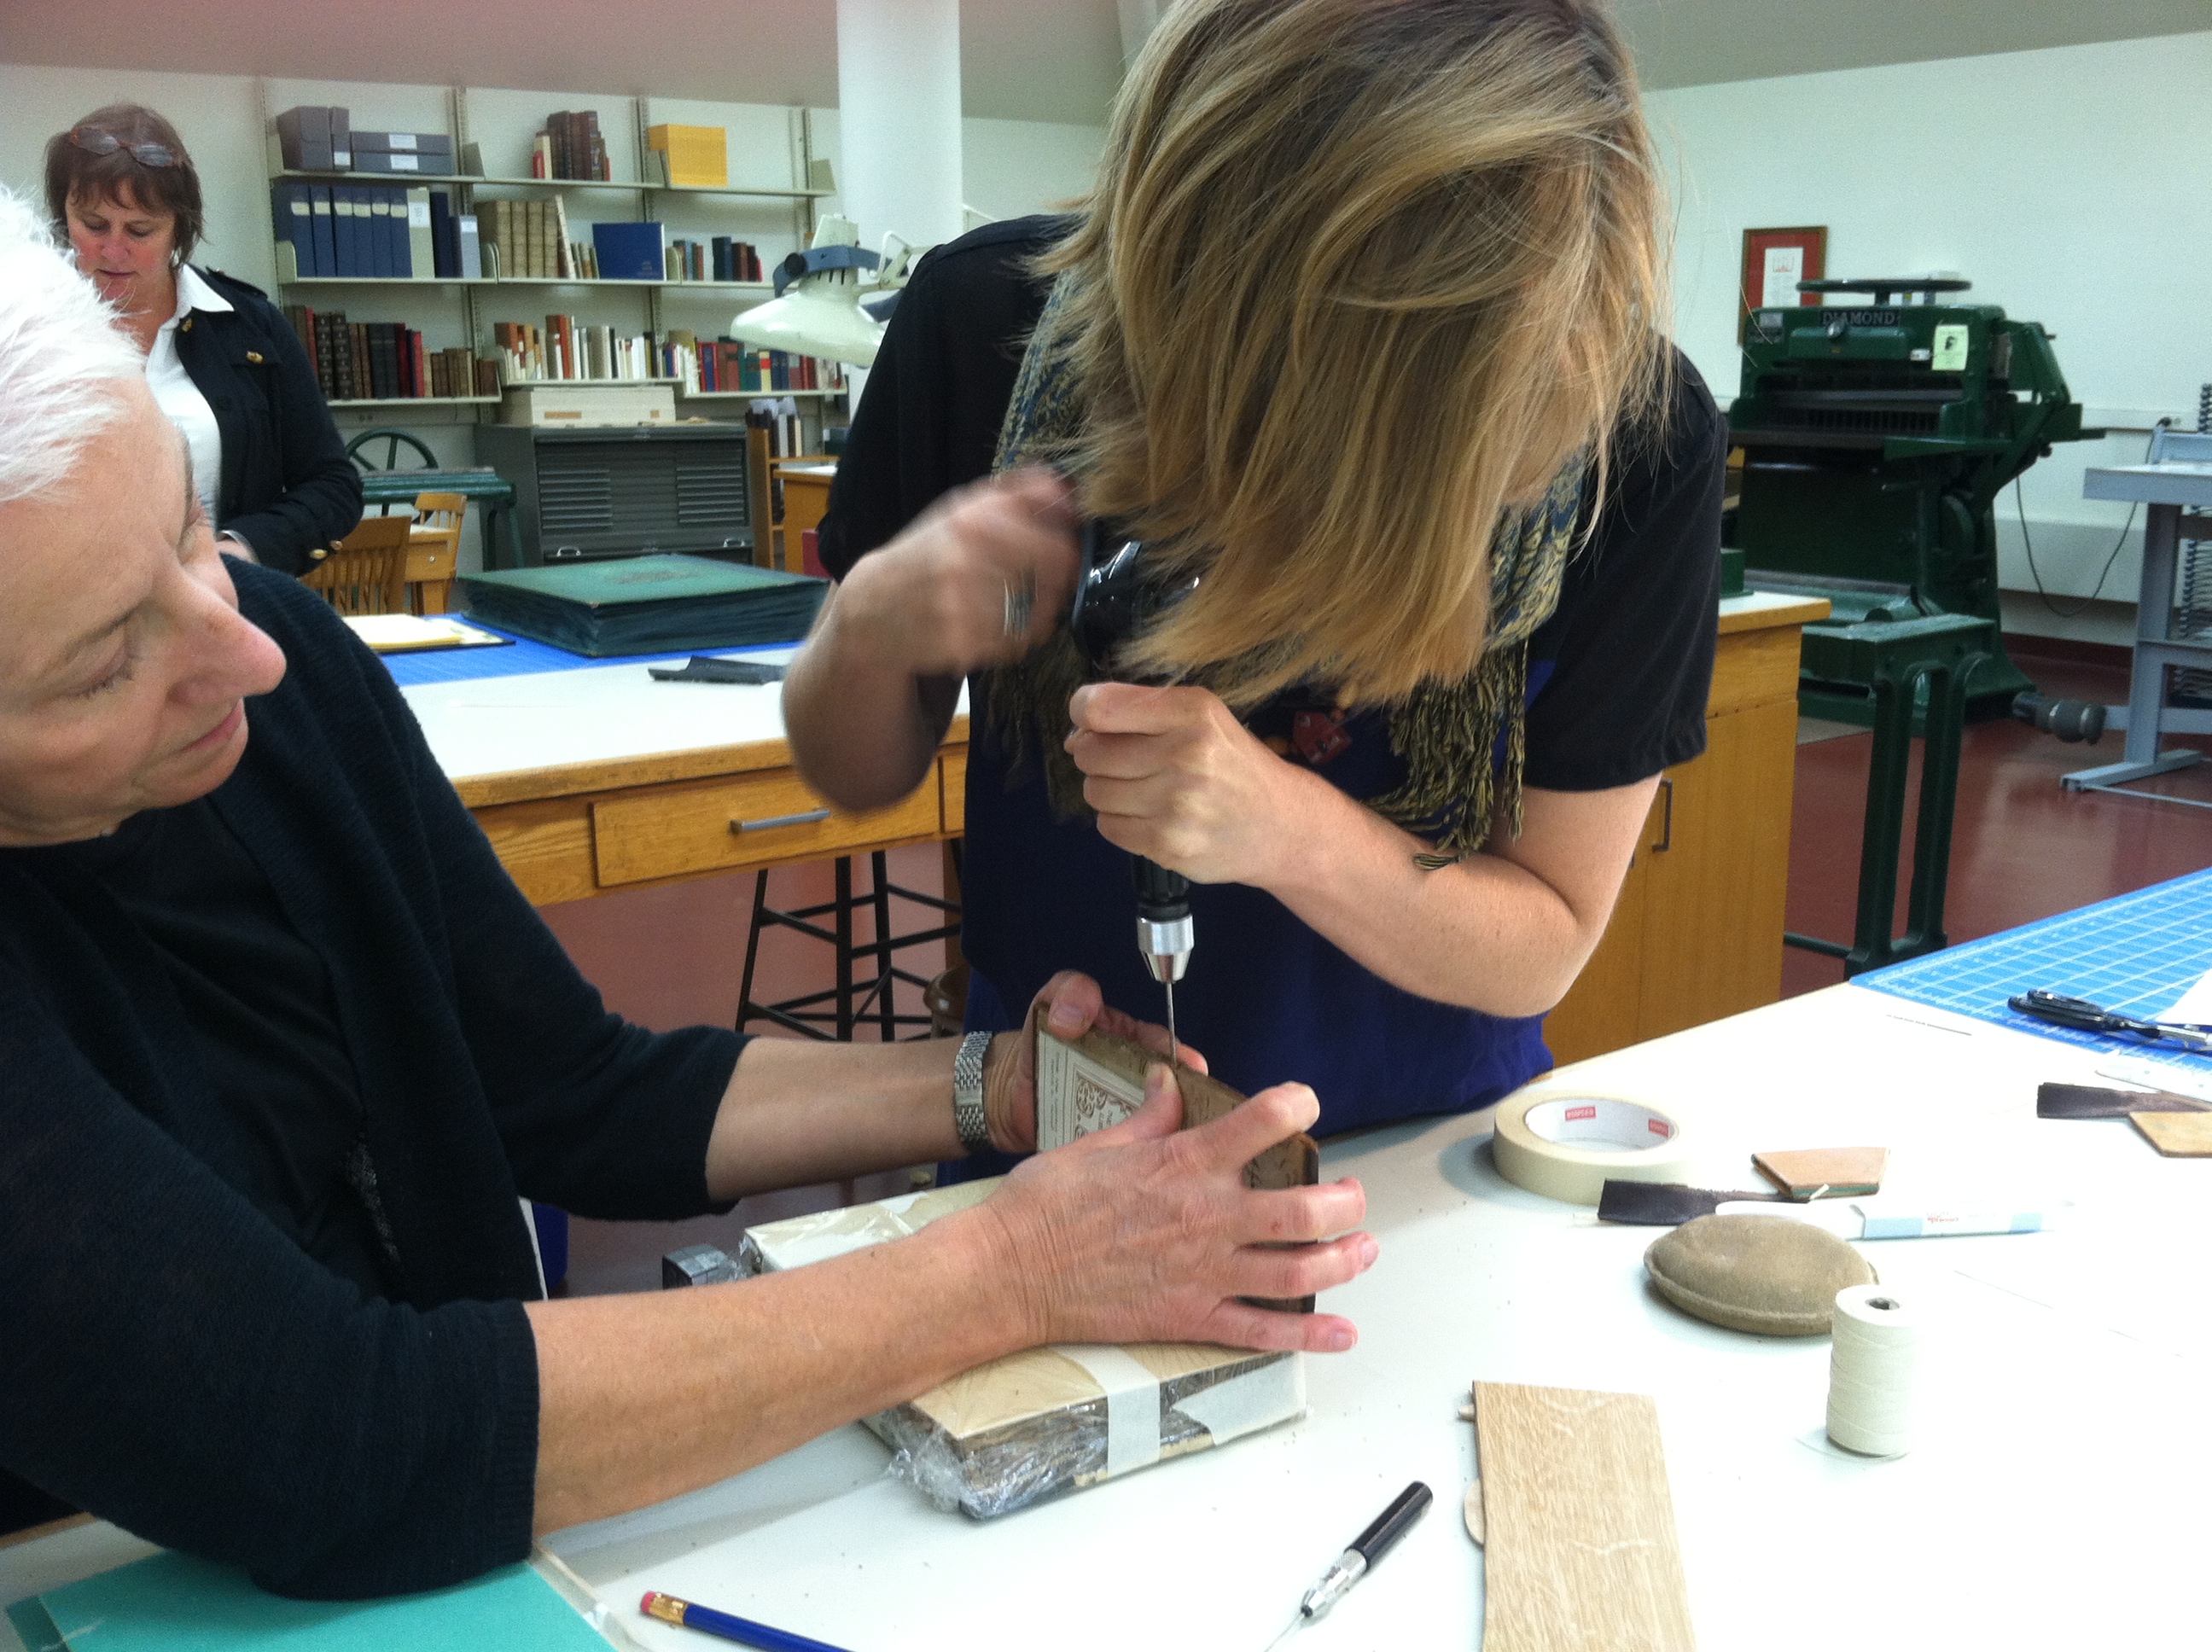
The next step was to trace the general shape of the loss onto a new piece of wood. Because the board split in an uneven way, resulting in variations not only across the board but thickness-wise, fitting the new board to the old was a finicky process. I used a tracing profile gauge (a tool typically used to trace the shape of crown molding) to transfer the contours of the broken board onto the new. I then used a dremel with various attachments to very slowly fit the new board to the old. This process took about three days of trial and error, slowly removing more and more material until the fit was more or less right.
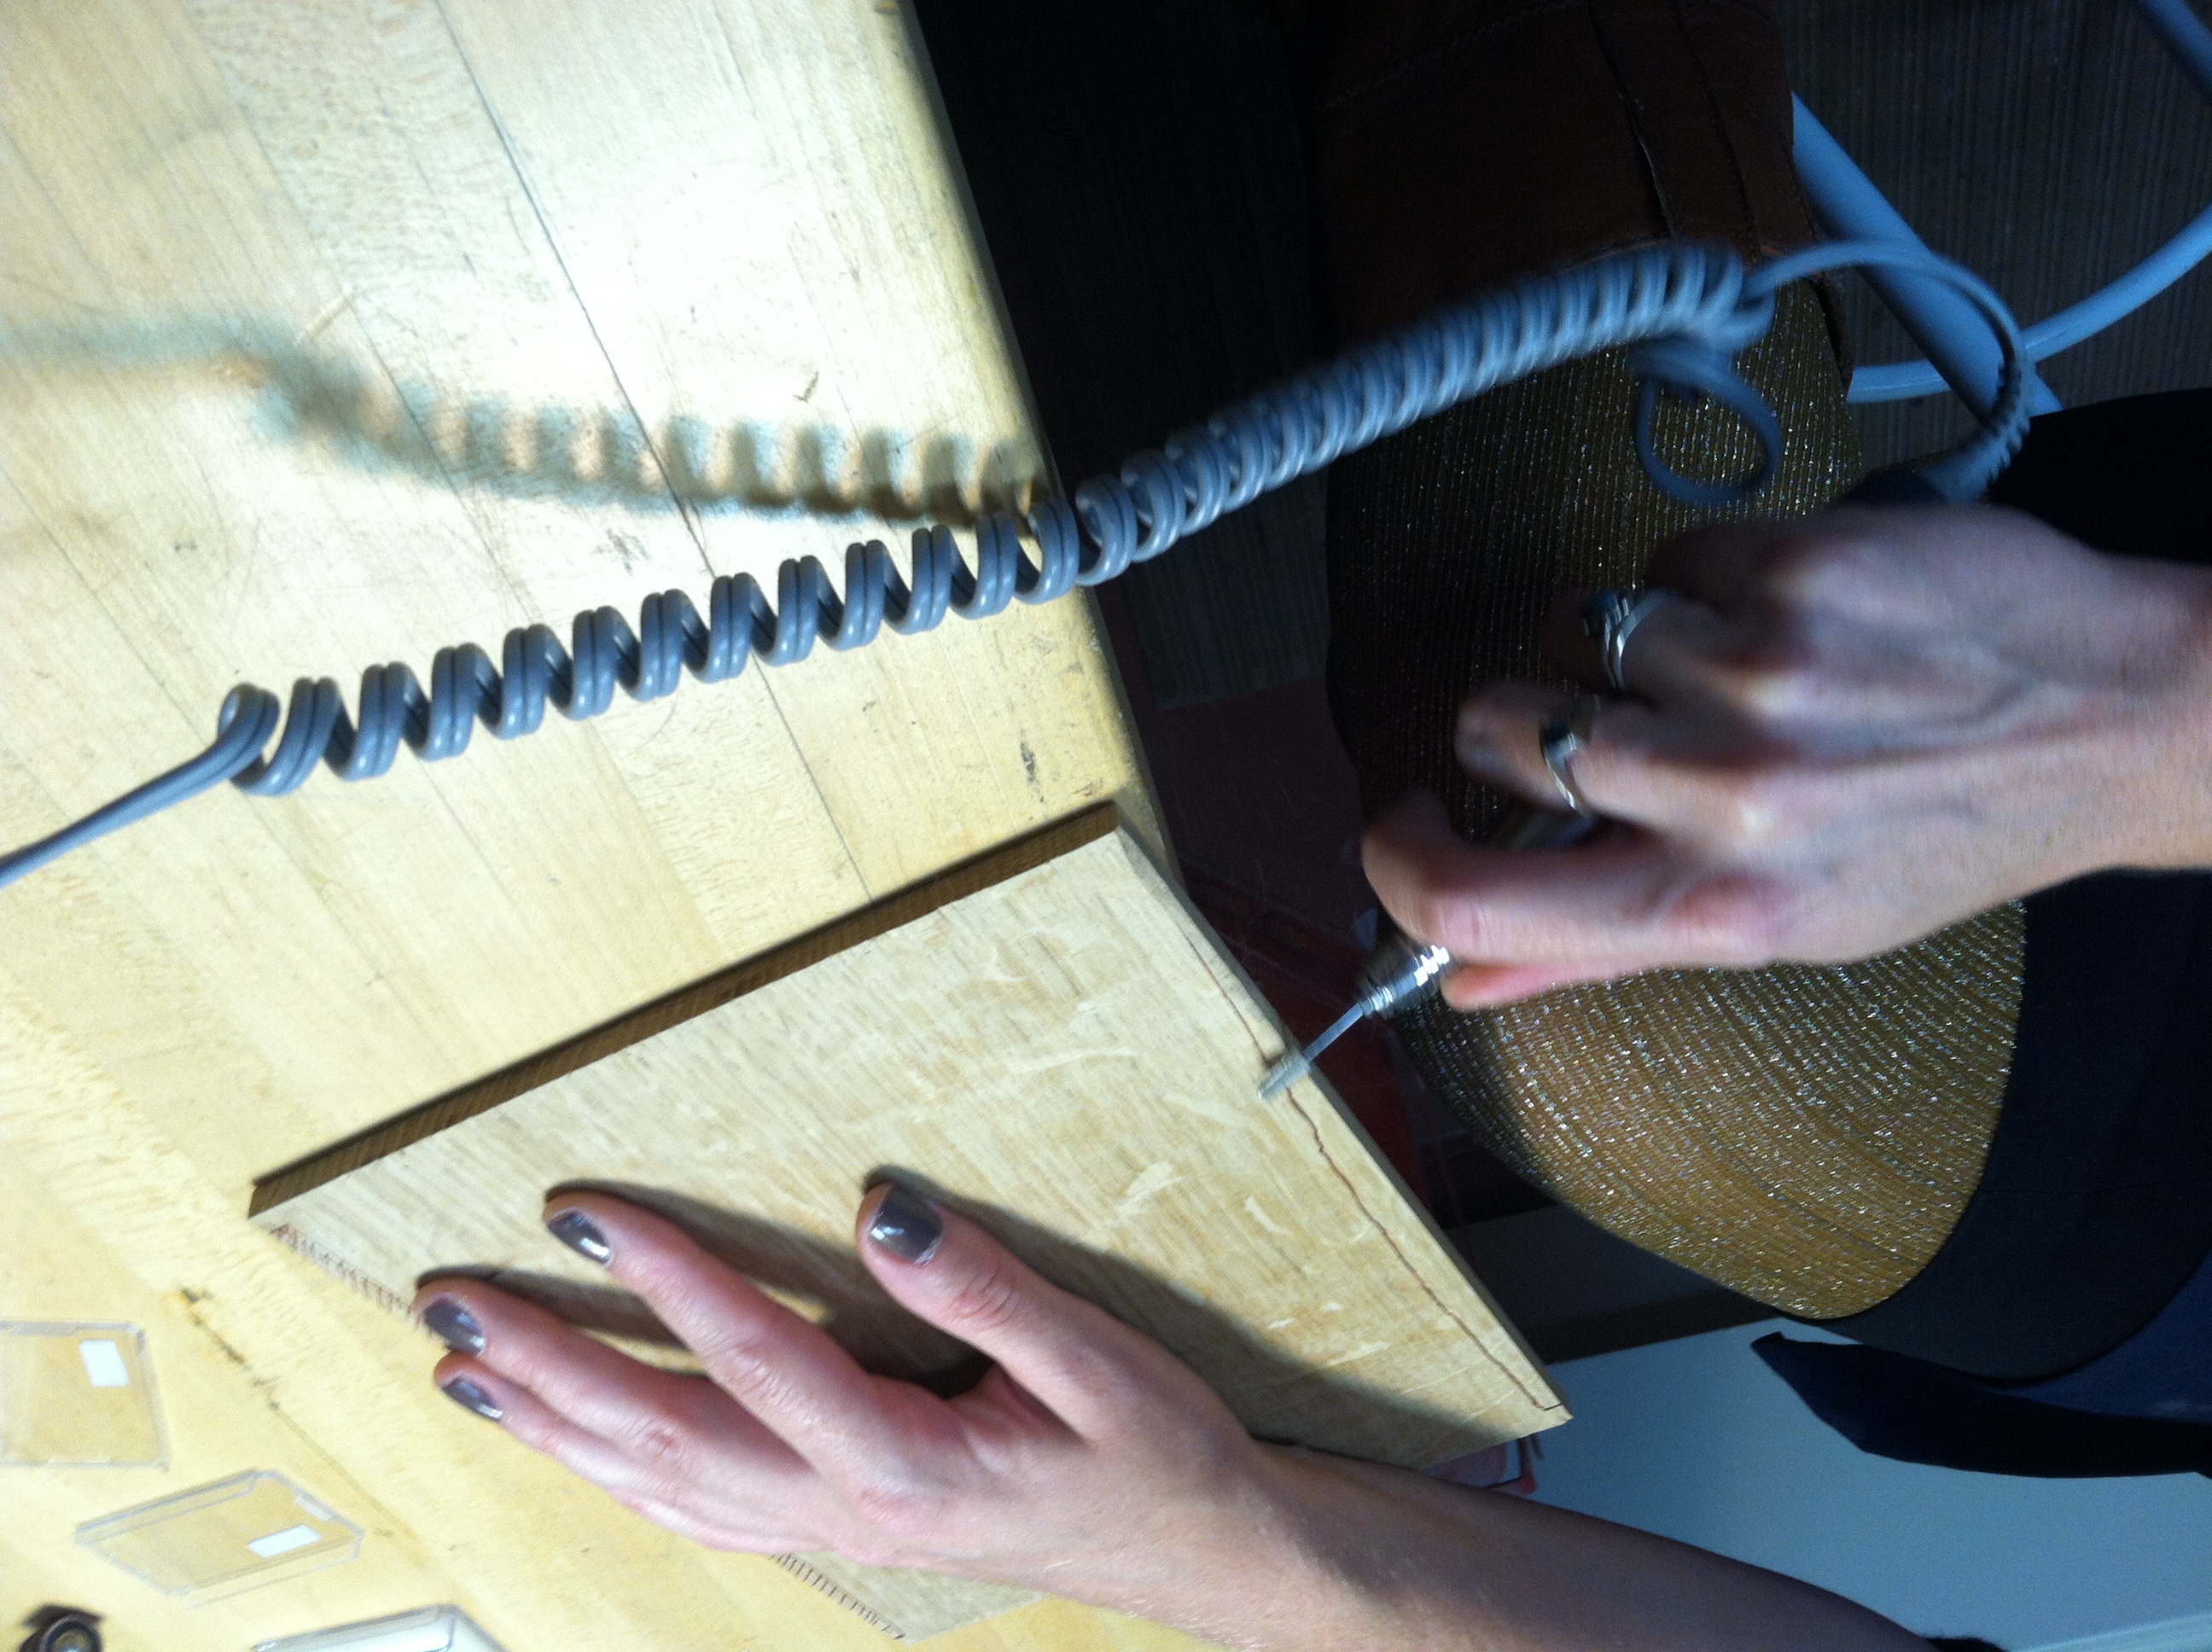
During Treatment – using a dremel to shape filler board
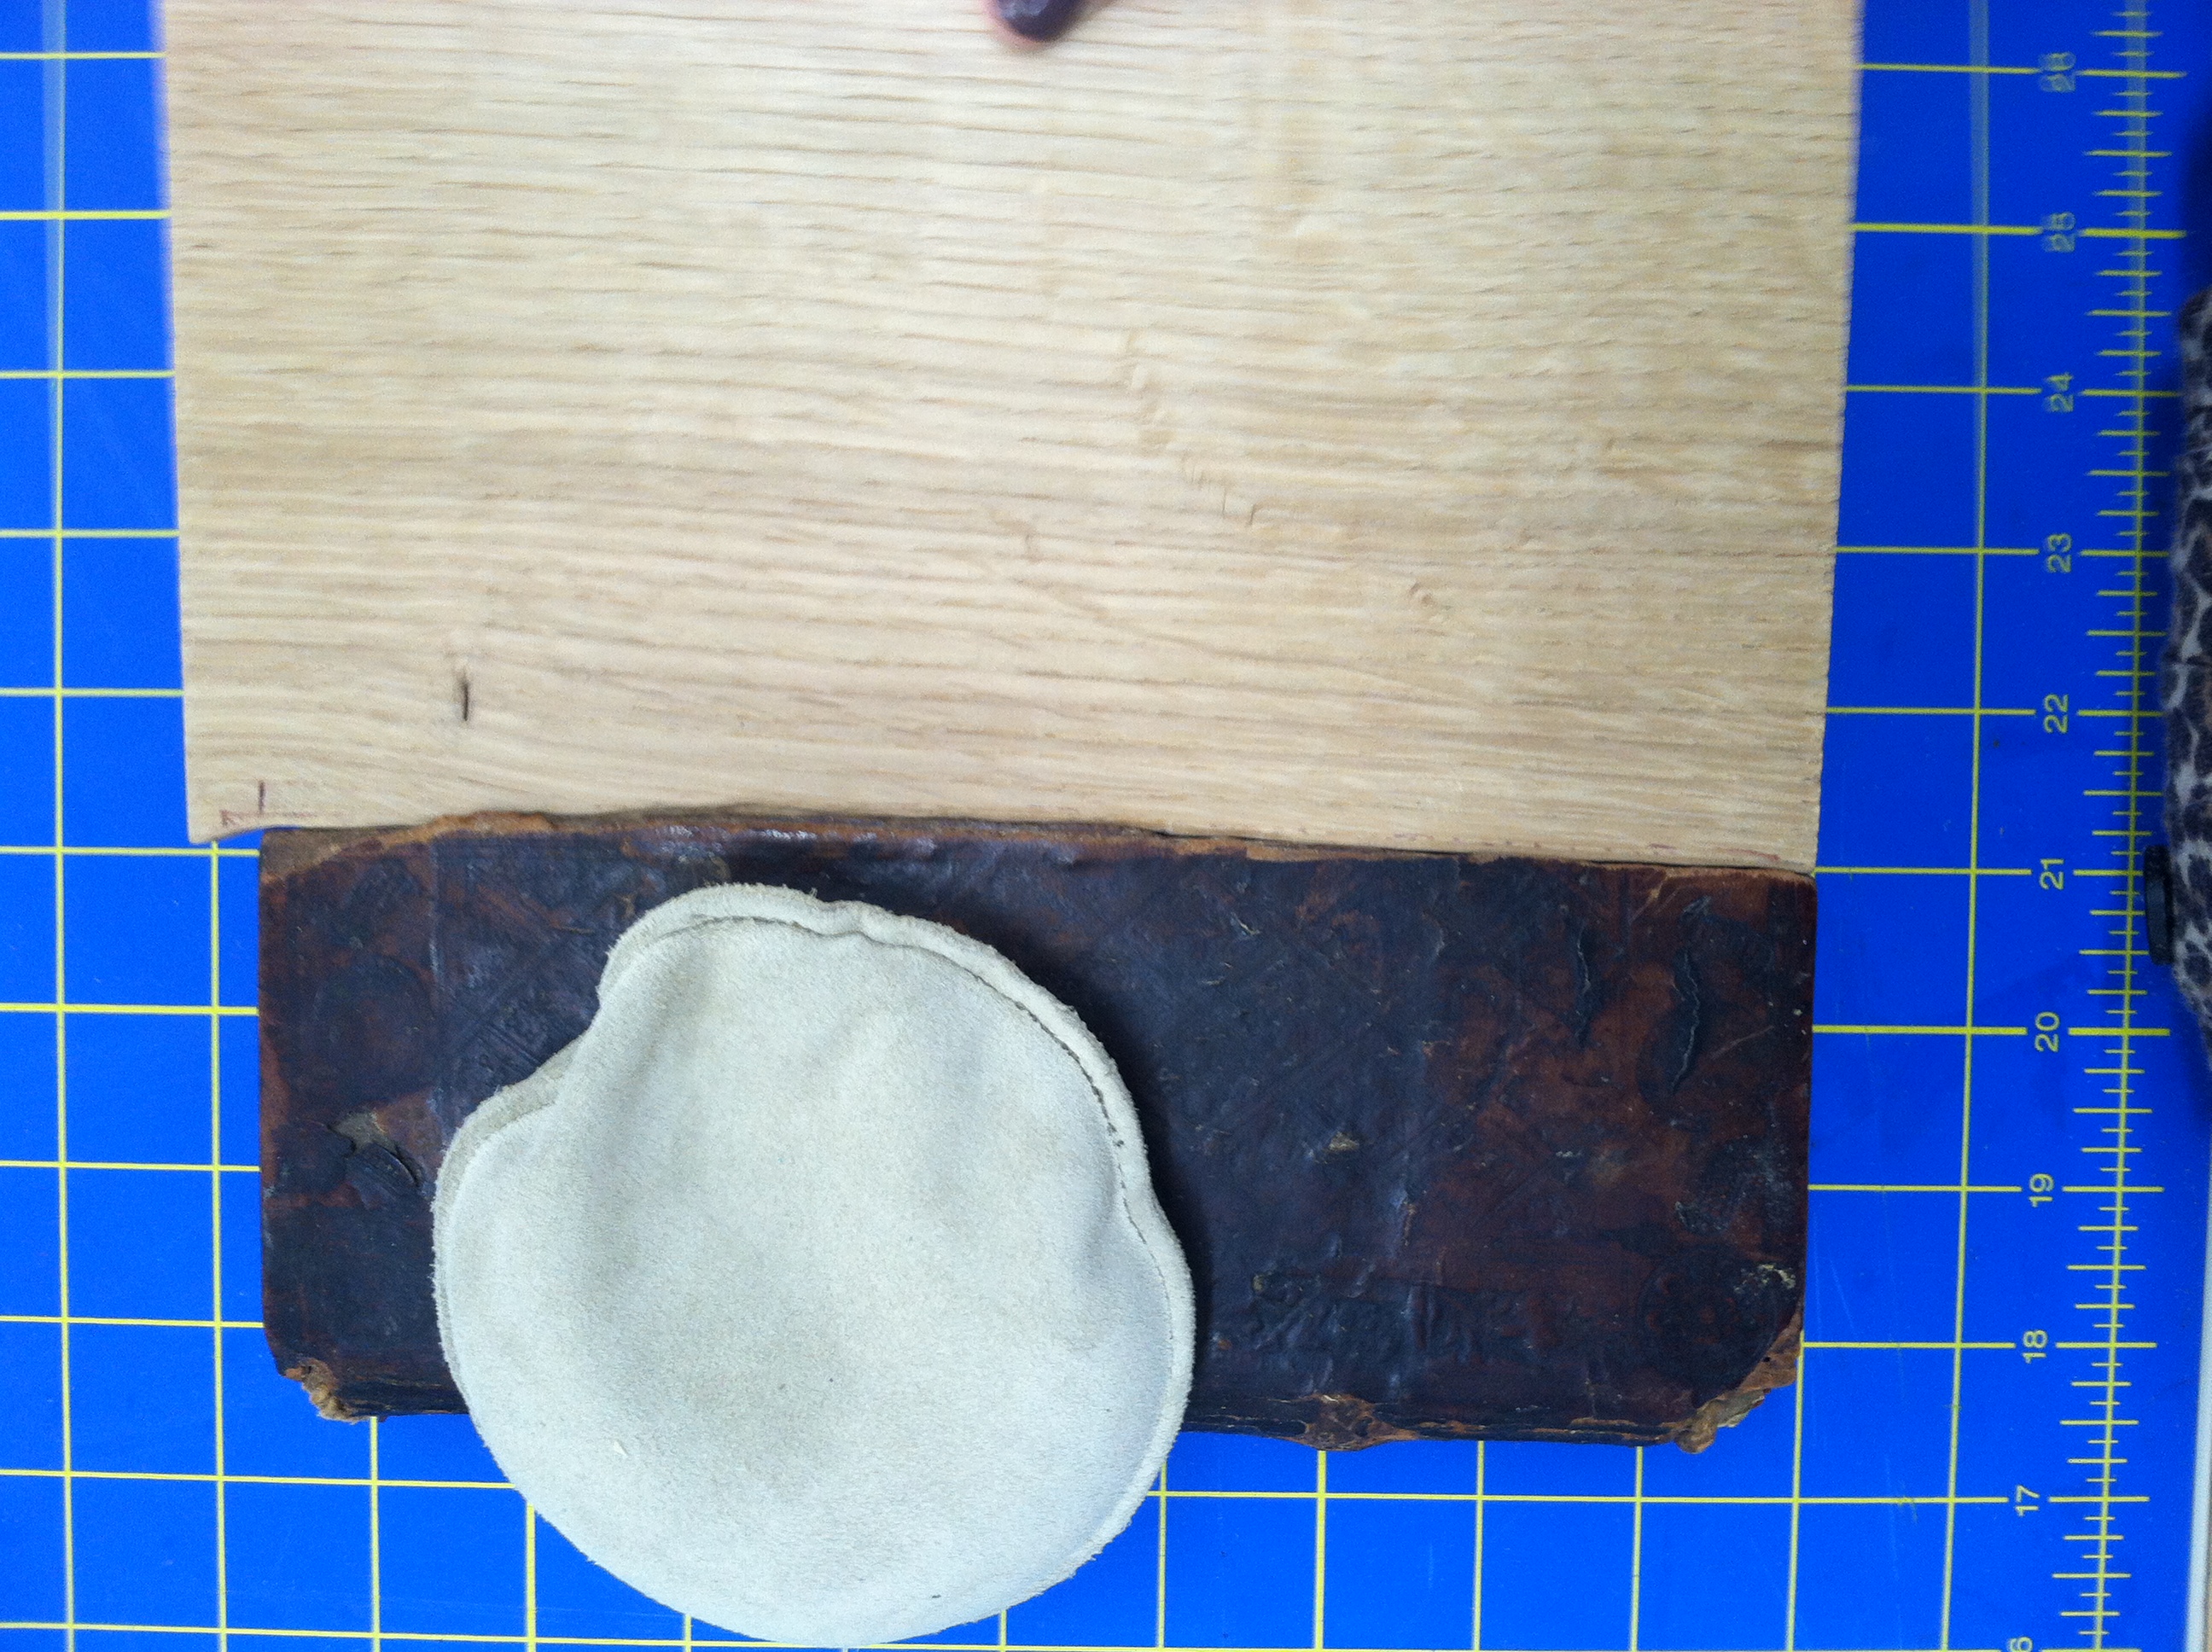
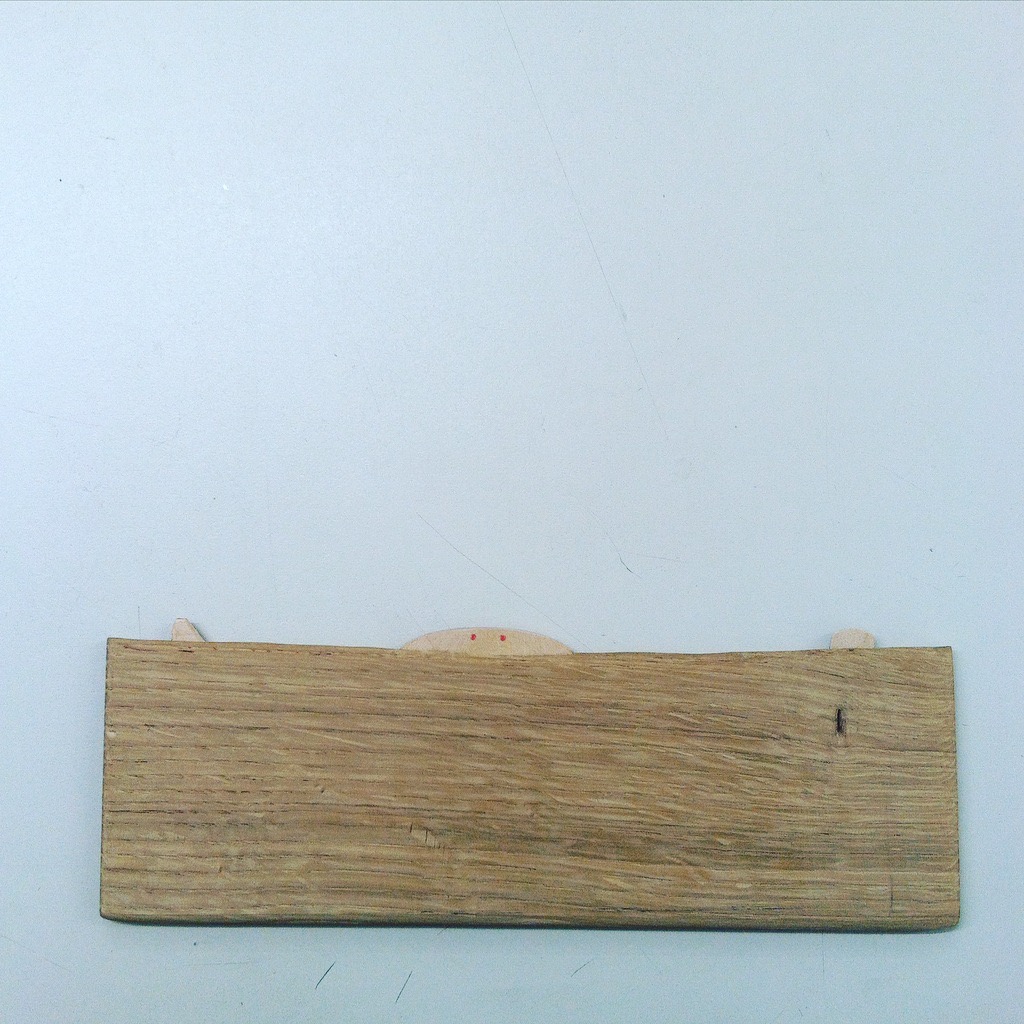
During Treatment – checking fit of filler board
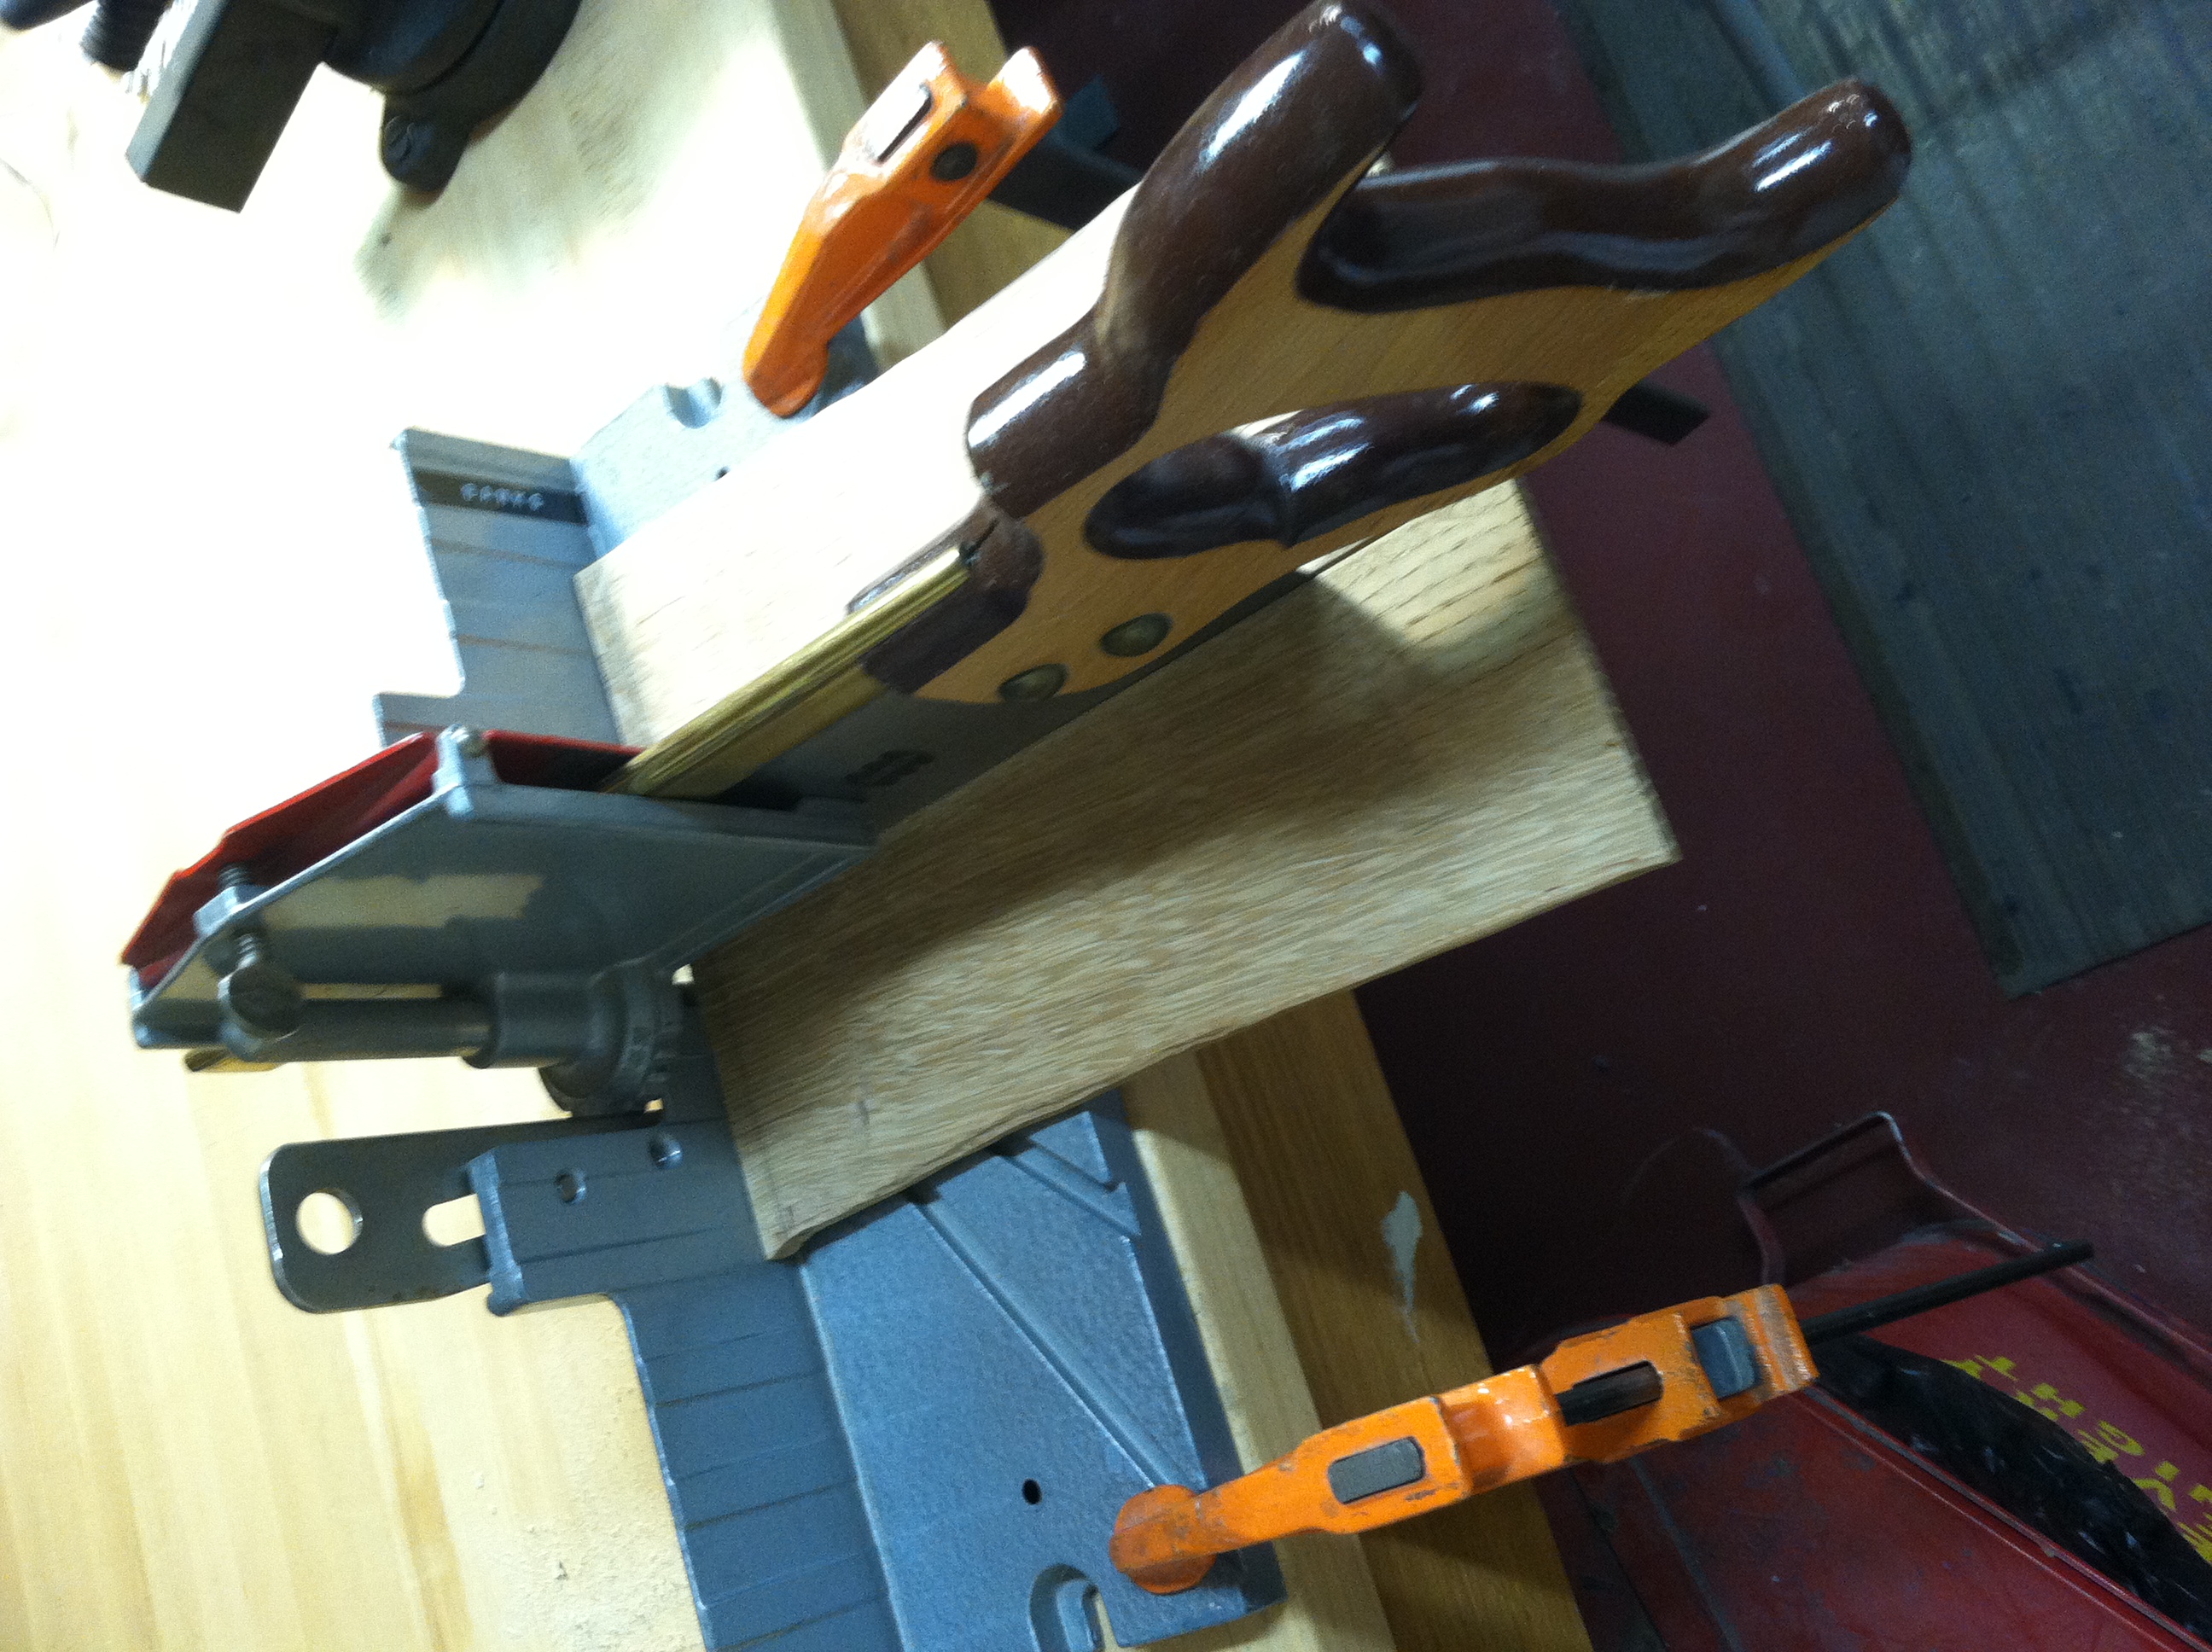
During Treatment – cutting filler board to proper length
The old board had some slight shaping to it, so before fitting the two boards together, I had to shape the edges of the new board to transition seamlessly to the old. I did this by lightly sanding with a sanding block.
To attach the new board to the old, I used wooden biscuits inserted into slots made in each board. The biscuits we had on hand were a tad too thick for the boards, so I sanded them down to a proper thickness. I then used a drill to make starter holes in each board and finessed the holes with the dremel until the biscuits fit snuggly. I first inserted the biscuits into the filler board using PVA and then made slots in the original board that they would fit into.
During Treatment – using a drill to start the slots in the original board
During Treatment – filler board with biscuits inserted
It took a couple of tries to get the slots in the original board deep and wide enough so that the filler board would sit flush.
During Treatment – checking the fit of the biscuit slots, still had a ways to go
During Treatment – the PVA/wood shaving filler mix
After the two pieces of board were joined together, there was still a small gap between them. While I wanted it to be apparent that new material had been added to the cover, I still wanted the transition from the original board to the fill to be as smooth as possible. I decided to fill the gap from the front with a mixture of PVA and wood shavings. The PVA dried clear, resulting in a fill that matched the new wood perfectly. I used the dremel to produce the wood shavings, because I found that if I used sandpaper, bits of black sandpaper grit found their way into the shavings, resulting in a dirty-looking fill. I decided to leave the inside of the board unfilled because it left the biscuits slightly visible, allowing a future conservator or researcher easy access to the history of the binding’s repairs. The new board was left uncovered for the same reason.
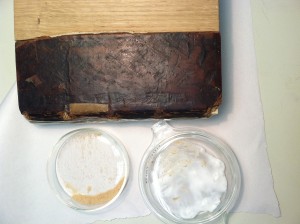
The result of the treatment was incredibly satisfying to see and hold. The book felt much more comfortable, resting between two complete boards, and I feel confident that the treatment will keep it safe and accessible for future researchers.
After Treatment – front board
After Treatment – inside front board
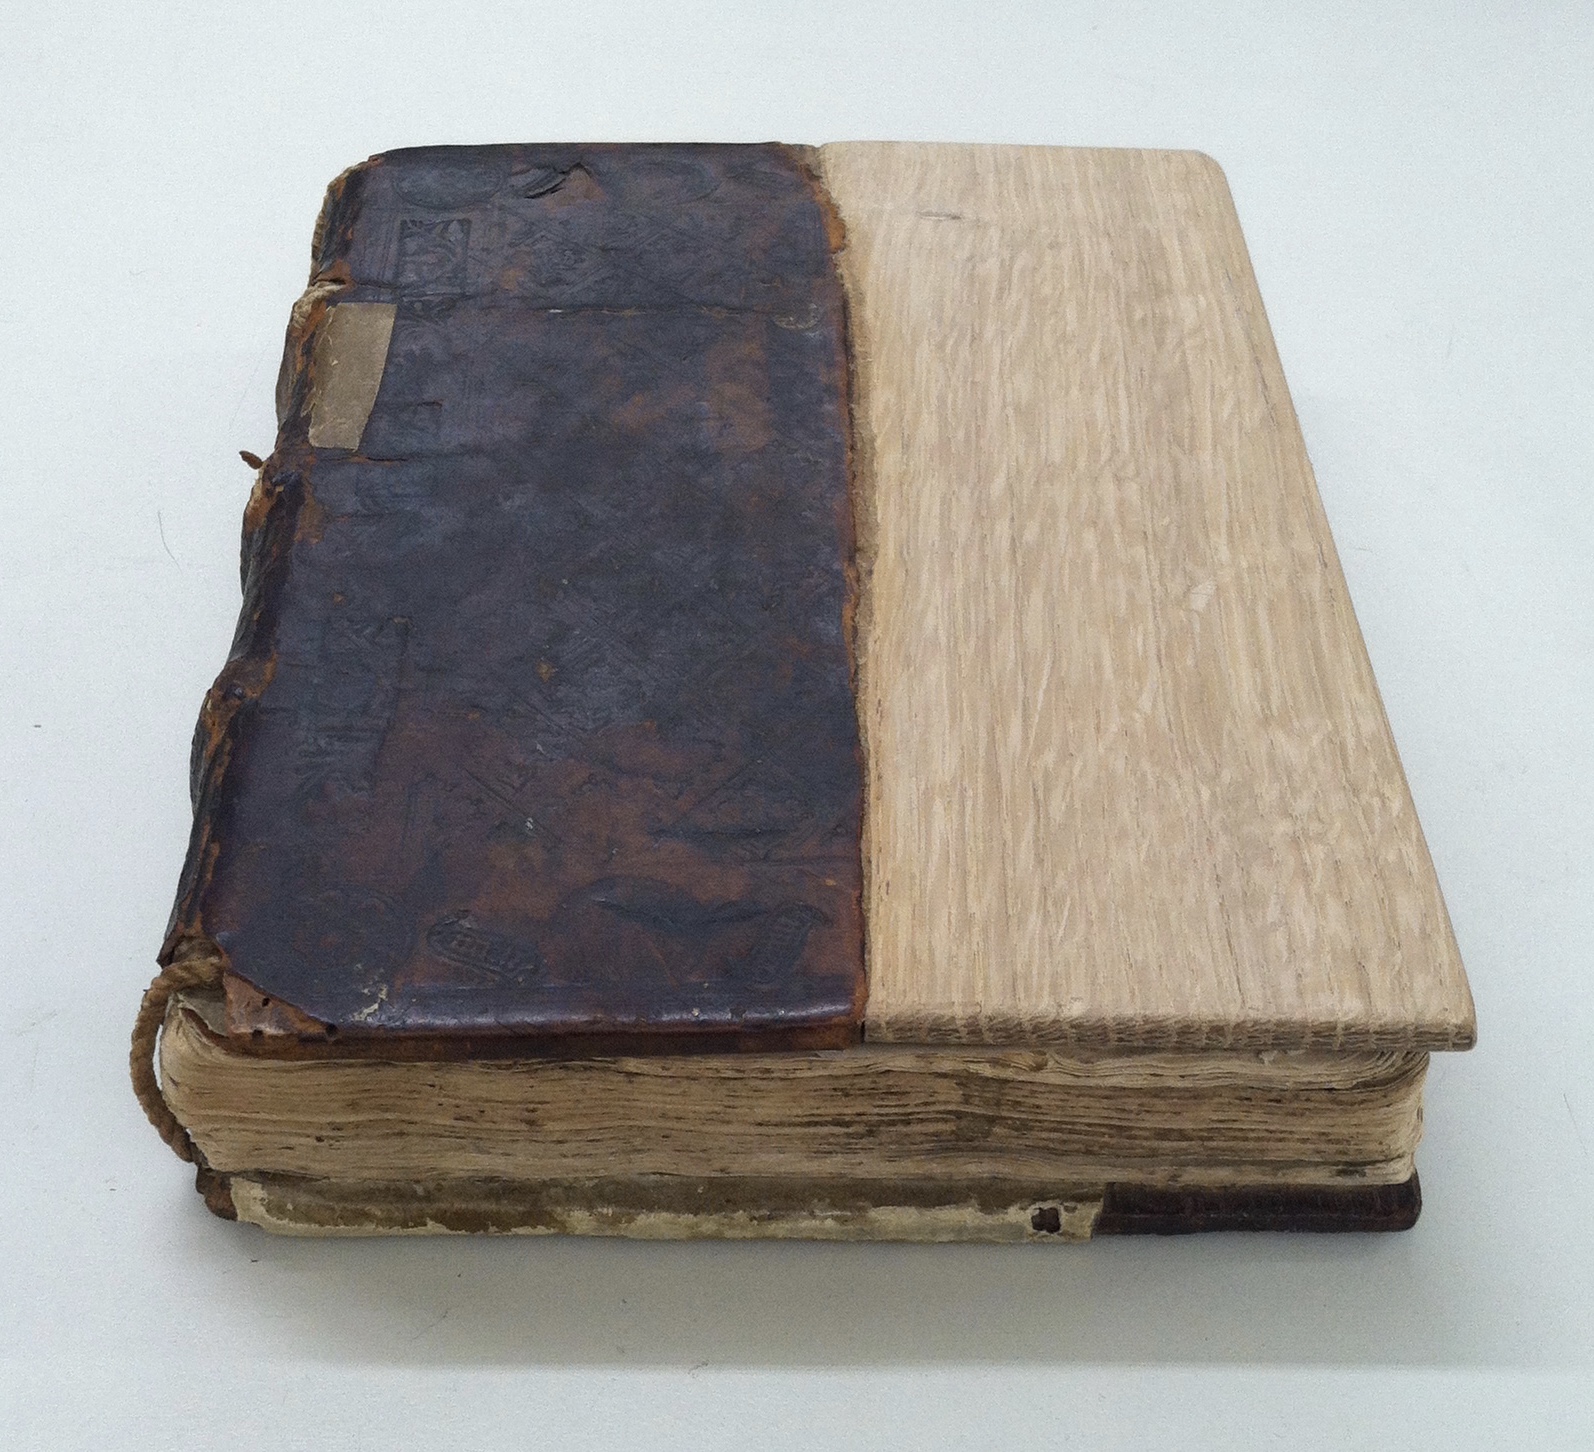
After Treatment
