The Secret Belgian binding is just one of many structures on my long list models to make. With the aid of a tutorial posted on the BookArtsWeb tutorial and references page, I was on my way to checking this structure off my list. Unfortunately the link seems to be broken now. However, within this post you’ll find my instructions, which are very comprehensive and any skill level can complete this simple structure in a matter of hours. So let’s get started*:
*This tutorial is for a modified version I’m calling the Top Secret Belgian. This version of the structure is sewn differently and extra steps are taken to hide the interior thread. If you are looking for more instructional content, I have a growing list of tutorials and I also teach live workshops in-person and online. Check out my list of Upcoming Workshops.
MATERIALS:
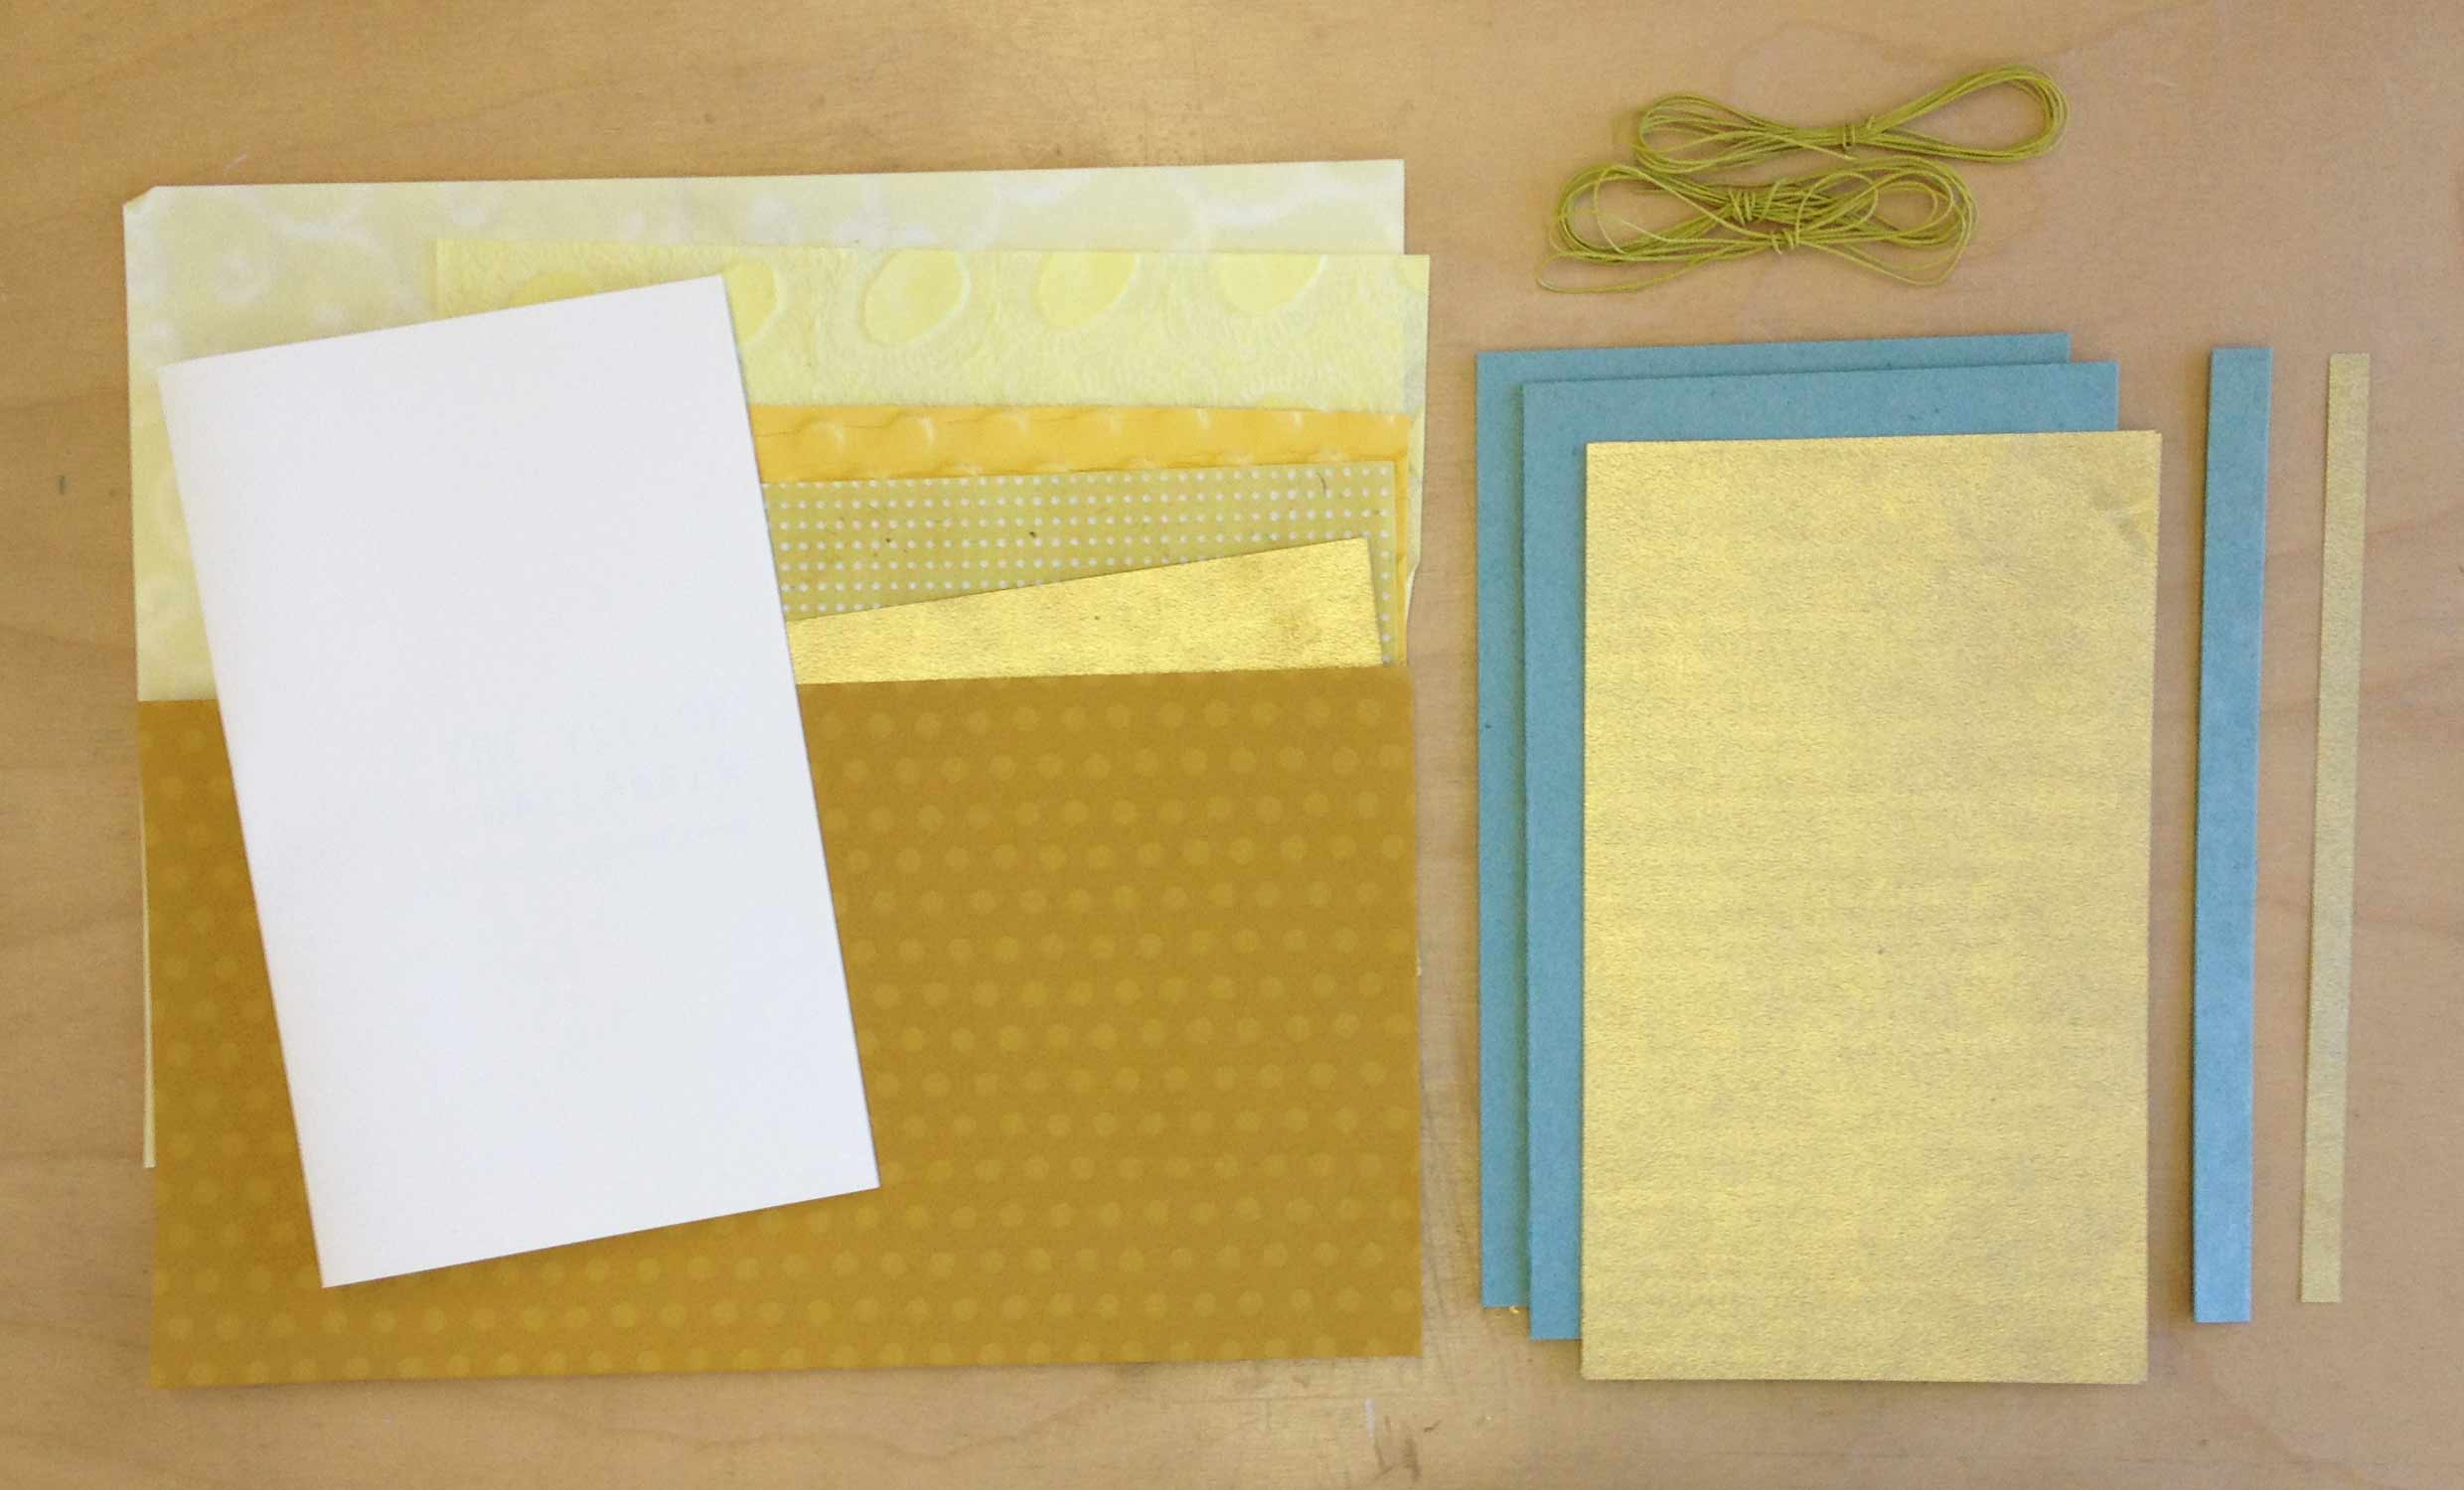
– binder’s board for 2 covers and 1 spine piece
– decorative paper
– paper to line covers and spine piece (aka paste downs)
– colored thread
– text block (3-5 signatures, about 3-4 folios each)
– PVA
– wax
TOOLS:
– needle
– bone folder
– glue brush
– scalpel (preferably with curved blade)
– x-acto
– scissors
– pencil
– triangle
– awl
– dividers (optional)
STEP ONE:
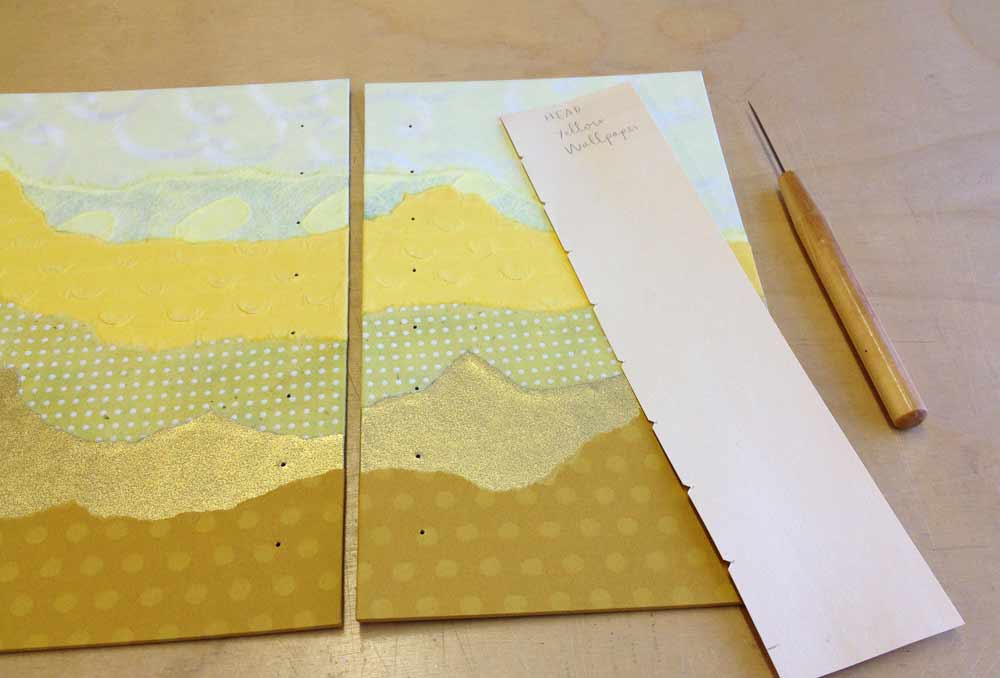
For this tutorial I bound a copy of The Yellow Wallpaper by Charlotte Perkins Gilman. My inspiration for the covers came at the moment in the story when the main character begins to tear away the maddening yellow wallpaper in a desperate attempt to relieve her agony and pain. Whatever you choose as your text block, whether it be a short story, poetry or blank pages, prepare those now and fold to their final size.
From the text block, measure the height of the signature and add about 5-7mm. Measure the width of the folded signature and add about 3-4mm. This will determine the dimension of the covers with added squares.
The height of the spine piece will be the same as the covers. The width is determined by the thickness of your text block. Pinch the text block about 20mm from the spine, measure the flared out signatures. Add 2mm to this measure to find the width of the spine piece.
MY MEASUREMENTS:
text block height: 201mm
text block width: 121mm
text block thickness: 10mm
cover height: 208mm
cover width: 125mm
spine piece height: 208mm
spine piece width: 12mm
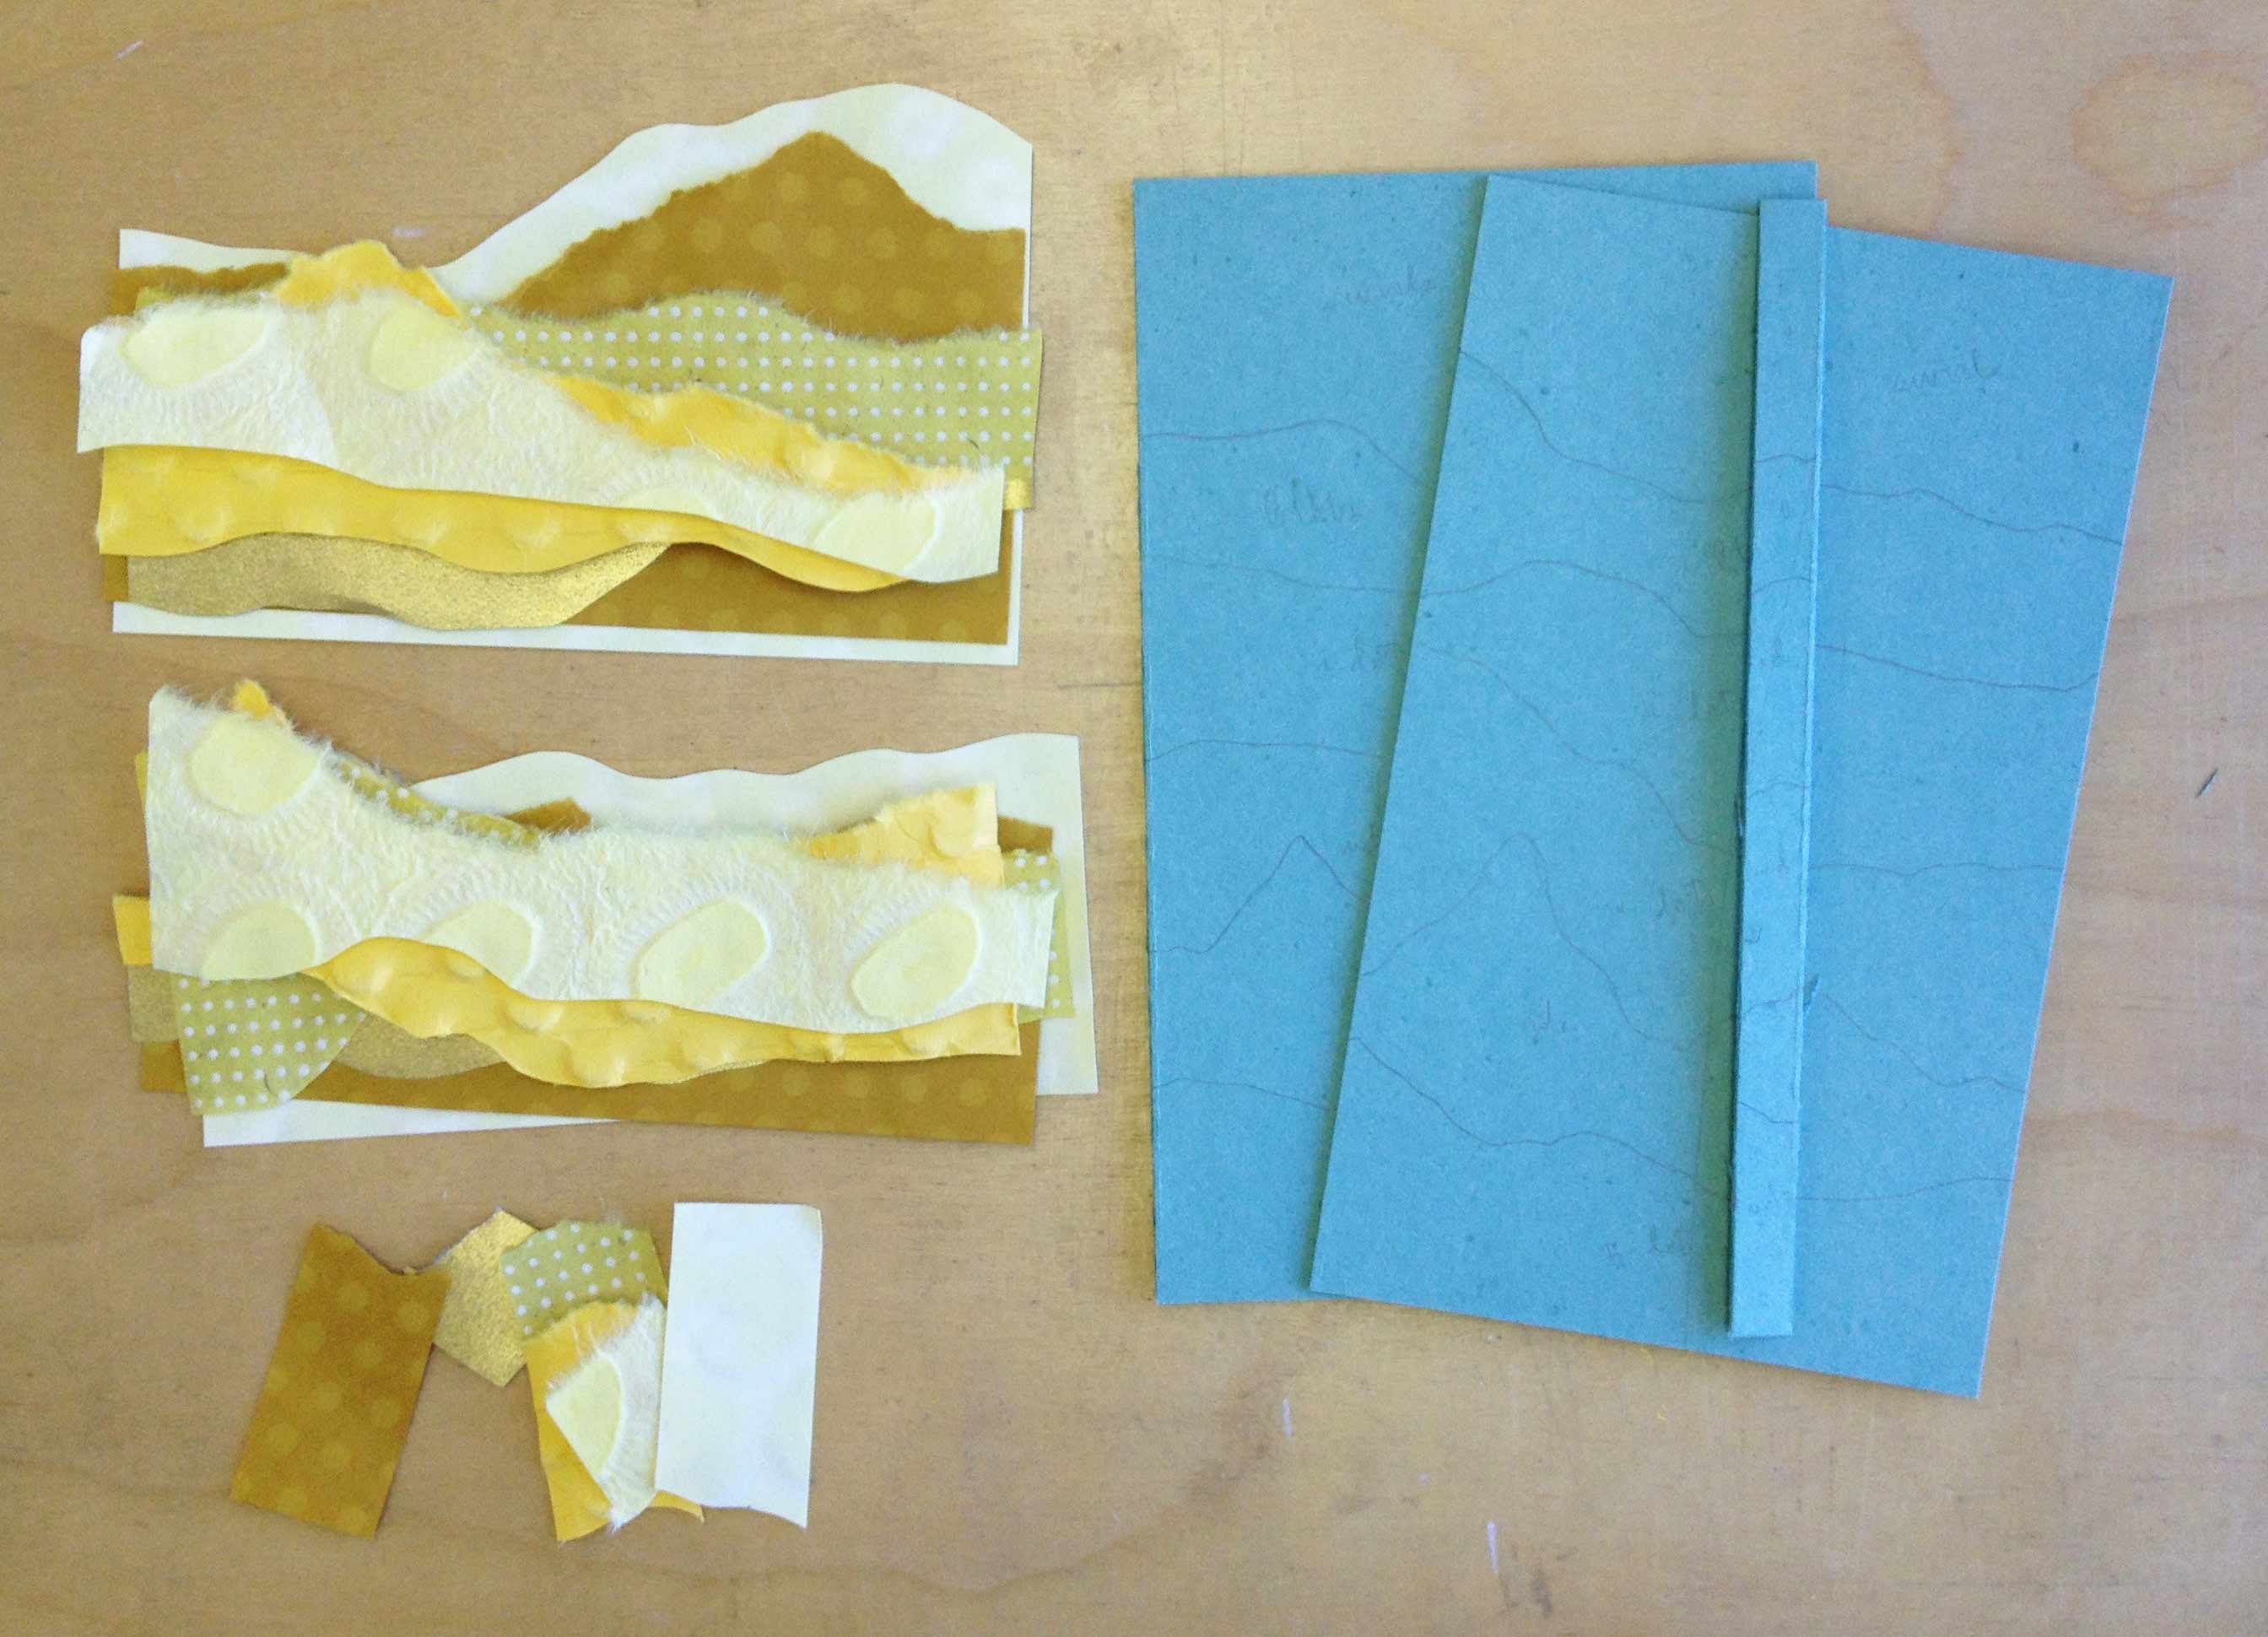
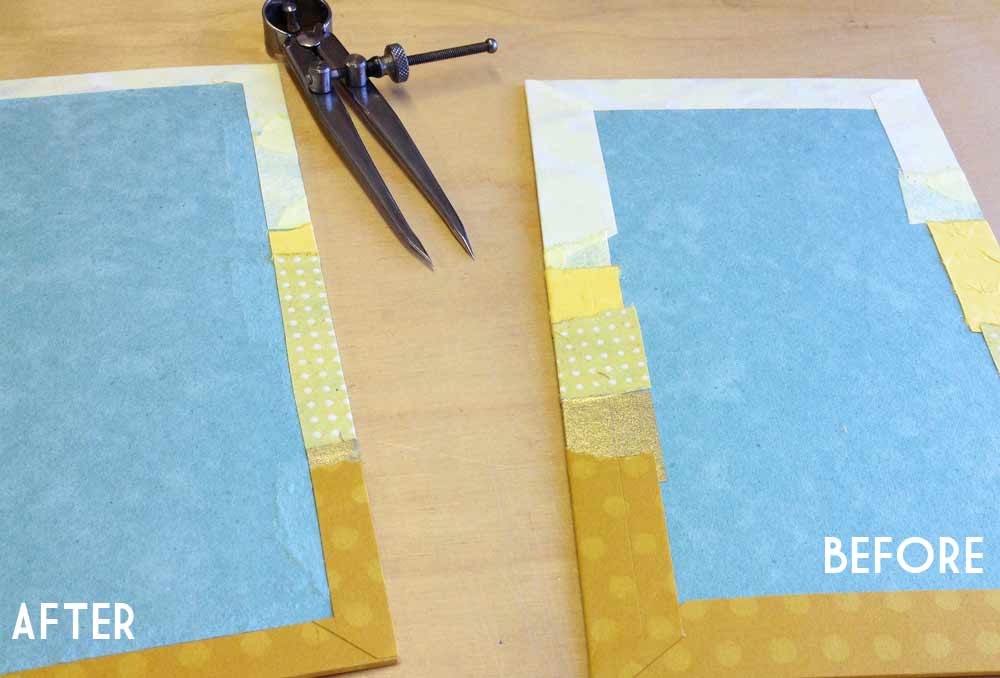
Cut down the decorative paper to include excess for turn-ins (about 20mm, less for the spine piece). Cut down the paper for the paste downs, allowing a 3mm margin on all sides. Glue up the decorative paper and cover both boards and spine piece.
Trim out the inside of the covers, so the turn-ins are even and straight. This can be done quickly with a set of dividers. Simple measure out the desired distance, lightly score a line along all four sides. Trim off excess along scored guideline with an x-acto or scalpel. Tear away the excess by pulling toward the edge of the cover.
Glue down the paste down onto the spine piece and set aside under weight to dry.
STEP TWO:
Prepare a jig for punching holes into the covers. The holes should be evenly spaced along the height of the covers allowing for a fair amount of sewing stations. Using an awl punch the holes 16mm from the spine edge. The needle on the awl should have a continuous gauge and not be graduated. This way all of the holes are the same size.