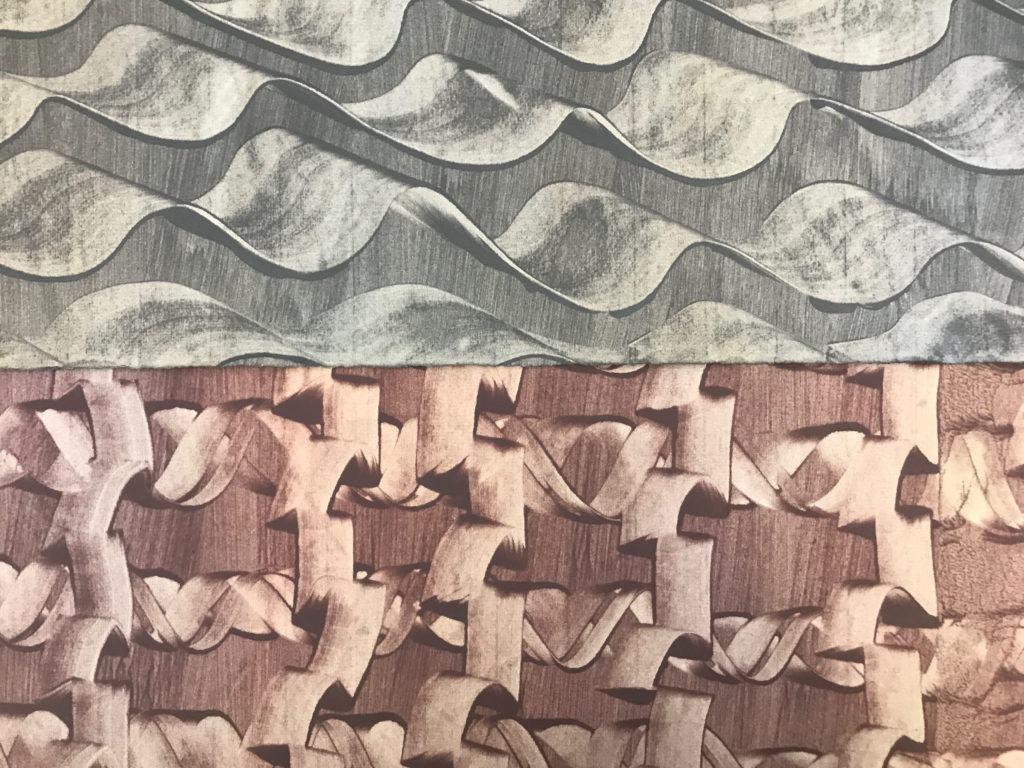
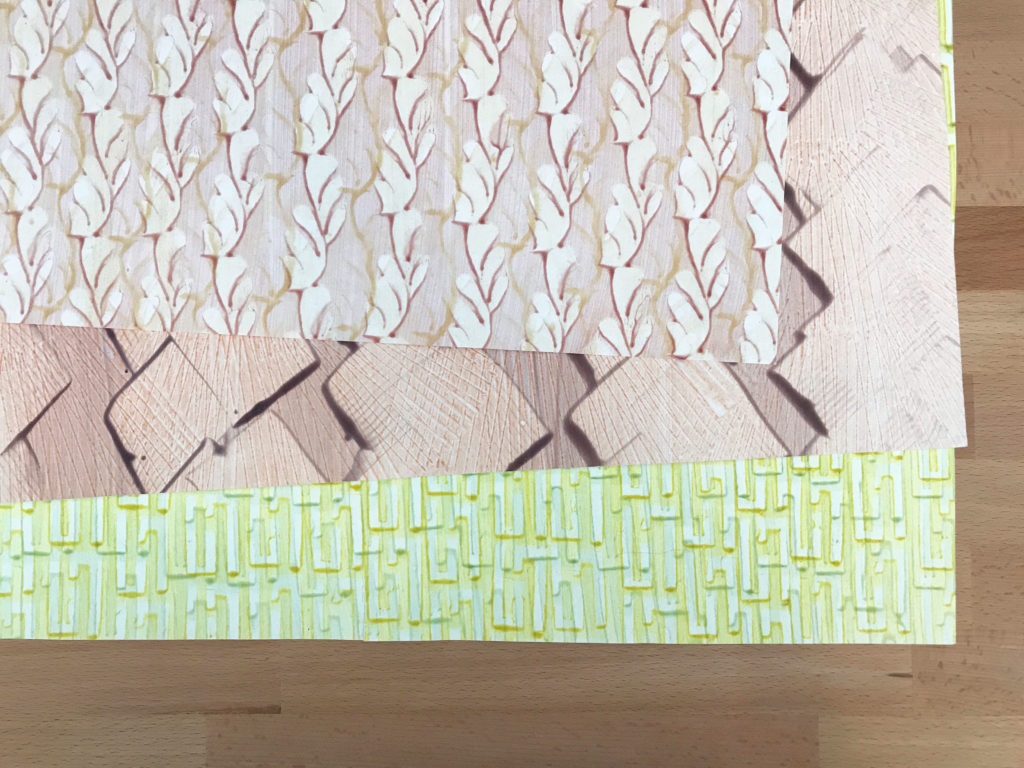
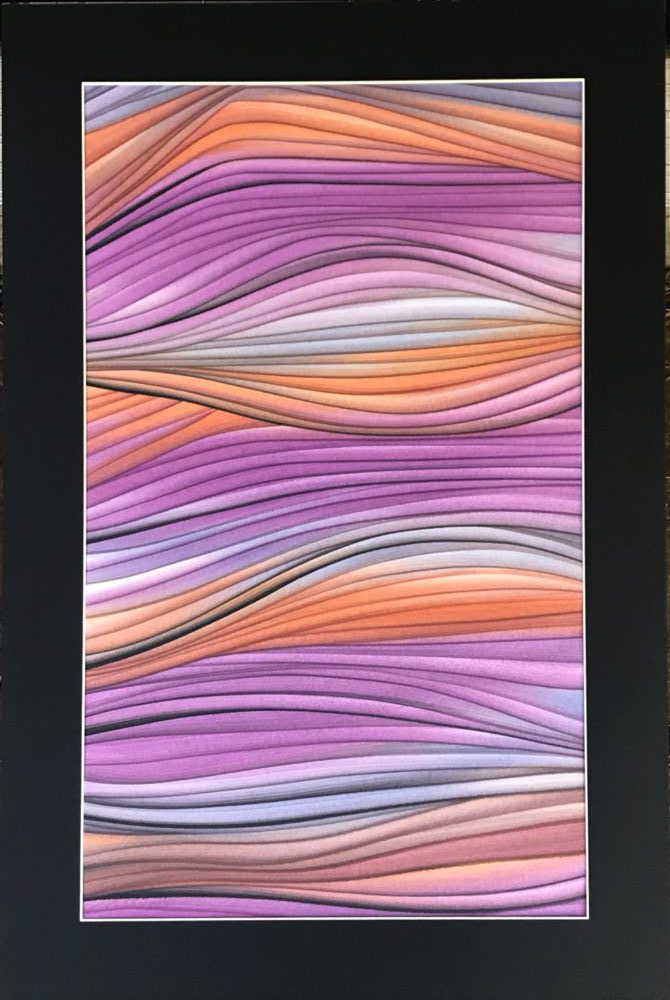
Making paste papers is a really fun and messy activity. In this video for North Bennet Street School, Colin Urbina and I discuss the set-up and share a few techniques for making this decorative paper at home. Even though this video is geared towards kids, this technique is great for any age group. You can find more online content created for NBSS here.
If you are looking for even more instructional content, I have a growing list of tutorials and I also teach live workshops in-person and online. Check out my list of Upcoming Workshops.
SUPPLIES:
– paste/paint mixture (see recipe below)
– various tools for decorating (combs, rubber stamps, foam brushes, sponges, anything that will make a mark)
– brushes for painting on paste/paint mixture (paint brush or foam brush)
– container of water and sponge or spray bottle
– paper
– tarp or trash bag
PASTE/PAINT MIXTURE RECIPE:
– 1 part all-purpose flour
– 4 parts water
Mix the flour and water together and whisk over a double boiler for about 6 minutes or until it turns to the consistency of cream of wheat.
Once paste has completely cooled, add a dollop of paint (tempera or acrylic). If color is too thin, add another dollop until you achieve the right amount of pigment.
Paste papers have been used since the 16th century as decorative endpapers and cover papers, which are produced by pressing or sliding objects into a wet paste/paint mixture that has been spread on paper. This style of decoration continues to be used today. Here are some great contemporary paste paper makers.
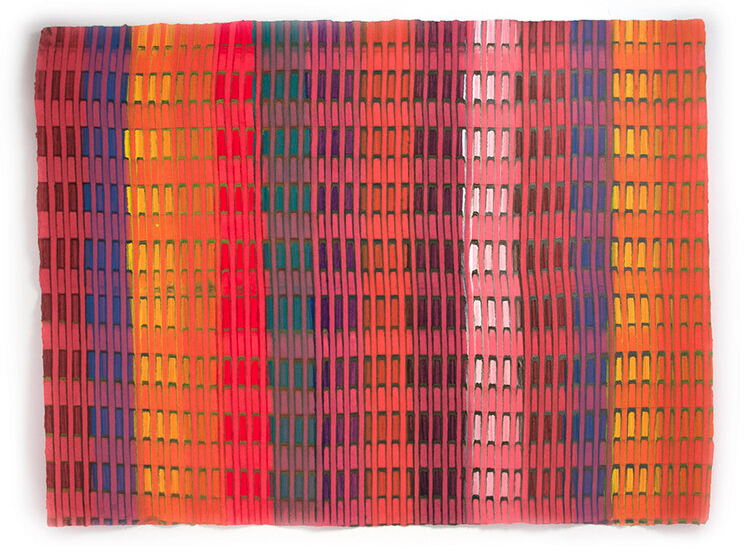
Hook Pottery Paper | Colophon Book Arts Supply
Claire Maziarcyzk | Talas
