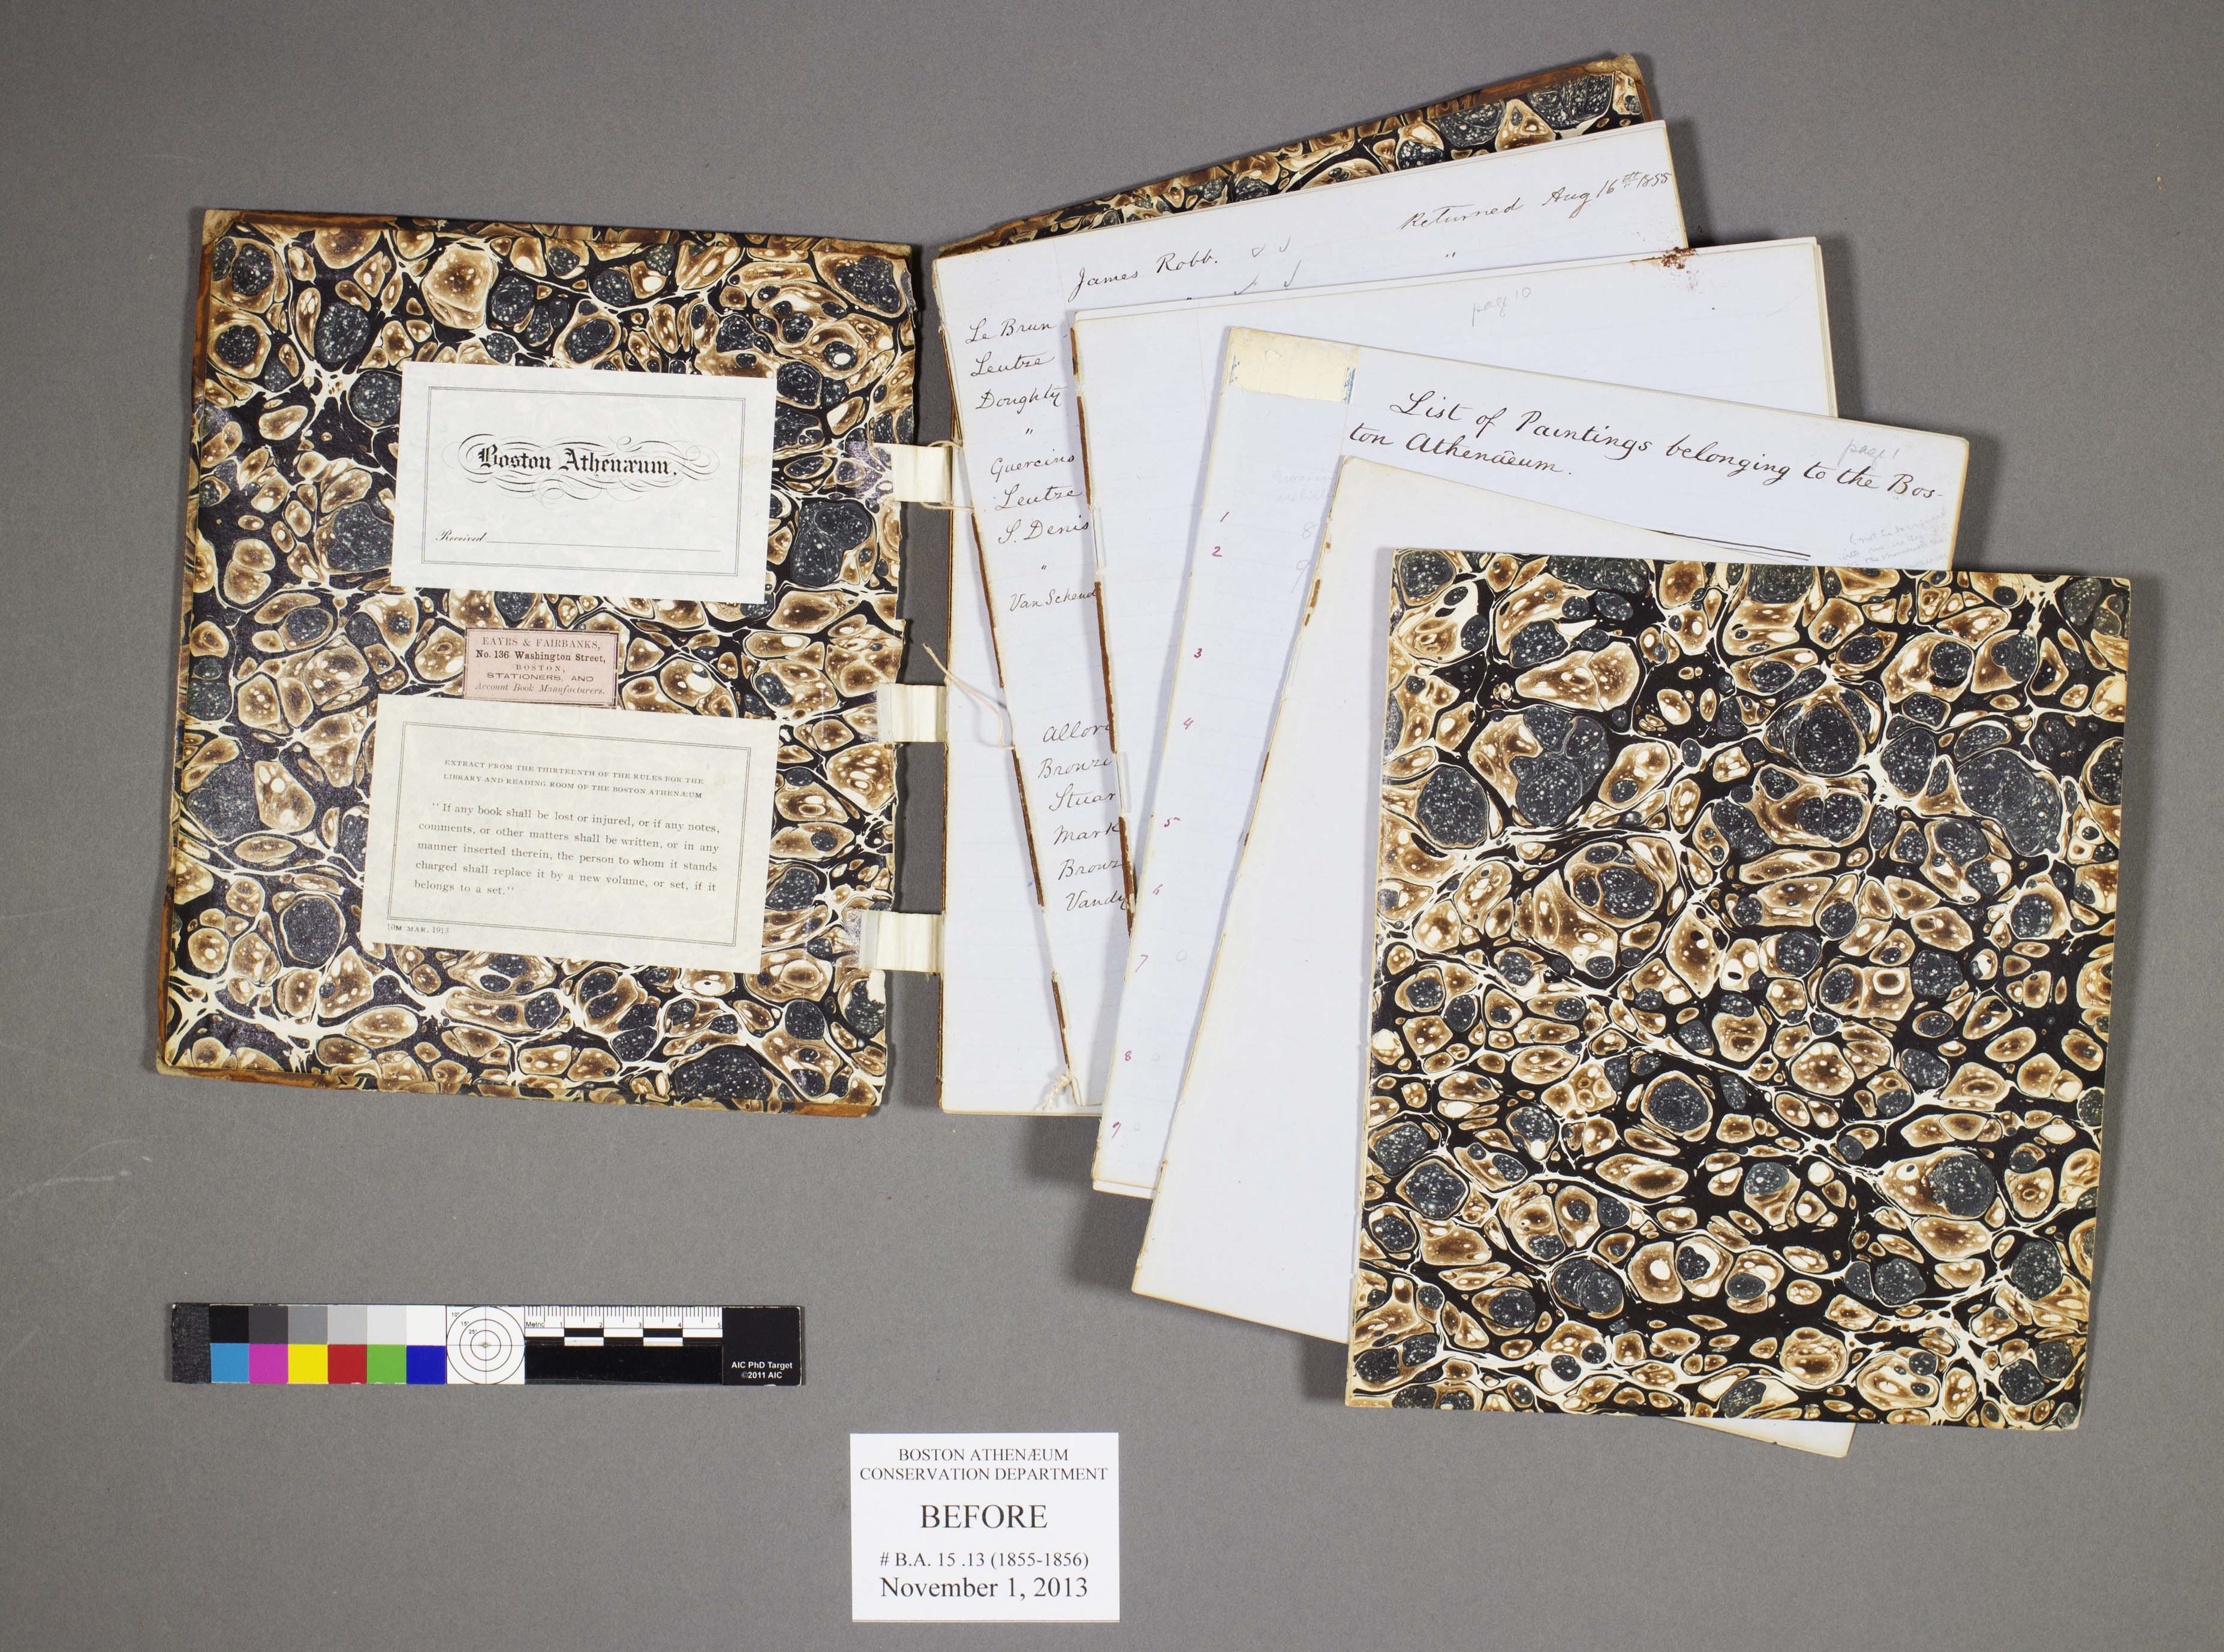
As anyone who works with their hands can attest, tools are the key to good work. They also happen to be one of the most satisfying to seek out, collect, and choose favorites from.
Nearly all tools used by conservators will be easily recognized by bookbinders and are particularly suited to their respective tasks.
First, there are brushes:
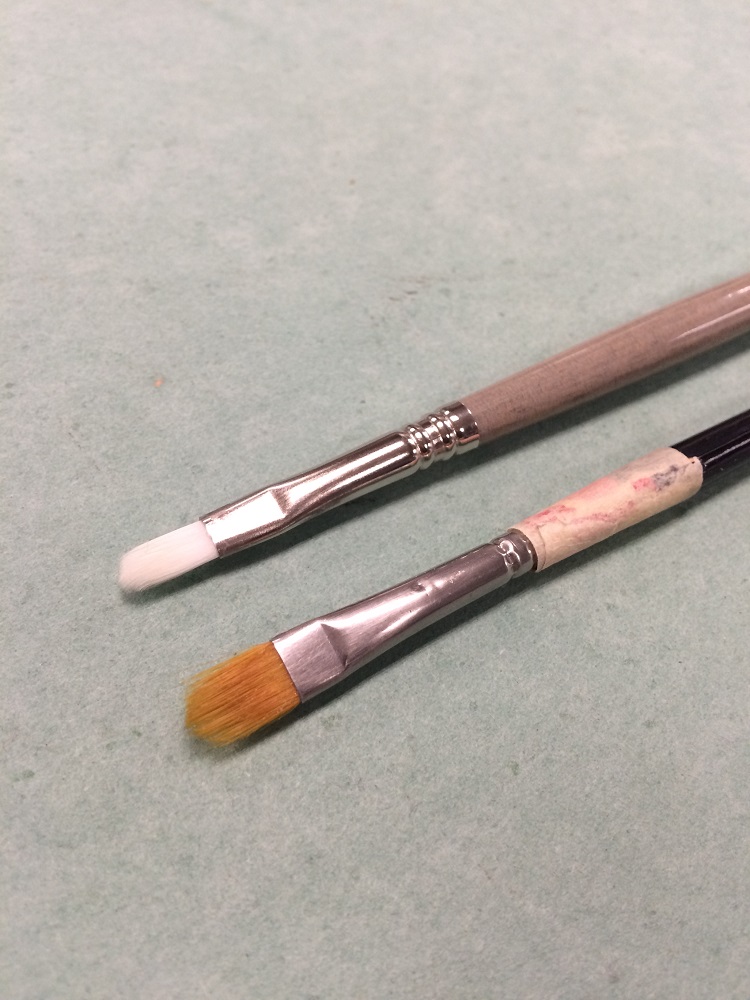
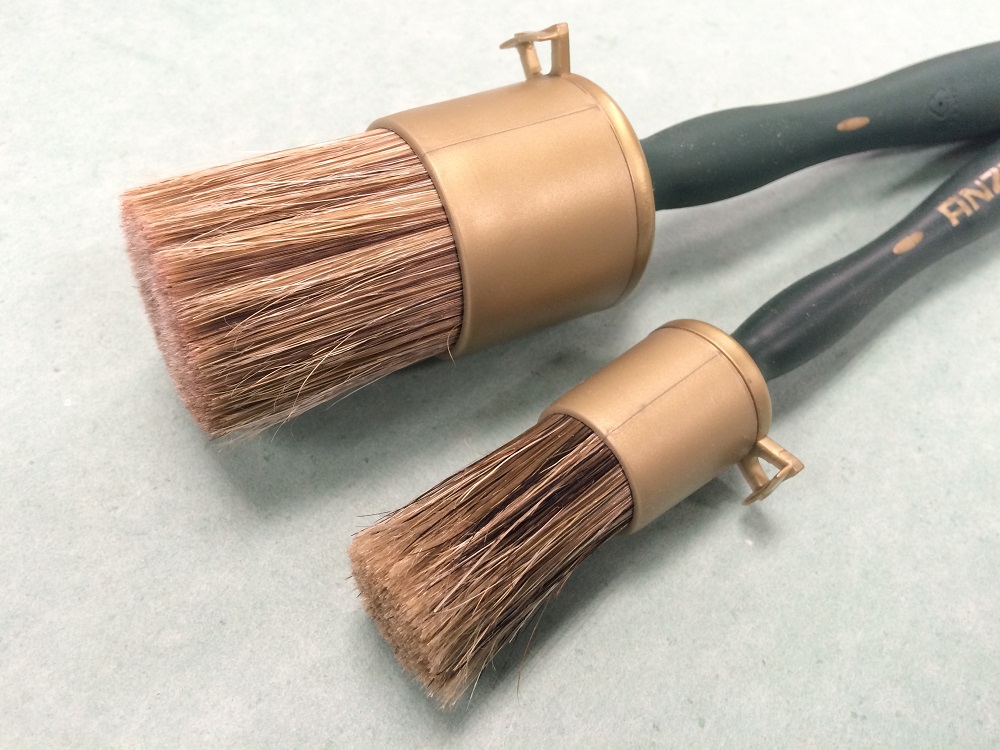
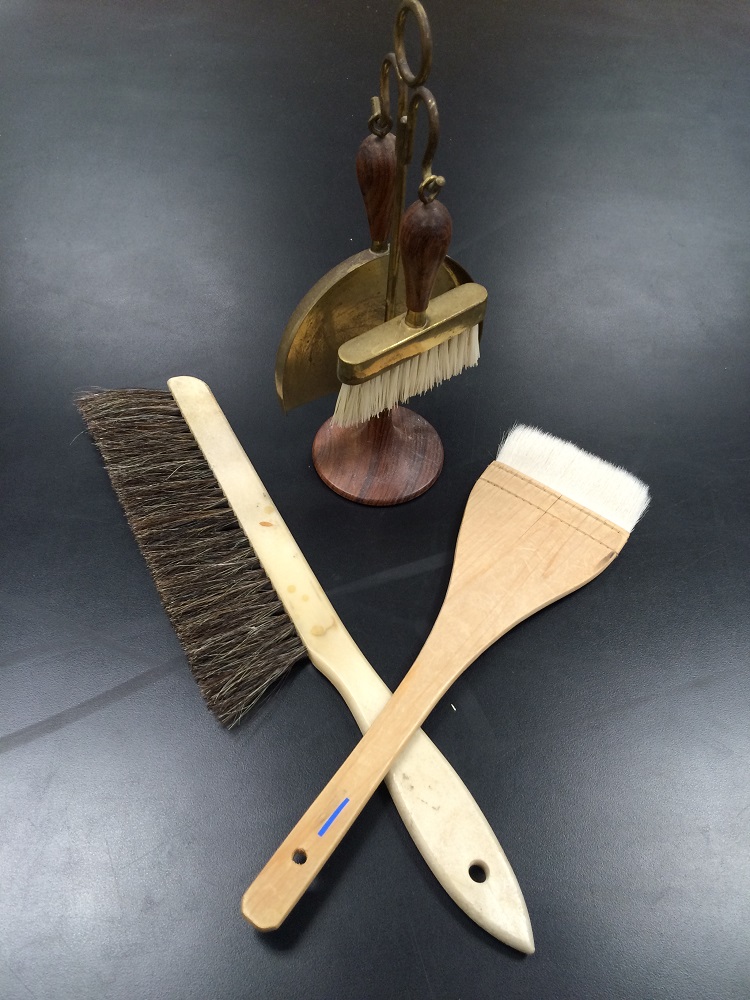
We use them every day: to adhere materials, to tone cloth and Japanese paper, to apply water strategically or smooth out fibers on a bit of tissue. For PVA and mix I really love using round Anza brushes (second image) and for paste, especially detailed mending, I go for any kind of flat filbert. Toning brushes are one-purpose too, since the risk of them being a tad dirty is always there. We use über beautiful Japanese brushes to apply size and tamp down linings (they’re fairly expensive so we share one large, very nice set). Static-dissipating brushes are used to clean dust from surfaces, hake brushes to remove loose material from bindings, and this clever little guy in the stand is used to pick up all the debris that gets caught in my bench corners (turns out, his true purpose is to clear away baguette crumbs!).
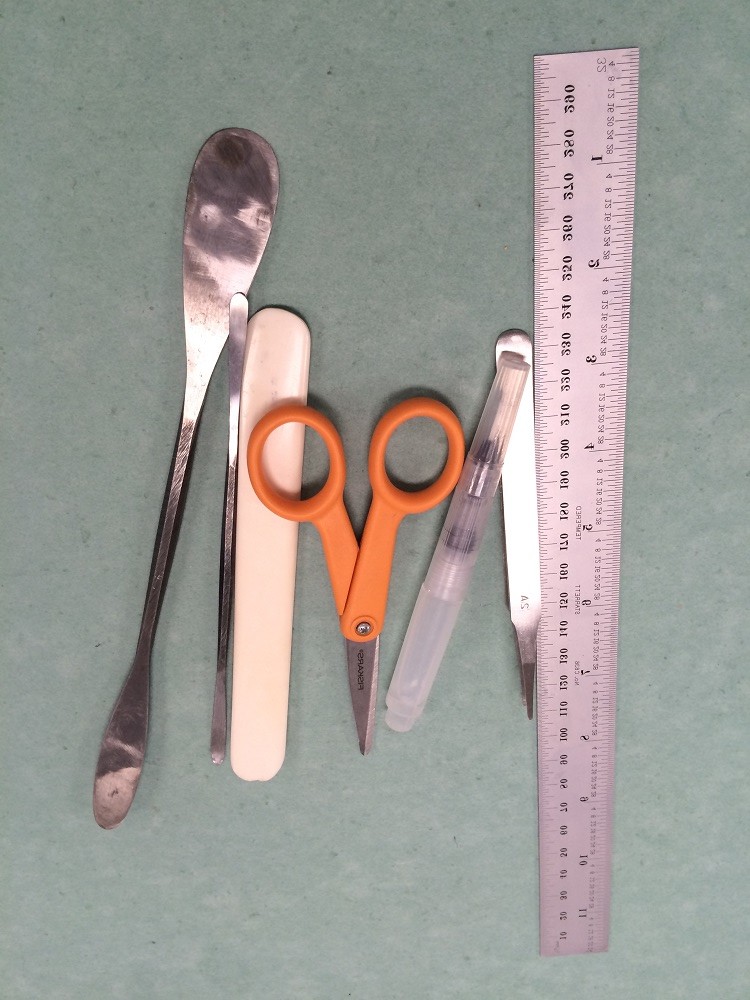
Two other forms of tool that I find myself having quite a few of and utilizing pretty much every day are folders and spatulas.
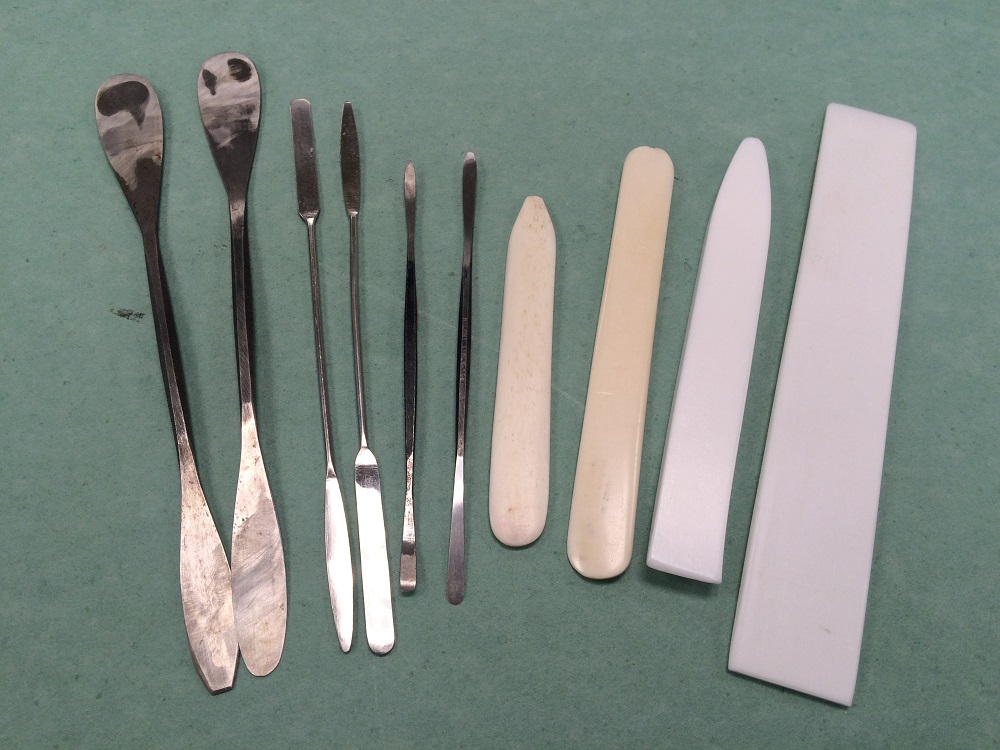
In my personal studio I have probably more bone folders than any other single tool, but at work I show more restraint. A bone folder with a point is useful for scoring lines and forming endcaps, while a nice flat bone folder is great for creasing sections or consolidating a spine. Teflon folders come in handy when smoothness is key or there’s concern over too much burnishing. A flat, super thin Teflon folder is especially good for floating material apart in a bath or removing adhesive with local humidification (be super careful if you choose to shape your own Teflon folders – breathing in the dust is dangerous!).
Spatulas are a must. Stainless steel ones are great for working with wet materials, since there’s no risk of rusting and the edges are duller and therefore less likely to tear through potentially fragile paper. Casselli spatulas can be used to remove dry adhesive or accretions, to separate uncut pages when necessary, or to carefully unfold corners and edges. The large ones can easily be shaped (and re-sharpened!) to your preference on a sharpening stone and come in handy for muscling tough spine glue off.
Some tools are not only super handy, but also super beautiful (thanks, Starrett).
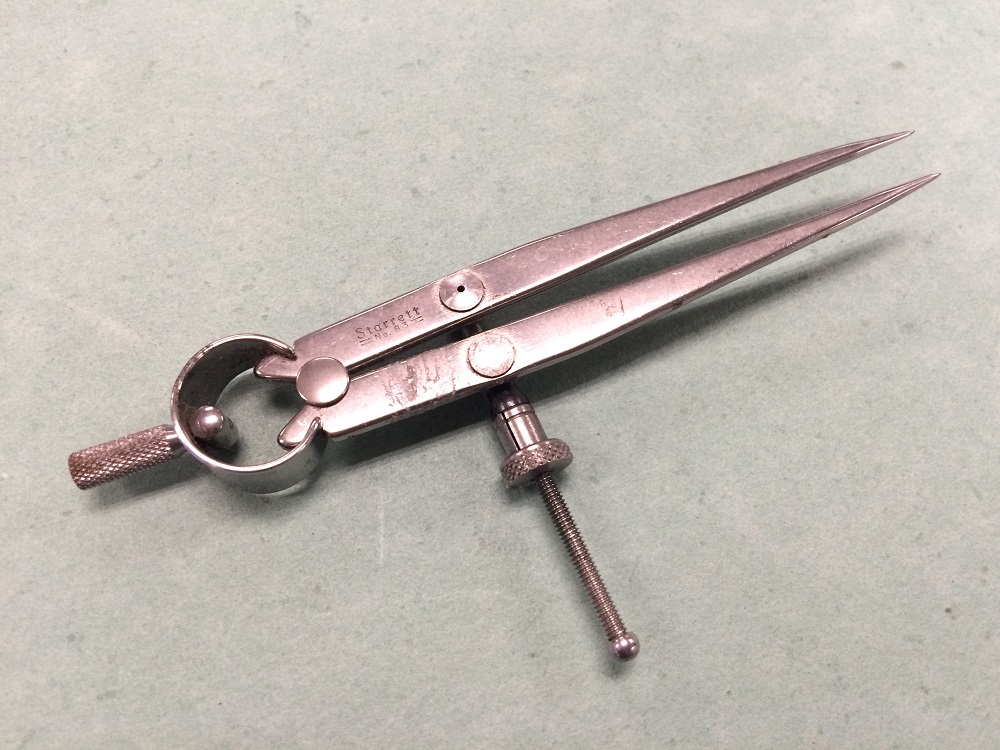
Best for taking and transferring measurements…
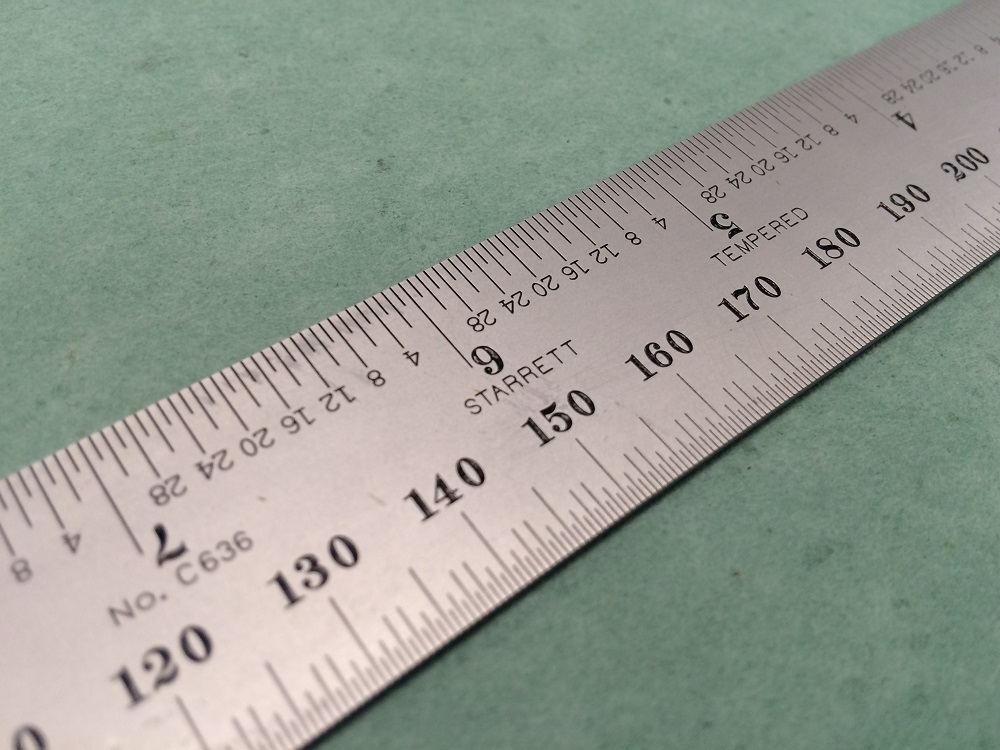
…and for actually measuring with numbers, obviously.
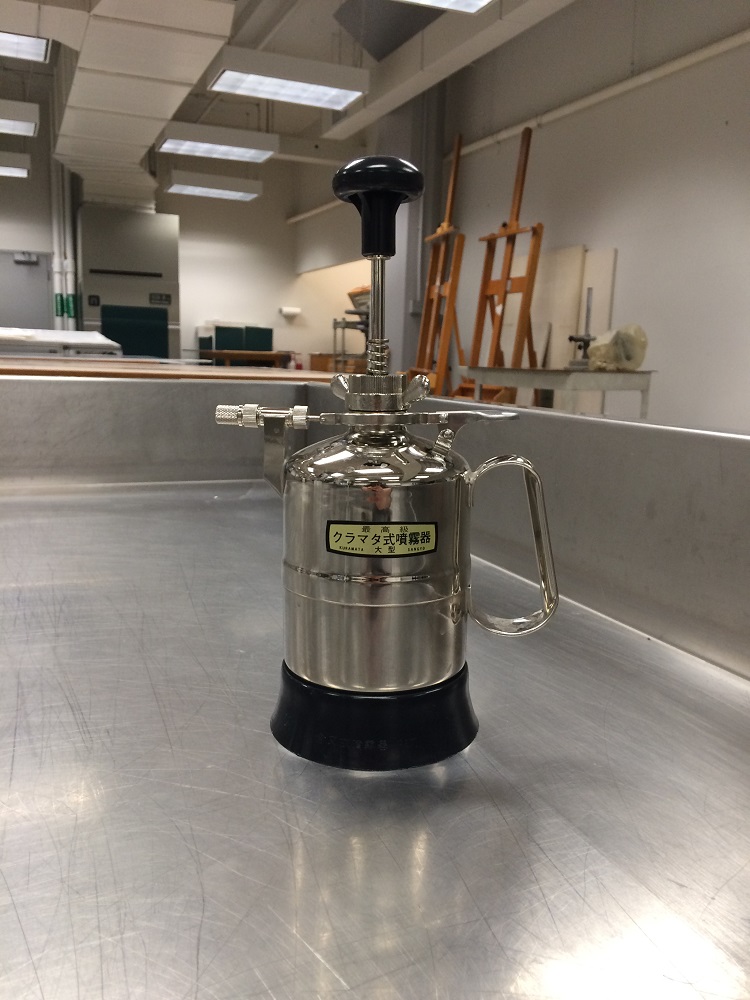
Dahlia sprayers are the absolute best for spraying out an object for humidification!
Some tools seem to be suited for something else entirely:
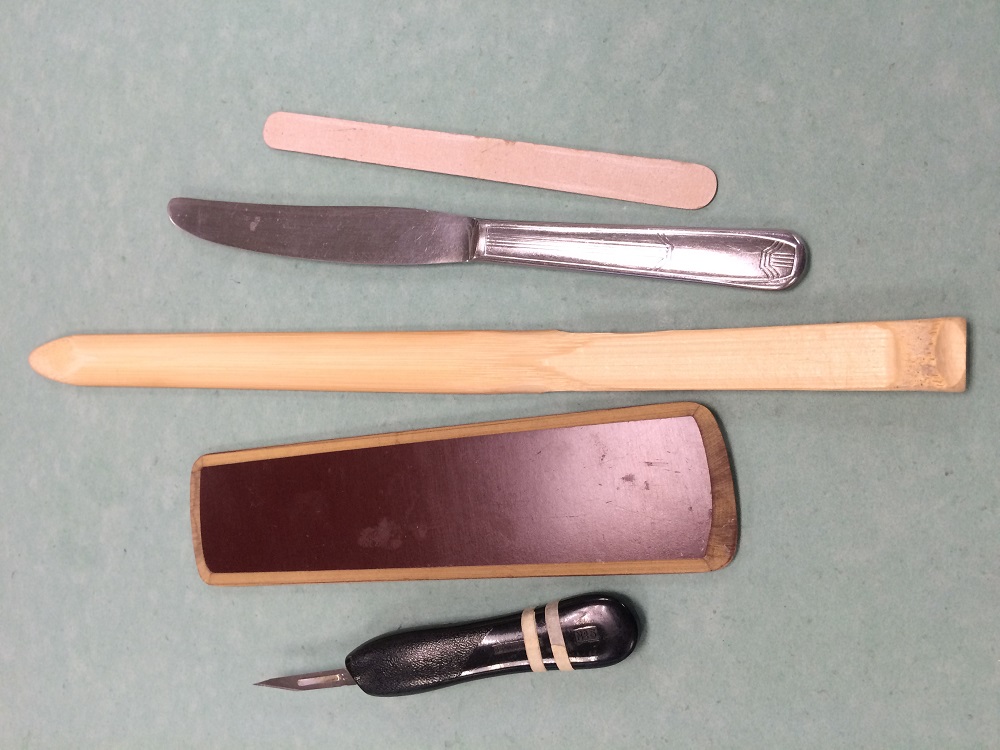
Scalpels are great for cutting previous sewing or paring edges of leather or paper, Bakelite folders are especially good for securing cloth around board edges, the bamboo comes in handy when separating sized leaves and folios from Hollytex safely, the butter knife makes an excellent cord-frayer, and the nail file is a handy little sander.
Some tools and equipment appear to be better suited to a kitchen…
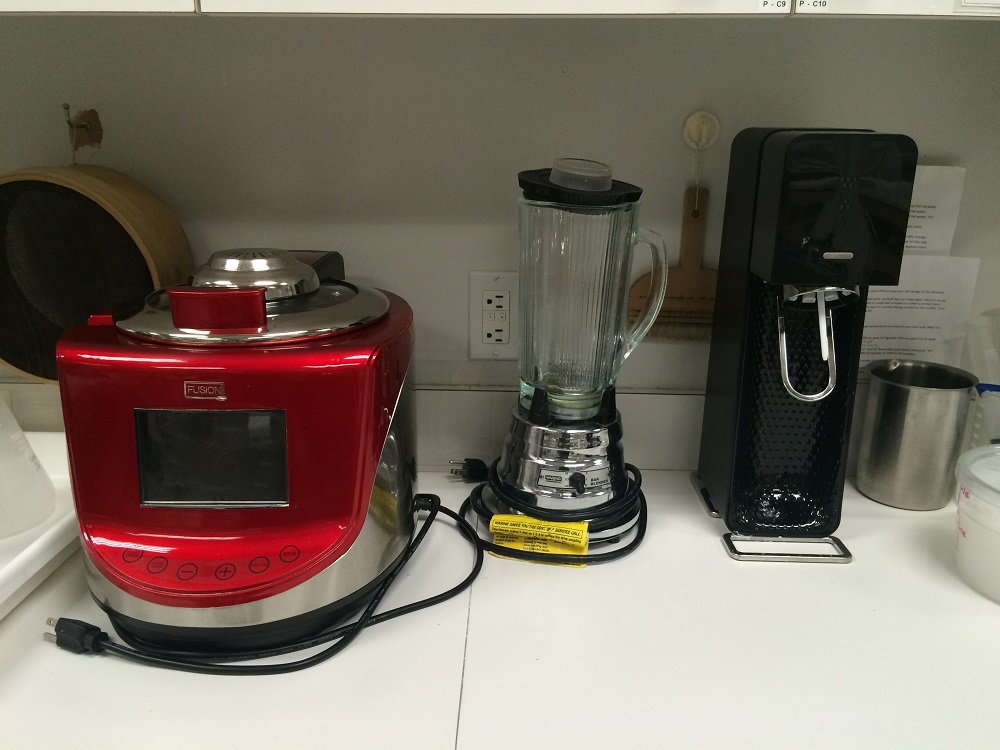
From left to right, we have a fry stirring wok for making paste, blender for thinning paste, and SodaStream for iron gall phytate treatment.

And the ever-present Pyrex custard dish, used for basically everything – predominantly paste, in our case.
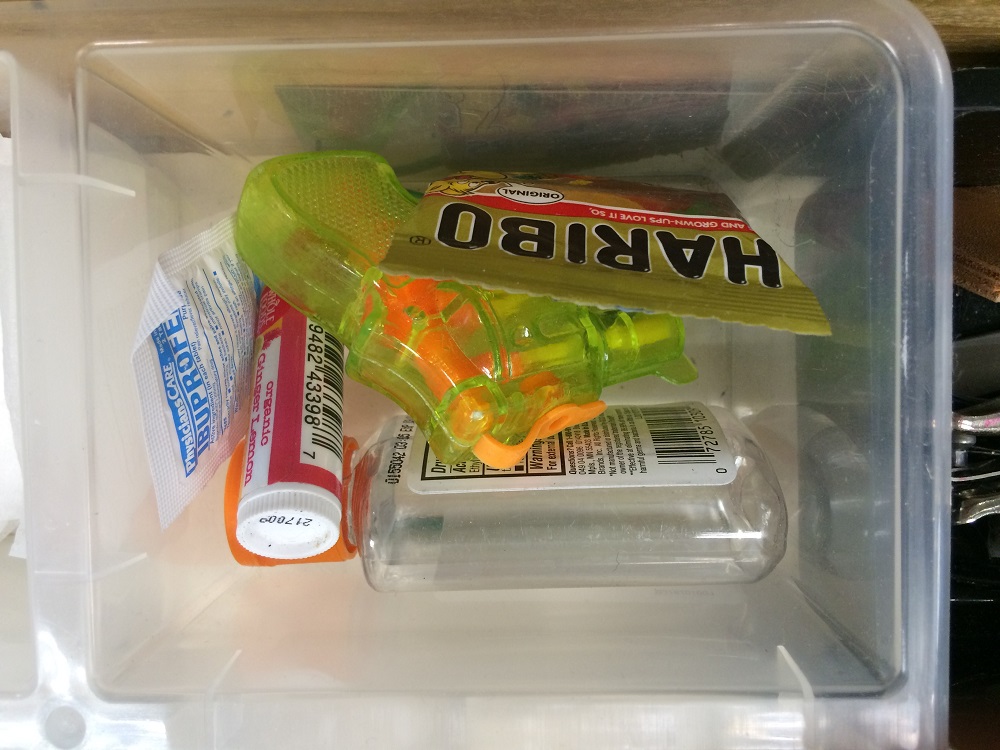
…or a doctor’s office…
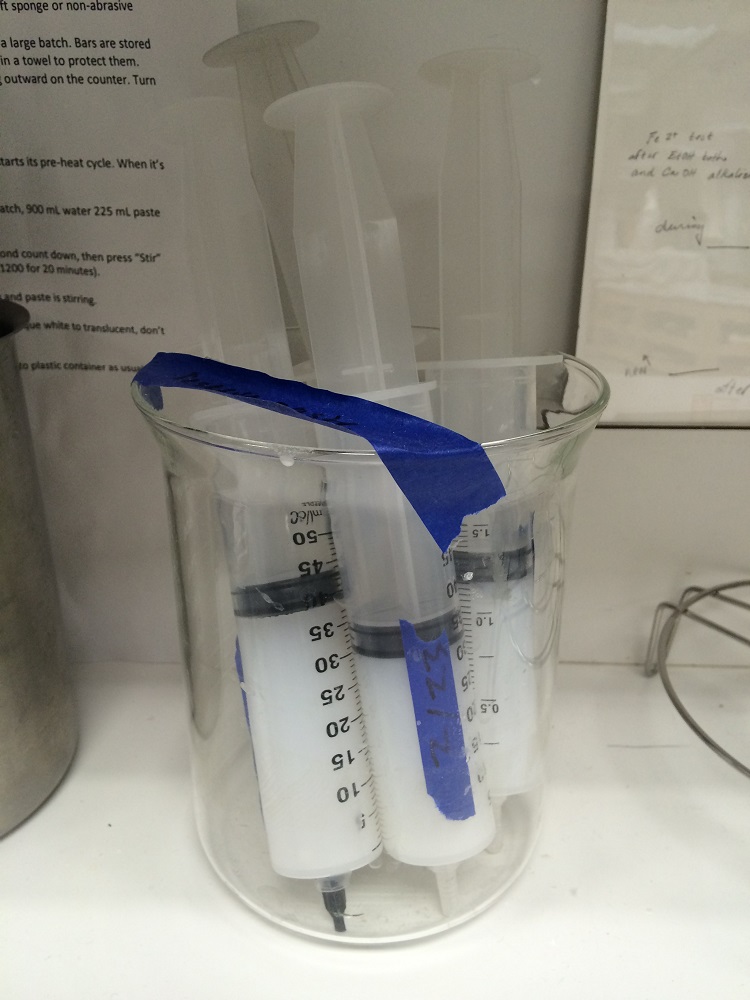
These are syringes sans needles for holding reserve paste.
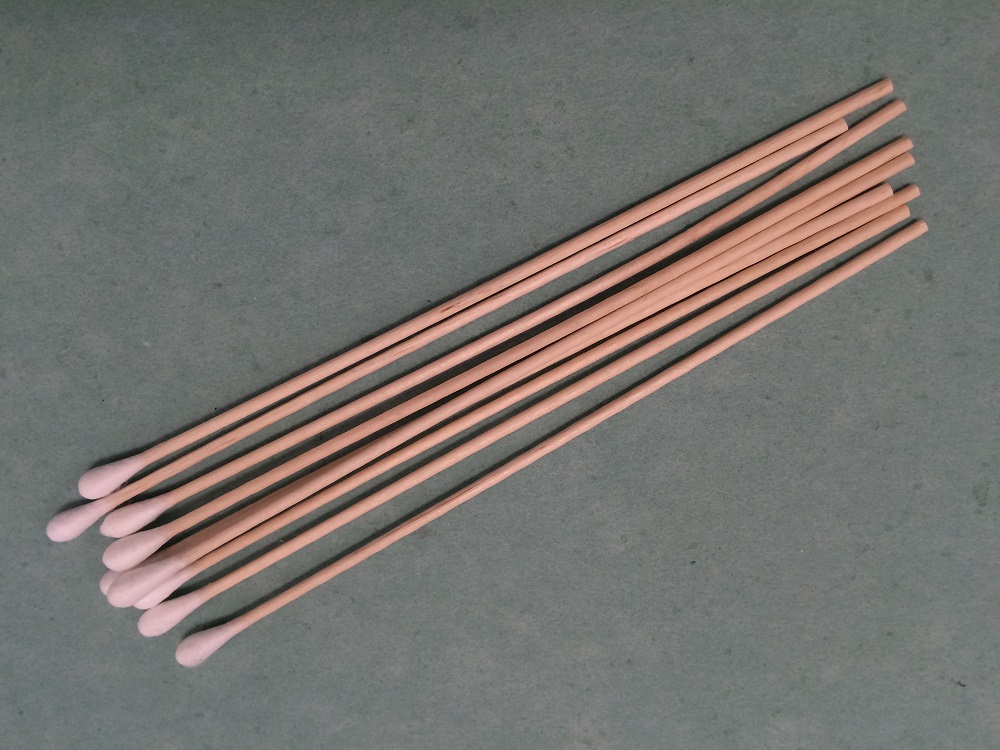
And cotton-tipped applicators for testing ink solubility.
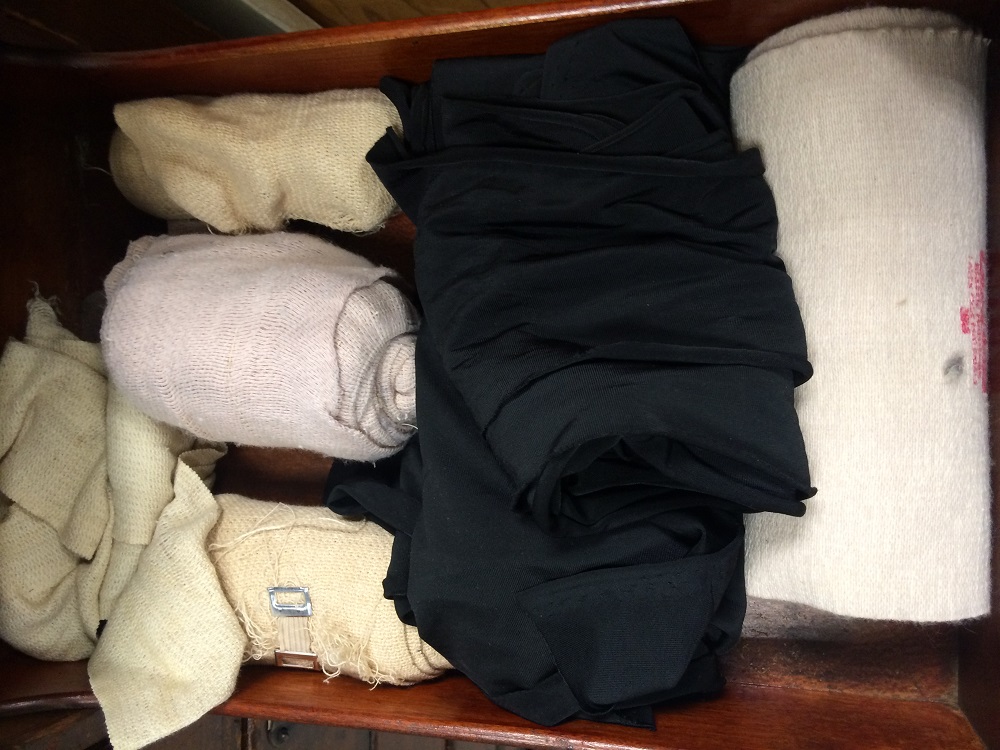
Also an assortment of ace bandages for holding previous spines in place during re-backs.
And then there are weights:
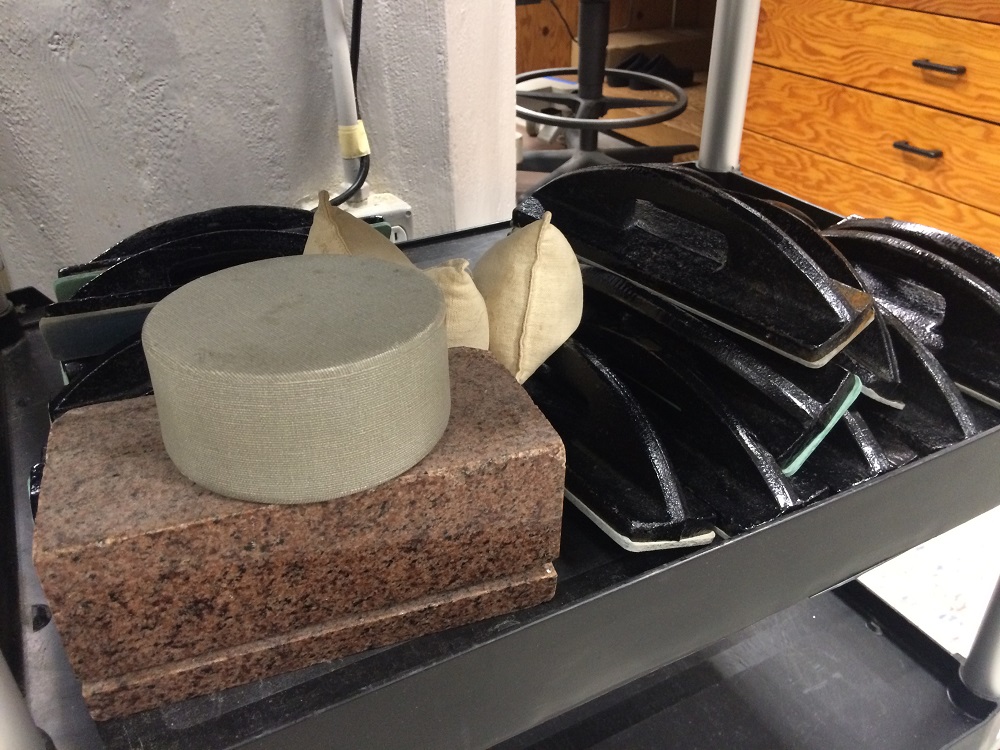
and more weights…
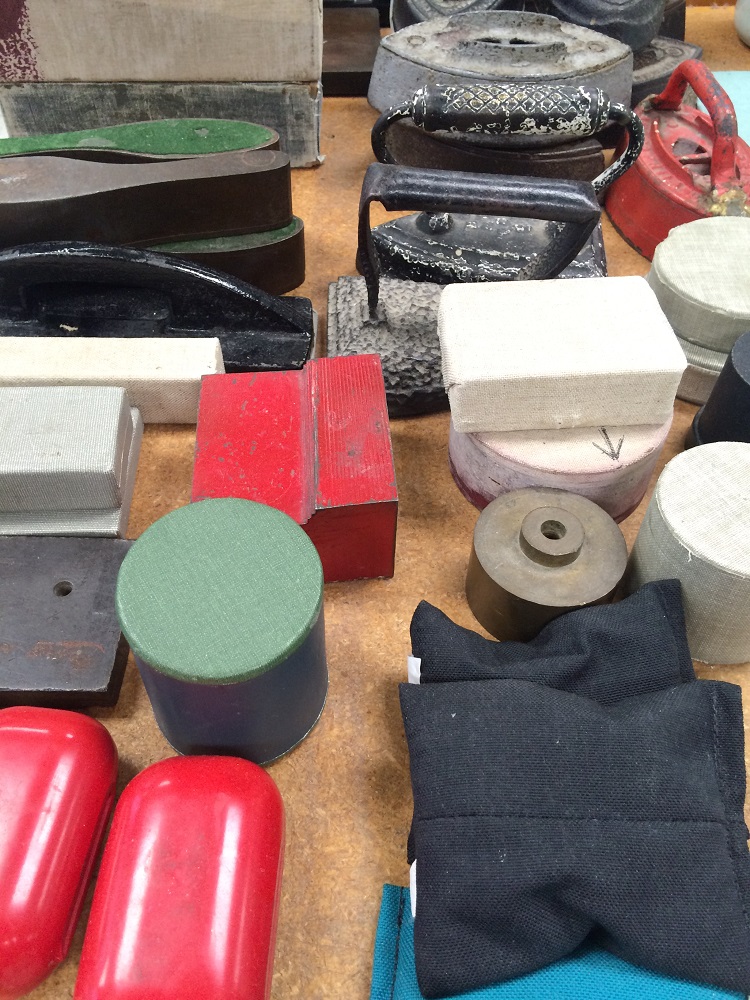
and things that aren’t technically weights, but sure get used as such:
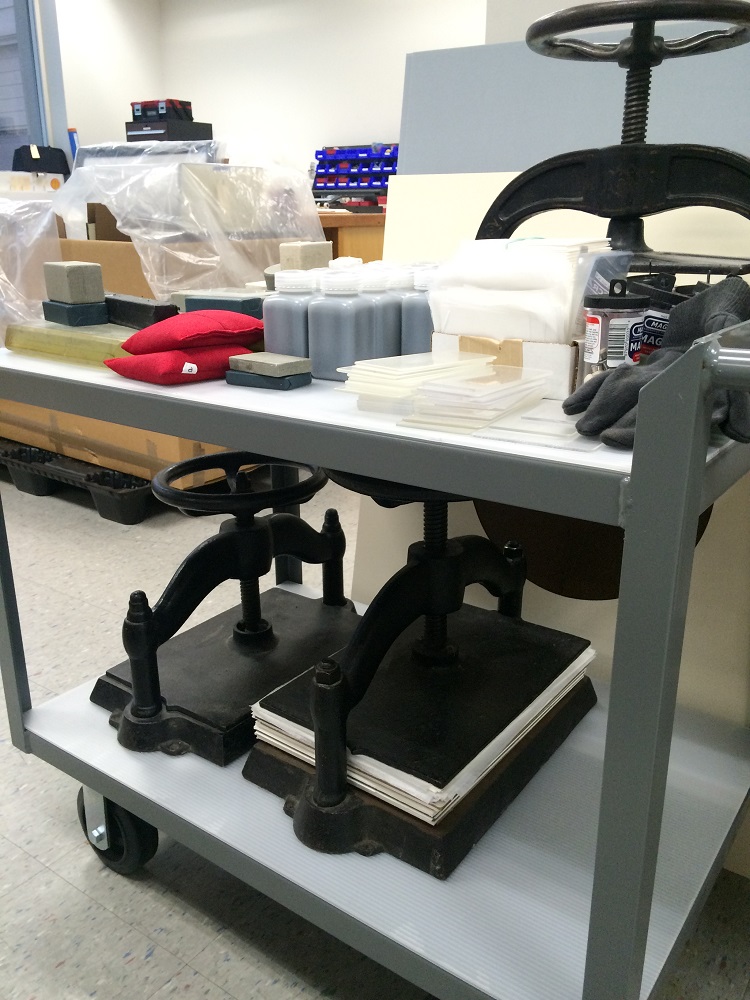
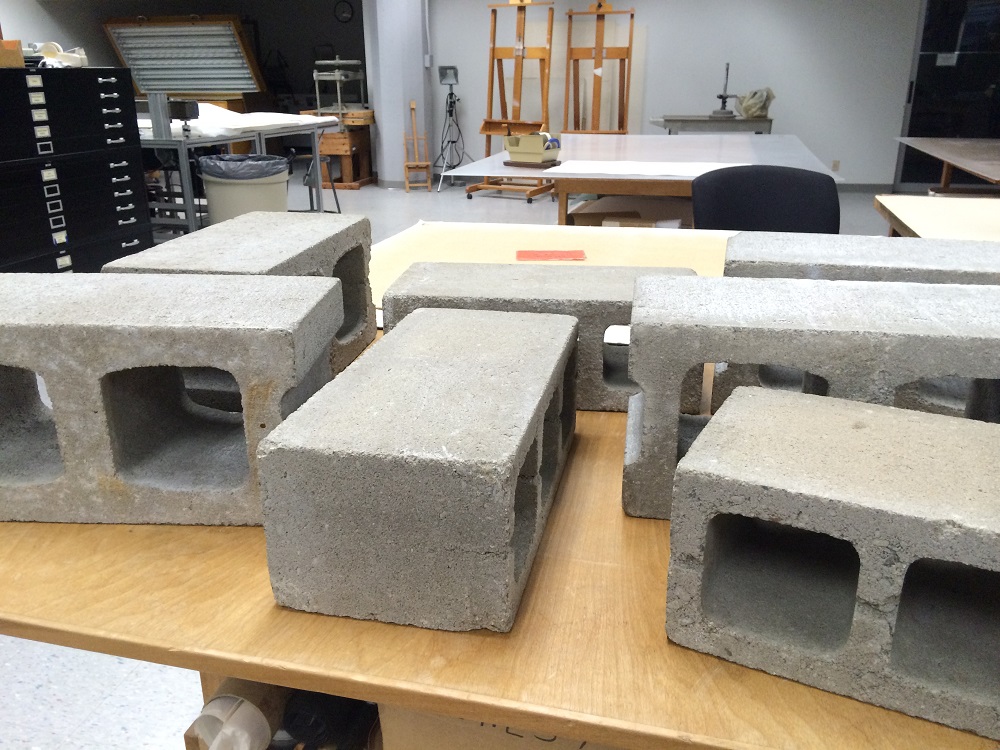
We really like to hold things in place, so essentially anything heavy will do.
Just like bookbinders, conservators have got to be resourceful. Labs tend to be equally outfitted with purpose-designed tools and cleverly re-purposed miscellaneous. It’s easy to get carried away with having just the right device for the job, but we’re faced with “make it work moments” every day. Anything you need is probably there, it just may take a bit of ingenuity to figure it out.
And finally, for when just the right thing is eluding me, my emergency “tool” kit:
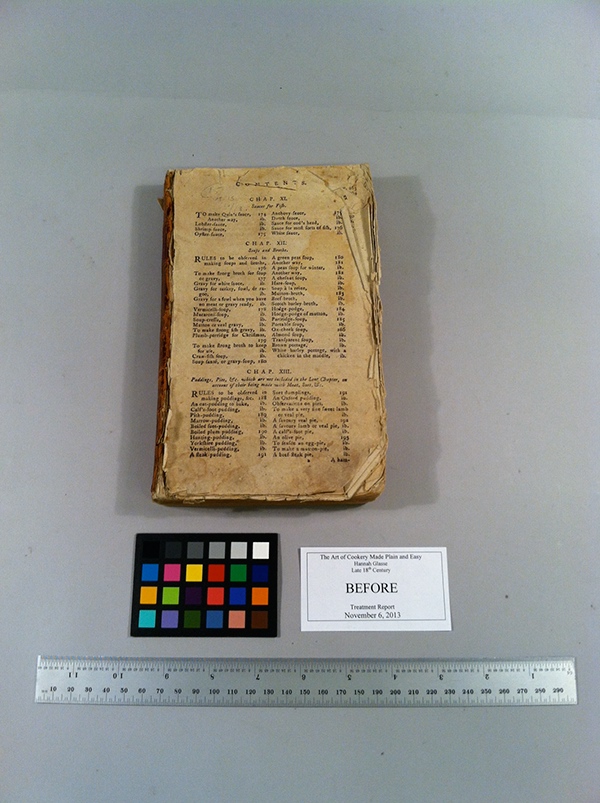
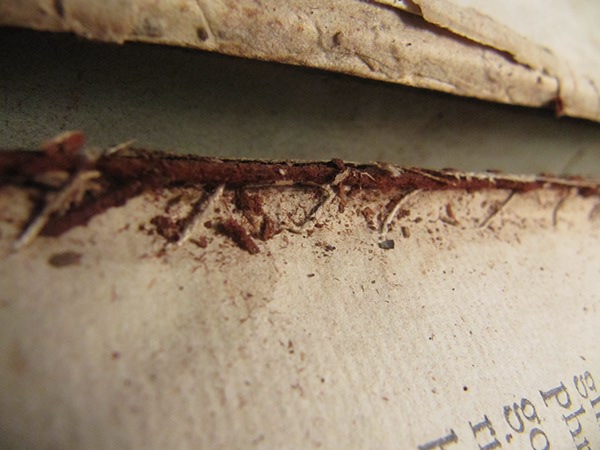

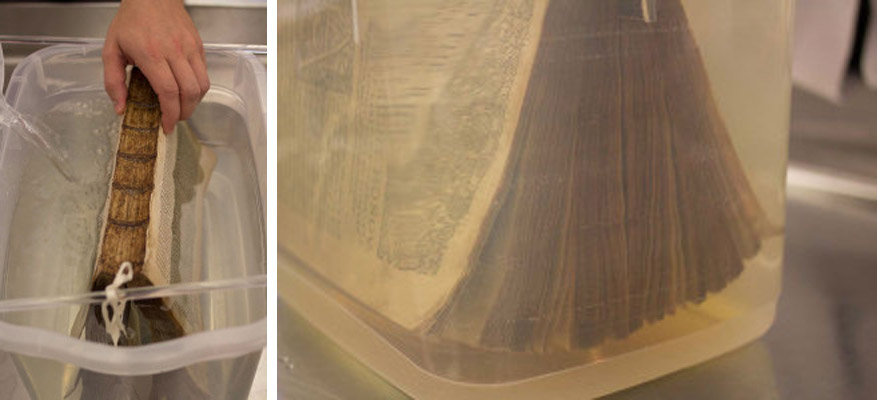
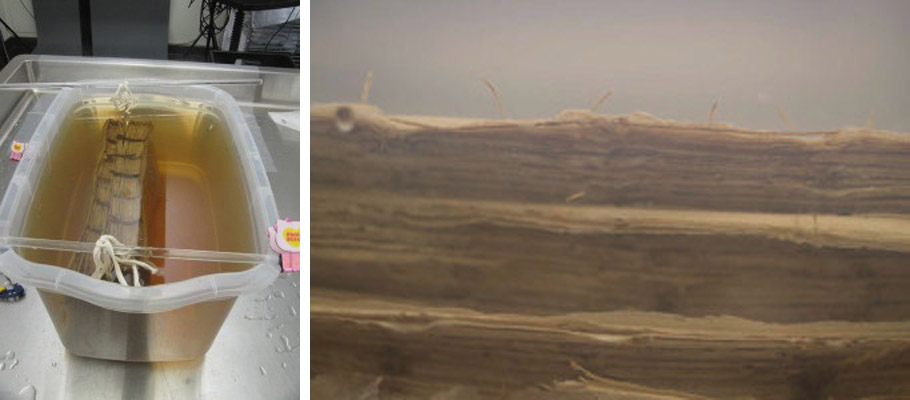
 We were all curious to see how the book would dry, and how the paper would respond to a week long stint in the Motel 8 of wind tunnels. Continuing in this manner gave me time to consider and investigate the methods of washing, drying, and flattening that I had learned. And although it turns out that washing and drying intact is not actually faster, it is still just one more possibility.
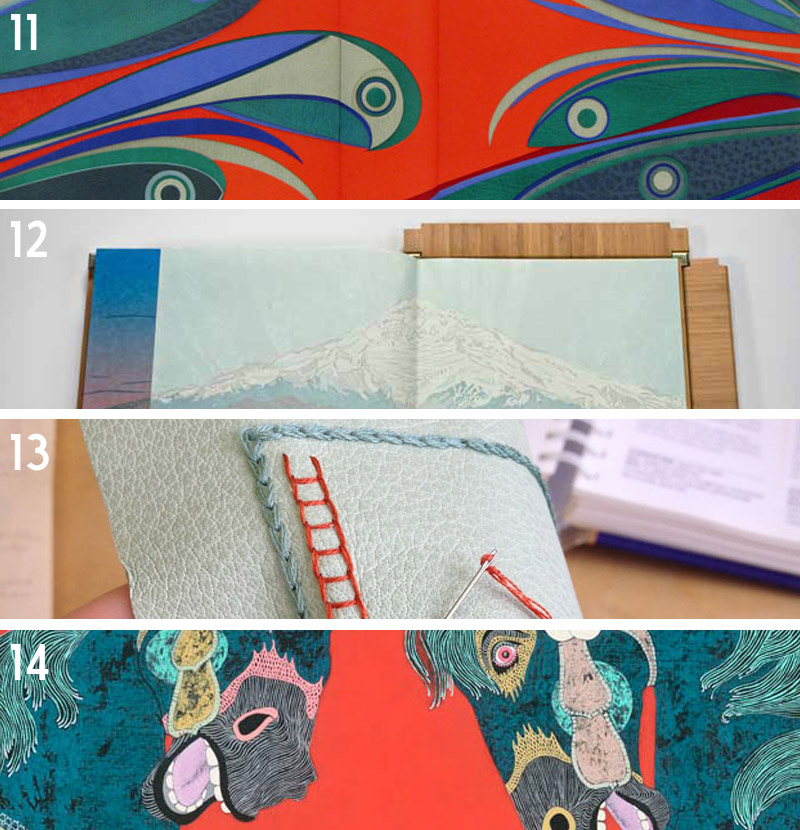
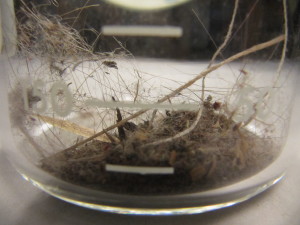
 s, rubber eraser crumbs, cosmetic sponges, brushes… The list of implements goes on, but the concept remains singular. REMOVE LOOSE SURFACE DIRT. As you can see, one swipe of the sponge quickly leads to a hefty pile of spent latex, and one impressive jar of hair, dirt, dust, and many other unmentionables. [note: photographs are examples of three distinct pieces, and are adjacent for effect only.]
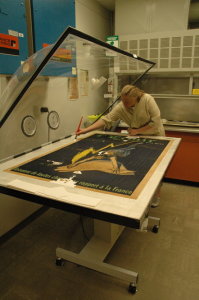
 period of roughly 24 hours, the cyclododecane will sublime off the paper, leaving behind only the unaffected, unwashed ink. Then after washing, one is able to flatten and dry the paper between felts and weight. This particular fly-leaf not only lost any wrinkles or creases it previously had, but it brightened in color, added a degree of softness, and regained a sense of drape as well.
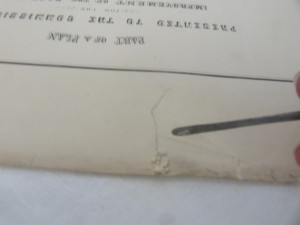
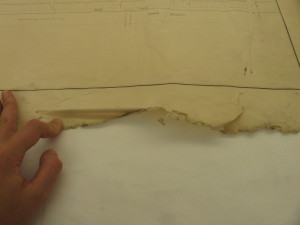 of a blotter-reemay-weight sandwich, you will find the fold to have flattened out. I find wheat starch paste to be preferable to water because there is a bit of added control in the spread of moisture, and the paste adds just a dash of strength to the weakened area. [Note: tide-lines, and other horrible and unimaginable affects could be consequence to this treatment. ALWAYS spot test before introducing moisture into paper.]
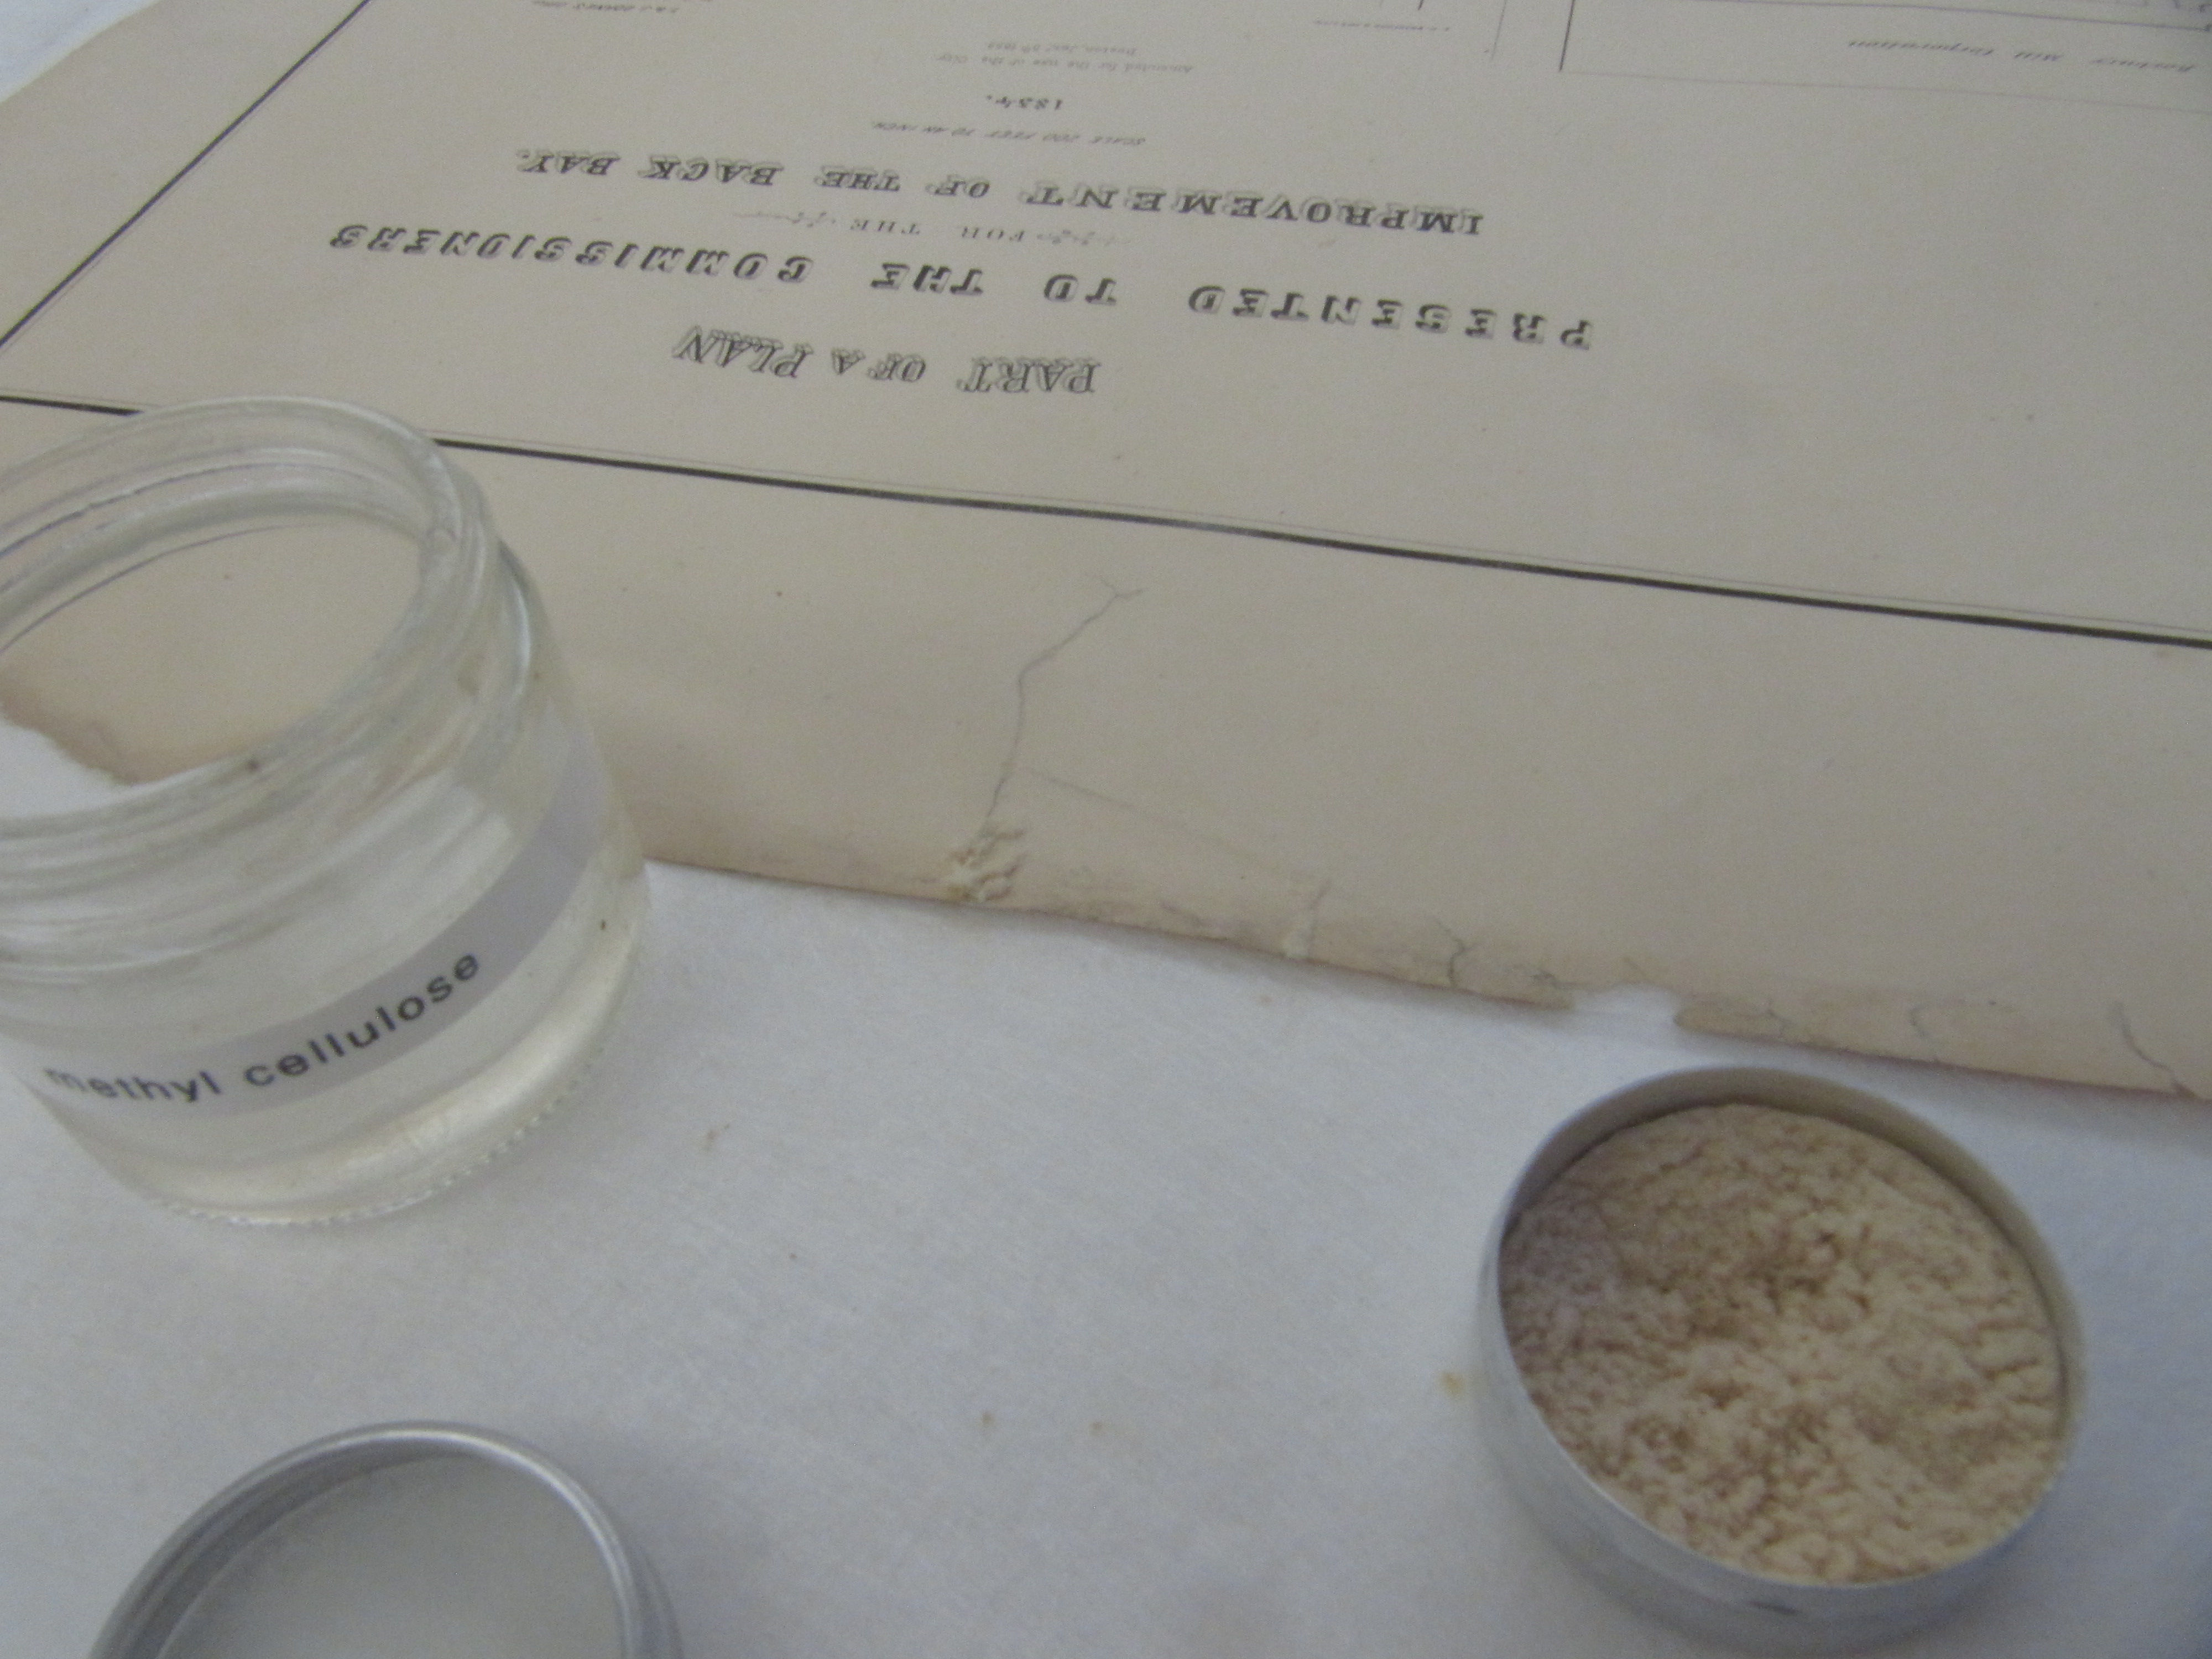
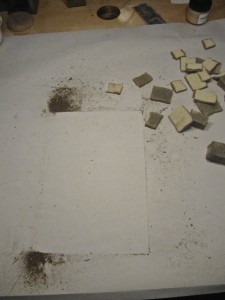
 you’ll have yourself an array of creams, whites and browns. This powder, being of the same “stuff” as your paper, will blend nicely when affixed with a small amount of paste or methyl cellulose. Sometimes, simply rubbing the fine powder across the mend is enough to discourage the eye from seeing the tear immediately.
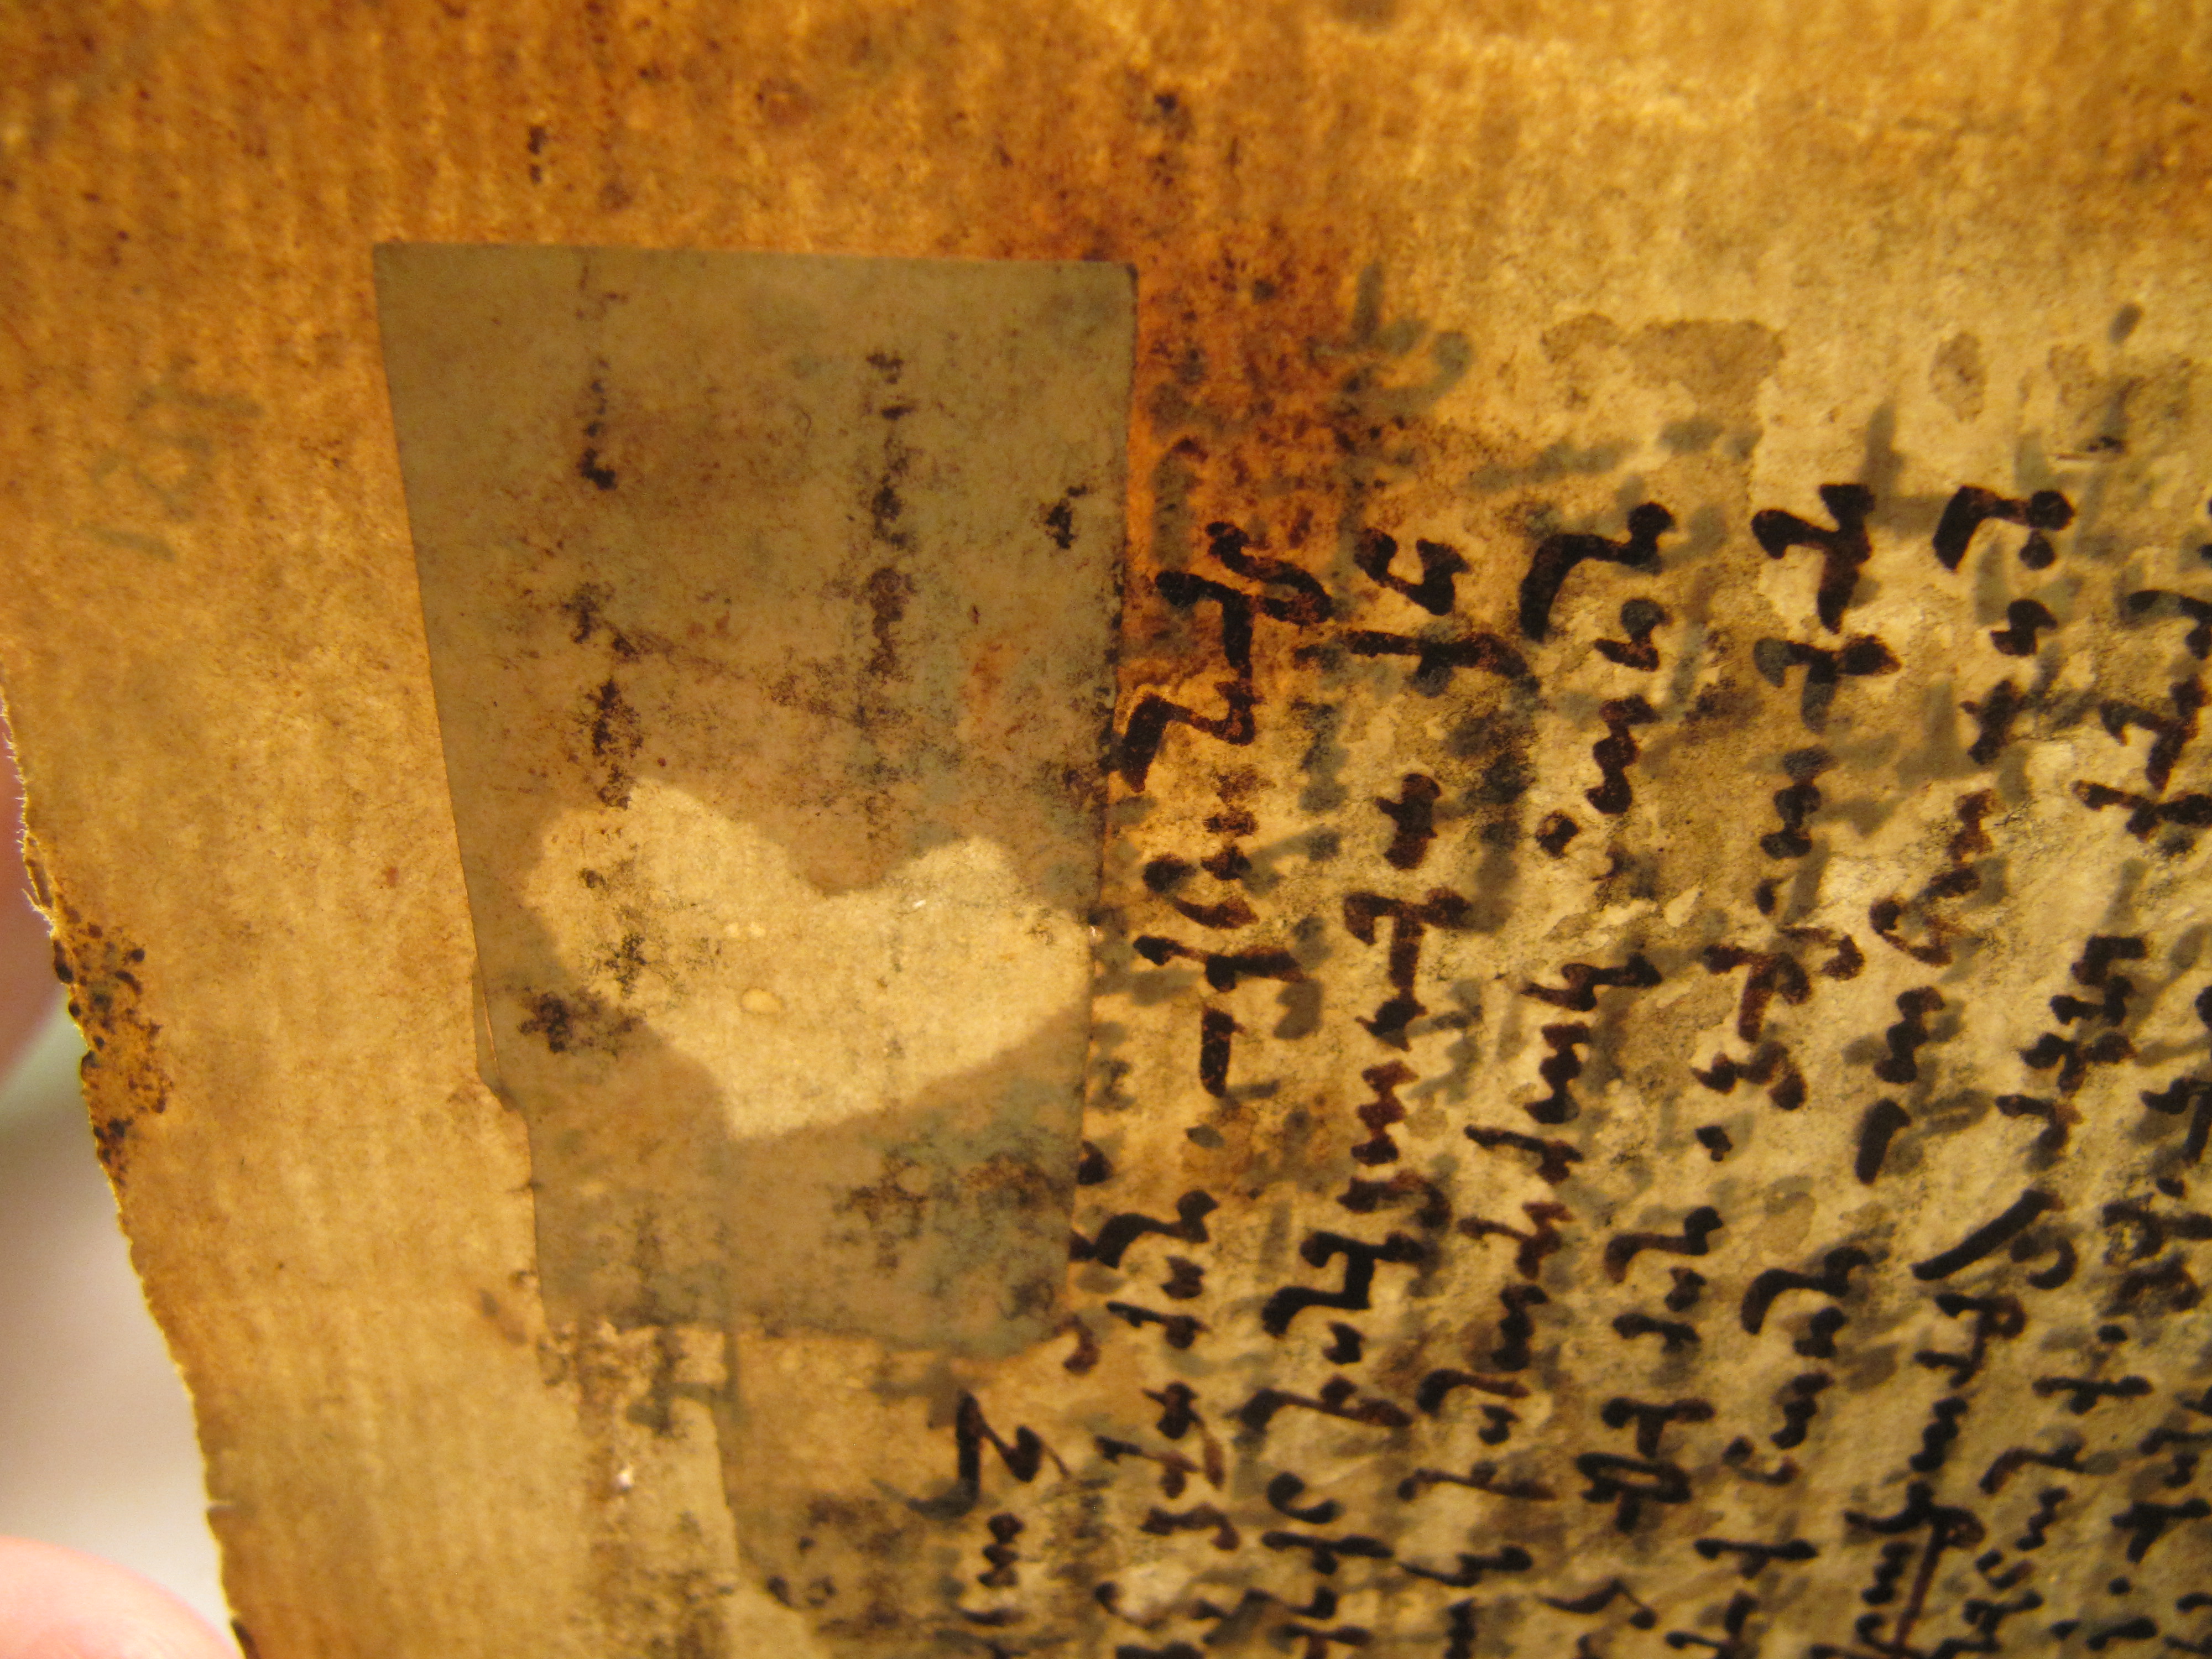
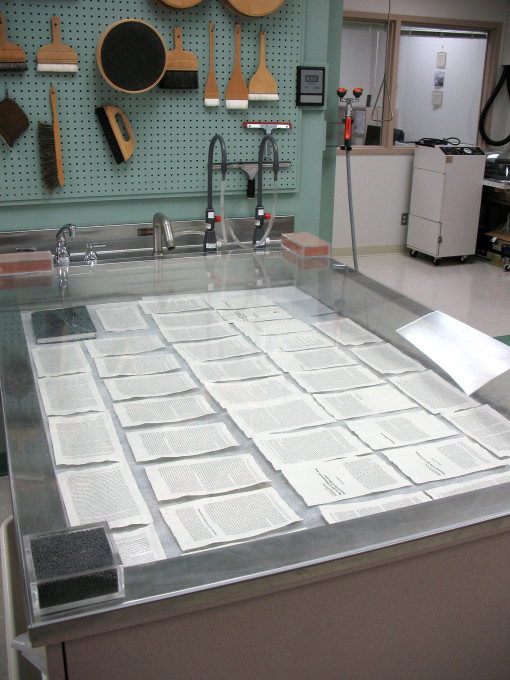
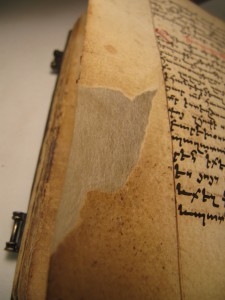 quickly, and only a little bit of weight is necessary. I like to turn the paper over, and add a second layer of the same tissue, overlapping the first mend every so slightly from the verso side. Here, it is good to paste up the entire piece, so that it sticks both to the paper being mended, and the first layer of tissue. A mixture of types of tissues and weights can and should be used to match the mend, the kind of paper being mended, taking into account the condition the original paper is in. Each repair is unique, and requires an arsenal of paste thicknesses (thin paste is more flexible than thick paste, but thick paste can be tackier) and different tissue types.